Everwind: The Complete Guide To Magic, Alchemy, And Runes
Throwing a fireball from the deck of your custom airship is an incredible power trip, but earning that right takes a lot of painful grinding.
If you boot up Everwind expecting to immediately start blasting skeletons with lightning, you are going to be severely disappointed. You start this survival sandbox with absolutely zero magical affinity. You are a mundane survivor with a wooden club. Magic in this game is not a birthright (Hello harry potter) it is a hard earned mechanical system that requires you to actively spec your character, hoard specific resources, and understand the deep alchemy engine running in the background.
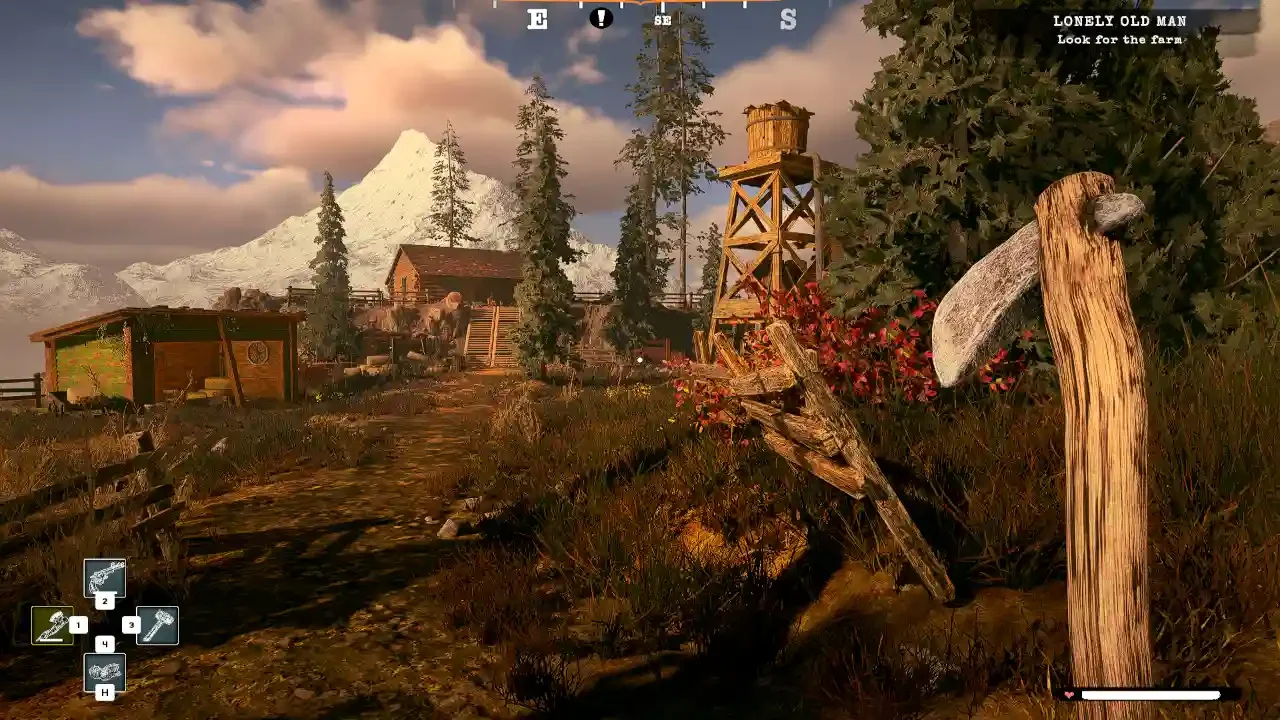
If you are still struggling to build your first ship or understand basic melee combat, you should probably pause and read my Everwind beginner's guide and my Everwind combat and skills guide before you start messing with the arcane arts. If you are ready to ditch the sword and embrace the elements, here is everything you need to know.
The Arcanist Progression Path
You cannot cast spells until you invest skill points into the Arcanist skill tree. It is that simple. If you spread your early points across the Warrior and Engineer trees, your magical progression will stall completely. If you want to be a mage, you have to commit.
The Arcanist tree is structured sequentially. You do not get to pick your favorite element right away. You unlock Fire first, which focuses on raw damage and burn effects. Then you unlock Ice, which provides vital crowd control by slowing enemies. Lightning follows, and finally, Poison rounds out the elemental roster.
The most critical nodes to unlock in this tree are the ones that actually allow you to wield higher tier magical equipment:
Advanced Books: Third tier, middle icon.
Rune Specialist: Third tier, fifth icon from the left.
Advanced Rods: Fourth tier, second icon from the left.
Pure Power: Fifth tier, first icon from the left.
Rod Specialist: Fifth tier, fifth icon from the left.
Master Rods: Sixth tier, middle icon.
Master Books: Sixth tier, fourth icon from the left.
If you reached the mid game and realize you messed up your build, do not panic. You can buy a respec potion to wipe your stats and start over.
The Magical Arsenal: Staffs, Books, And Scrolls
Once you have the skills unlocked, you actually need the tools. You will not be crafting these early on. You have to scavenge them from dungeons or pry them from the cold hands of high level enemies.
Staffs (The Heavy Artillery)
Staffs are your primary ranged magical weapons. They allow you to lob elemental damage from a safe distance. However, they are not infinite. They run on a strict charge system. Every time you cast a spell, you consume the staff's internal energy. When it hits zero, it becomes a useless stick until you recharge it using Spirit Crystal Dust. You cannot just spam the trigger.
Spellbooks (The Utility Casters)
Spellbooks are entirely different beasts. They cast powerful Area of Effect (AoE) spells in a radius around your character. They often require both hands to use and force you to get uncomfortably close to the enemy. Like staffs, they also need to be recharged.
Scrolls (The Panic Buttons)
Scrolls are single use consumables. You pop them, they trigger a massive, instant effect, and then they vanish from your inventory. They are incredibly powerful, but you have to hoard them for actual emergencies.
The Alchemy Engine
You cannot be a successful mage without engaging with the alchemy system. The potions you brew are what keep you alive when your staff runs out of charges. You need to build an Alchemy Table on your ship. If you are struggling with power management for your crafting stations, read my Everwind airship building guide.
Almost every organic item you pick up in the world has a hidden alchemical property. The game will not tell you what it does until you experiment or unlock higher tier skills. Because I hate wasting resources on bad potions, I have cataloged every major ingredient and its resulting effect below.
The Rune Enchanting System
Runes are how you break the game's balancing in your favor. You craft them at a Rune Crafting Station using fragments that drop from enemies or chests. They come in six escalating sizes: Fragment, Small, Medium, Big, Huge, and Perfect. The bigger the rune, the more absurd the stat buff. You apply them directly to your weapons to imbue them with passive effects.
If you are playing with a group, having a dedicated Arcanist who manages all the alchemy ingredients and rune crafting will save your entire team a massive headache. If you are trying to coordinate your crew, check out my Everwind multiplayer co-op guide so you stop stepping on each other's toes while gathering these materials.