Everything Is Crab 100% Achievement Guide: Surviving The Grind
Before you pull your hair out trying to defeat a massive boss with a thrown rock, you need to understand the exact mechanics behind this brutal completion list.
Everything is Crab looks like a chaotic good time until you check the achievement list and realize the developers actively want you to suffer. The game expects you to clear pacifist runs, manipulate your physical size to absurd extremes, and somehow win 200 separate times. Some of these trophies will pop naturally while you learn the ropes and climb the difficulty ladder. Others demand incredibly specific, hyper-focused builds that will send you right back to the lobby if you make a single wrong mutation choice. I mapped out the exact requirements and strategies for every single achievement so you can actually hit that 100 percent mark without completely losing your sanity.
Progression And The Endless Grind
These are the achievements you will largely unlock just by suffering through the core game loop and pushing the Pressure levels.
You do not need crazy gimmicks for most of these, just raw persistence and a lot of free time. The 200 wins requirement is a massive slog, especially since Challenge runs do not count toward that total. You just have to grind standard runs until your eyes bleed. I put the baseline progression requirements in a clean table below so you know exactly what kind of time sink you are looking at.
Stat Manipulation And Specific Evolutions
The game wants you to push your genetic mutations to absolute extremes to secure these specific unlocks.
You cannot get these by playing normally. You have to commit to a gimmick from the very first level up. If you are going for The Crabtain, you have to strictly pick crab parts like the Pincer, Scuttle, Antennae, and Exoskeleton while actively avoiding traits like Fur or Fin. For the Frens achievement, you need to rely heavily on your Social stat to raise your ally cap while grabbing charm skills like Tail Wag and Toe Beans.
Damage Scaling And Pure Pacifism
This is where the achievement list gets genuinely sadistic. The developers expect you to deal hundreds of thousands of damage in some runs, and absolutely zero in others.
For the heavy damage numbers, you need to rely on the Pistol Pincer evolution combined with the Revenge trait. This creates a massive burst damage window that allows you to hit the 500 damage mark for the Ultrabonk trophy. On the flip side, the pacifist trophies require pure evasion or relying entirely on your charmed followers to do the dirty work. For the hilarious Not Even Yourself trophy, you just equip the Antlers trait and run around until you literally die to your own self-inflicted recoil damage.
Boss Fight Executions
Defeating the bosses is hard enough, but doing it with these bizarre restrictions requires patience and a massive amount of burst damage.
The Crabtaur is going to be your best friend for these. You can earn an easy achievement just by hitting it while it charges, and another by baiting that same charge directly into a tree or obstacle. For Clawdia, you need to weaken her carefully and then charm one of her own Crawlee summons so it can steal the final hit.
Challenge Tiers And Collections
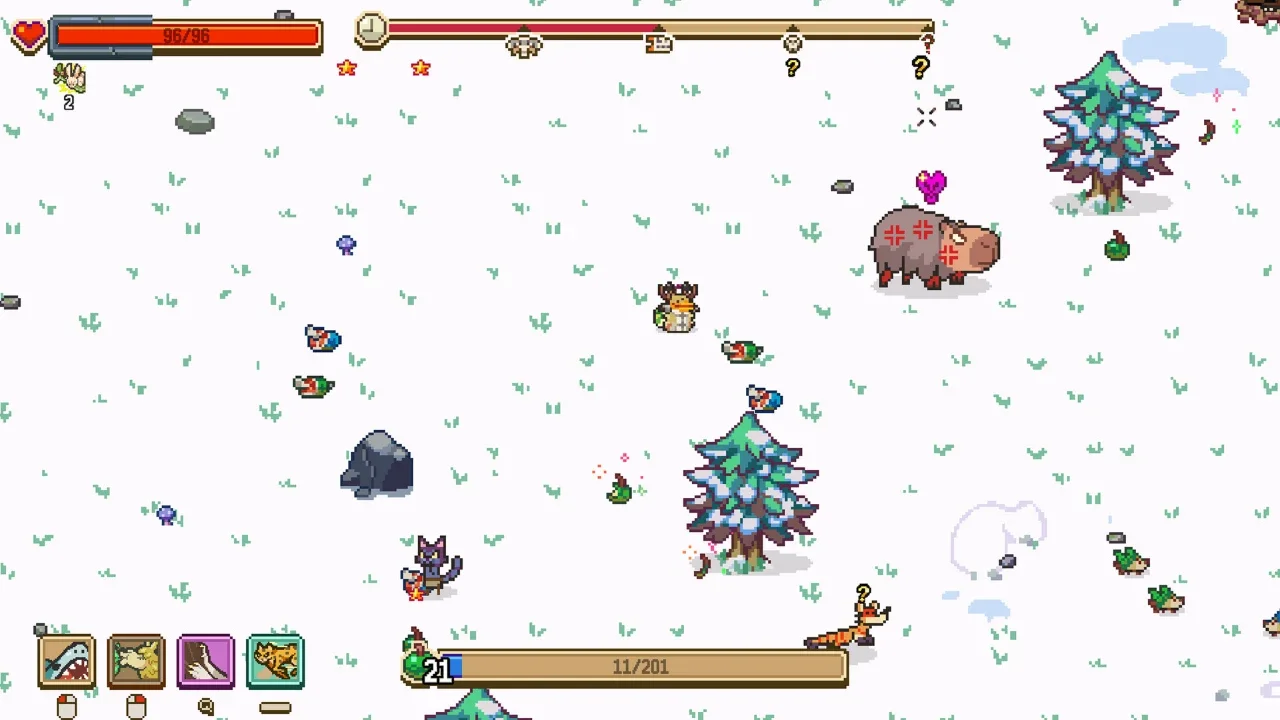
If you managed to survive the pacifist runs, you now have to deal with the Challenge mode and pure RNG collection logs.
The shiny creatures work exactly like Pokemon. They are differently colored, have sparkles around them, and appear completely randomly. You just have to play the game enough to witness 15 different variations. The true endgame test is fully finalizing every single challenge with every single Genetic. That alone will push your playtime into the hundreds of hours.