Everything Is Crab Guide: Mastering Physical And Ability Damage
Before you ruin a perfectly good run by picking conflicting traits, you need to understand how damage scaling actually works in this ecosystem.
Everything Is Crab offers a massive web of evolutionary choices, but when it comes to actually killing the horrors swarming your screen, your damage primarily falls into two distinct categories. You are either going to rely on Physical attacks or Ability damage. The Physical route turns you into a massive, heavily armored bruiser that crushes things with raw bulk. The Ability route turns you into a fragile, highly toxic glass cannon that melts enemies from a distance. Both paths are completely viable for clearing the hardest Pressure levels, but you have to know how to build them properly. If you are completely new to the game and just trying to survive the opening minutes, you should read my Everything Is Crab beginner survival guide before you start stressing over advanced damage formulas.
The most important rule I can give you is to never force a build. Trying to brute force your way into a specific Physical or Ability setup usually results in a dead run, especially on higher difficulties. You have to adapt to the RNG. If the game refuses to give you Physical traits, you pivot to Ability. I am here to break down exactly which evolutions make these two damage types work so you know what to grab when the game finally offers it to you.
The Physical Bruiser Blueprint
The Physical path is the default way most people (Including me) play Everything Is Crab, and for good reason. It is incredibly safe.
When you scale Physical damage, you are naturally scaling your survivability at the same time. The core philosophy here is building a massive health pool and slapping enemies with your sheer body weight. You want to prioritize evolutions like Muscular Tissue and Jaws right out of the gate to get your base damage up. If the RNG gods abandon you and withhold Jaws, you can easily pivot to arm based evolutions like Pincers to keep your physical output high.
Scaling With Body Slam
If you manage to roll Body Slam early, your entire run changes. Body Slam scales its damage directly based on your total HP pool. Once you secure this attack, you need to aggressively hunt for HP bonus evolutions like Chonky. Your goal is to become as massive as possible so your basic attacks wipe out entire swarms.
The Alpha Pivot
Whenever I defeat the first boss, I immediately look for the Alpha branching evolution. If you are lucky enough to get it, it solves multiple problems at once. It provides a massive boost to your max health, a flat increase to your physical damage, and heavily boosts your Gregarious affinity. This makes it the absolute perfect anchor point if you want to transition into a Physical and Social hybrid build later in the run.
Environmental Armor
To ensure you actually survive long enough to use all that health, you need defensive plating. I always grab Plating and immediately funnel that into the Scales evolution. This path unlocks Basking, which is a borderline mandatory trait if you get caught in the desert biome. Basking gives you bonus level progress when moving around in the sun, while simultaneously rendering you largely immune to the environmental heat. You get to watch enemy creatures take ticking sun damage while you comfortably wander the dunes. If you are leaning heavily into the Social aspect of the game alongside your physical damage, grab the Exoskeleton trait instead to protect your massive frame.
The Ability Machine Gun
Ability builds require significantly more finesse. You will be drastically weaker in terms of raw HP and defense, but your damage output can become absolutely terrifying.
The Ability path relies heavily on ranged attacks, poison stacks, and rapid cooldowns. You are a glass cannon. If you get cornered, you will die very quickly. To survive this squishy lifestyle, you must prioritize the Agile evolution. Agile increases your dodge capabilities while actively reducing your attack penalty, allowing you to move freely and reposition constantly without sacrificing your damage output.
Building The Poison Engine
Cortex and Dextrous are the absolute foundation of my preferred Ability setups. Cortex gives you a massive flat boost to your Ability stat, while Dextrous provides a vital cooldown reduction. You take those two passive traits and pair them directly with Spit. Spit is a standard ranged attack, but when you infuse it with Saliva and poison damage later in the run, things get completely out of hand. The cooldown reduction from Dextrous turns your creature into a rapid fire poison machine gun.
Close Quarters And Social Synergy
Even as a ranged attacker, enemies will eventually close the gap. When they do, you need the Beak evolution to deal heavy Ability damage at close range. Interestingly, Ability builds synergize beautifully with the Social skill tree. Evolutions like Tail and Tail Wag not only boost your overall Ability stat, but they allow you to charm nearby creatures. Instead of taking hits yourself, you use Tail Wag to build a small army of followers that act as meat shields while you safely spit poison from the backline.
Universal Scaling Tactics
Regardless of whether you end up locked into a Physical tank or an Ability sniper, you need to accelerate your level progress to keep up with the rising Pressure.
This is where the Ruminate evolution becomes incredibly valuable. Ruminate scales based purely on your Prey affinity, and both build paths can easily dip into this tree to turbocharge their leveling speed. Faster levels mean more mutations, which means more chances to finalize your core damage synergies before the final boss spawns.
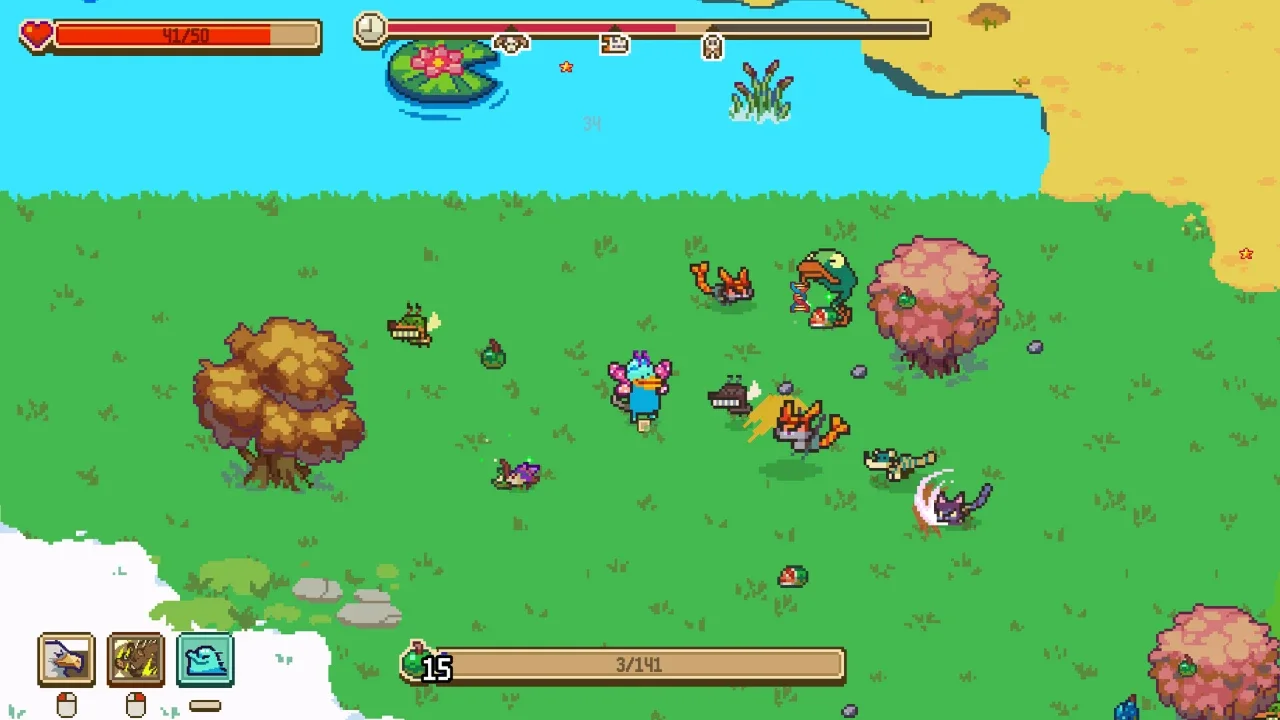
Evolution Data Breakdown
I mapped out the most critical evolutions for both damage paths so you know exactly what to look for when the level up screen appears.