Forza Horizon 6 Tuning Guide: Stop Driving A Shopping Cart
Your favorite supercar is probably handling like a brick on ice right now because you left the factory alignment untouched.
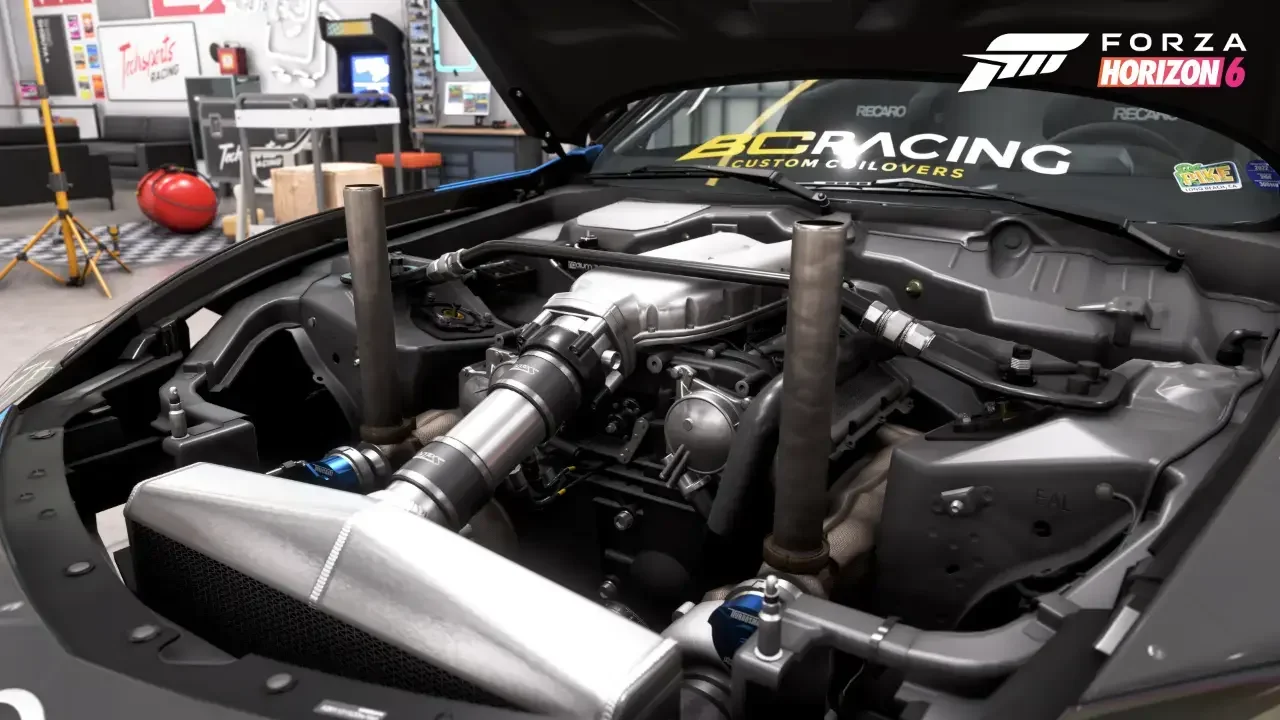
The physics engine in Forza Horizon 6 received some massive adjustments that will completely derail your old builds if you try to copy your setups from older games. Playground Games shifted the Performance Index (PI) thresholds entirely, capping the popular A-class at 700 PI while making S1 start precisely at 701 PI. If you don't know how to optimize your powerband and tire contact patches around these new brackets, you're going to waste thousands of credits on parts that actually make your car slower.
Before you spend three hours manually adjusting suspension sliders at random, read this. I spent the last few days tearing down the upgrade trees to build a definitive tuning methodology so you can stop guessing and start dominating the rivals leaderboards.
The Core Fundamentals Of Grip
Every single tuning slider in the menu exists to manipulate one specific thing: the tiny patch of rubber where your tire meets the asphalt.
Understanding how weight shifts across your chassis is the secret to fixing a bad setup. When you brake, weight plunges forward, flattening the front tires and unloading the rear. When you mash the throttle, the exact opposite happens. Your car loses traction when one end runs out of grip before the other, resulting in two distinct problems that you will face constantly.
Understeer happens when the front tires lose traction first. You turn the steering wheel, but the car pushes wide and tries to plow straight into a guardrail. Oversteer happens when the rear tires lose traction first. The back end swings out, threatening to spin you right into oncoming traffic.
If you want to know what a perfectly balanced setup feels like before you start building your own, I highly suggest checking out our Forza Horizon 6 best cars guide to see which vehicles dominate the meta right out of the box.
Step One: Managing Your Tires
Before you touch a single suspension arm, you must establish your baseline tire parameters. If your tire pressures are incorrect, you will spend hours chasing handling issues that don't actually exist.
Tire Pressures by Compound
Grippier tires feature stiffer sidewalls, meaning they require higher internal air pressure to maintain their shape when lateral g-forces try to peel them off the rim. Heavy vehicles also require higher baseline pressures to prevent the chassis from rolling onto the sidewalls. I recorded the optimal target ranges for each tire compound family below.
Don't mindlessly buy the stickiest compound available. Upgrading your tires consumes a massive chunk of your PI budget. For D and C class, stick to stock rubber. A class is where street or semi-slick tires become necessary, while S1 and S2 tiers strictly require race slicks.
Step Two: Gearing Architecture
Gearing is all about keeping your engine sitting in its happiest RPM window. Custom gearboxes allow you to fix bad factory ratios, but they also add physical mass to your drivetrain.
Setting Your Final Drive
Before you go micromanaging every single ratio slider, tweak the master Final Drive slider while keeping an eye on the telemetry graph. Adjust the slider until the calculated top speed line smoothly intersects with the edge of the grid. Take the car to your test track and check the straightaway performance. If you slam into the rev limiter before reaching the braking zone, lower the final drive ratio to add top speed headroom.
If you install a multi-speed Race Transmission, you need to structure your individual gear intervals like a logarithmic curve. Air resistance increases exponentially the faster you travel, meaning your higher gears need to be packed tightly together. Your gear graph should look roughly like a playground slide, showing a steep drop between first and second gear, followed by progressively tighter gaps at the top end.
Step Three: Drivetrain Conversions
Swapping your vehicle to a completely different drivetrain layout will fundamentally redefine how it handles corners.
All-Wheel Drive (AWD) is the absolute king of the high-tier meta because the off-the-line traction pays for the massive PI investment. However, AWD conversions introduce a nasty understeer bias into the chassis. If you run Rear-Wheel Drive (RWD) in the B or A classes, you preserve your chassis balance and save vital PI that can be spent on raw engine horsepower instead.
Of course, if you want to focus entirely on sliding around corners rather than setting lap times, you absolutely need a solid RWD setup. I highly recommend reading through our Forza Horizon 6 drifting guide to get your suspension dialed in for maximum sideways action.
Step Four: Differential Calibration
Your differential regulates how much power goes to the left and right wheels when you corner. Getting this right prevents your car from spinning out when you stomp the gas pedal.
RWD and FWD Axle Tuning
For single-axle vehicles, you only have one set of sliders to manage. Your Acceleration slider dictates how hard the differential locks up when you are applying throttle. A higher percentage keeps both wheels turning at the identical velocity, giving you massive drive out of corners but inducing understeer. For road racing, keep your RWD acceleration locked between 40% and 65%.
Your Deceleration slider dictates locking behavior when you coast into a turn. Keep this value between 15% and 30% to avoid lifting off the throttle and spinning backward into a wall.
The New AWD Balance
The tuning interface received a big layout refresh to help you visualize power splits clearly across three distinct menus: Front, Rear, and Center.
The Center Balance slider features Front on the far left and Rear on the far right. If you leave this setting at a default 50% split, your car will handle like a dump truck and refuse to turn. For high-speed road courses, push the Center Balance slider between 70% and 85% toward the rear. This simulates a high-power RWD platform while maintaining your front-axle safety net.
Step Five: Fine-Tuning The Suspension
Once your baseline tire footprints, gear stacks, and differentials are locked into place, you can finally begin adjusting your suspension stiffness.
Always fix the end of the vehicle that is actually experiencing the handling failure. If your car refuses to rotate mid-corner, don't stiffen the rear anti-roll bar, because that just throws away valuable rear traction. Instead, soften your front anti-roll bar to give the front contact patches more compliance. Move your adjustment sliders by roughly one-tenth of their total value at a time, test the results, and immediately reset your settings back to baseline if a change leaves your lap times slower than when you started.