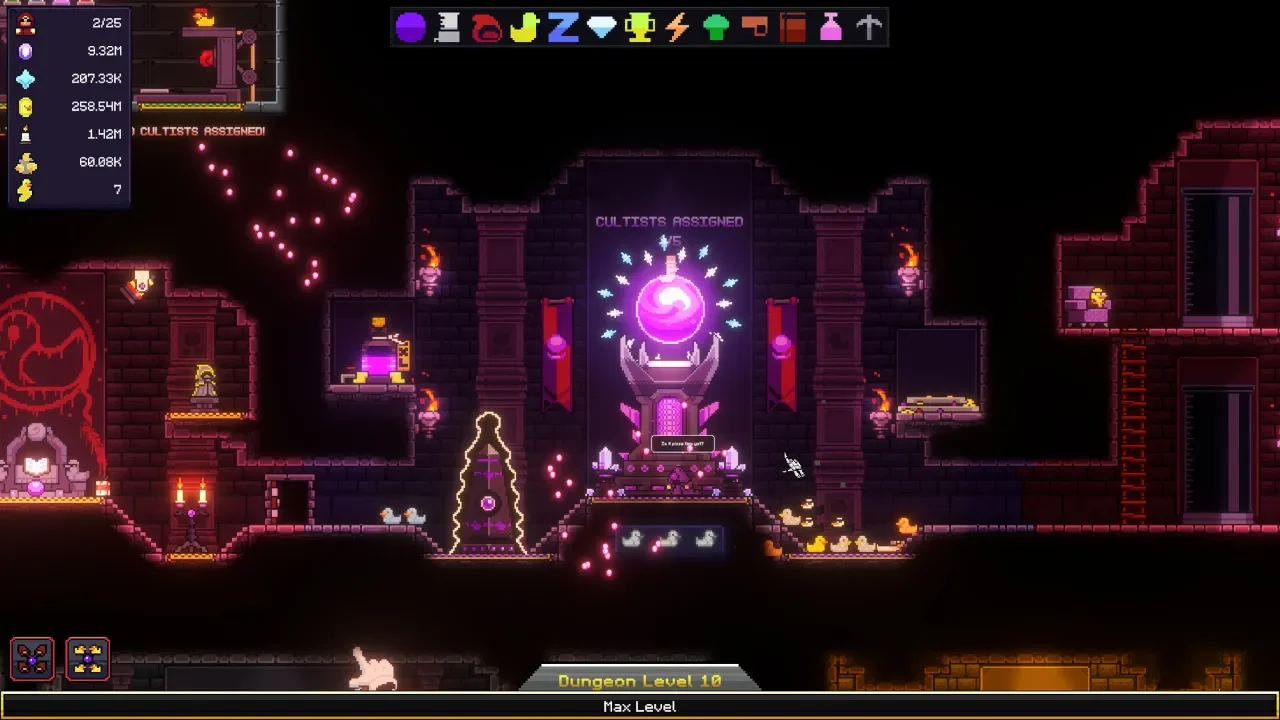
GRIME 2 Beginner Guide: Crucial Survival Tips The Game Refuses To Tell You
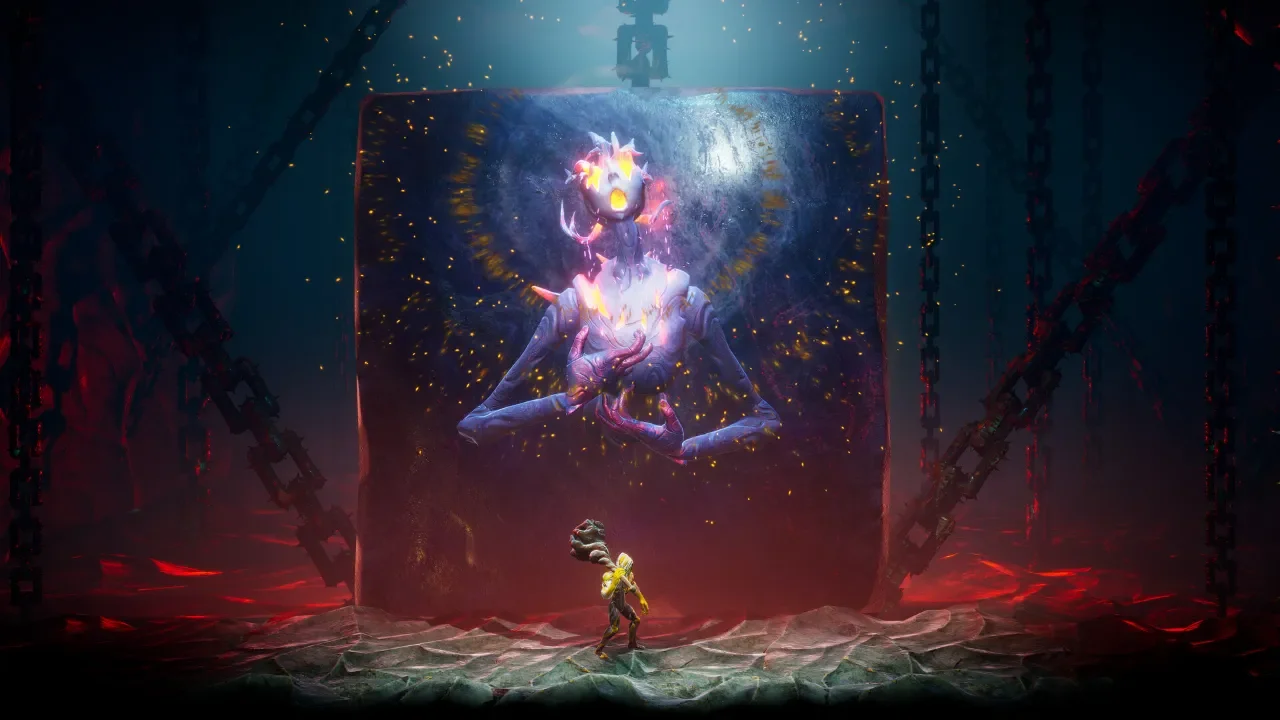
GRIME 2 is a beautiful, deeply unsettling nightmare that absolutely refuses to hold your hand, so I am going to do it instead.
I genuinely love a developer that trusts my intelligence. But throwing a player into a bizarre, hostile landscape of painted nails, giant pottery, and mutated teeth without properly explaining the core survival mechanics crosses the line from trusting to mildly sadistic. You play as a Formless. You are essentially an art mimic that absorbs enemies and turns their biology into a violent toolkit. It sounds incredible on paper. In practice, you are going to spend your first few hours getting ground into a fine paste by the local wildlife.
The onboarding is undeniably brutal. I hit a wall early on, constantly out of healing, completely lost, and literally getting chewed up by the floorboards. The game demands perfection but hides the tools you need to achieve it. I spent an unhealthy amount of time staring at the respawn screen so you do not have to. If you are struggling to gain a foothold in this punishing sequel, here is the exact knowledge you need to stop dying and start pushing back.
Combat Realities You Cannot Ignore
Fighting in this universe is deliberate and heavy. You cannot button-mash your way out of a bad situation. Understanding how to manage your resources and read enemy health bars is the only way to avoid a quick trip back to the Surrogate.
Respect The Maul Axe
The game hands you a Maul Axe right out of the gate. Because decades of gaming have conditioned me to treat starting gear as disposable trash, my first instinct was to swap it out for the earliest shiny new toy I found. Do not make my mistake. The Maul Axe scales beautifully with both Strength and Dexterity. It feels a bit sluggish when you take your first swing, but it hits like a runaway freight train once you find the rhythm. It is entirely viable to carry this weapon through the entire game if you click with its heavy, methodical moveset.
Grasp Parrying Is Mandatory
If you try to play this game purely by dodging, you are going to have a miserable time. Parrying here is not just a desperate defensive fallback. It actively deals damage, heavily staggers enemies, and is often the primary method for breaking through specific boss defenses. Get comfortable with the Grasp Counter immediately. It acts as an alternative to a regular parry and opens up massive damage windows. The timing can feel incredibly tight on certain elite enemies, but mastering it early makes the rest of the game significantly more manageable.
Hunting Breath Wards For Survival
Healing is an absolute luxury in the early hours. You will inevitably notice some enemies and breakable objects have a distinct yellow indicator on their health bar instead of the standard white one. That is a Breath Ward. When an enemy's health drops below that yellow line, you can use your Grasp ability to stun them and instantly gain a full Breath Charge. This is your main healing resource. Whenever you see a yellow indicator in a tough fight, make breaking it your top priority. It is literally the difference between surviving a grueling encounter and losing all your progress.
Navigating A Hostile World
Exploring this sequel is a constant psychological battle. You will constantly second-guess every jump and suspicious patch of ground, especially since the developers made the unhinged decision of locking basic cartography behind hidden Seals.
Gravity Is A Myth
This is a massive mechanical detail that the game casually "forgets" to tell you. There is absolutely zero fall damage. None. You can hurl your Formless body off the highest ledge in the zone and land perfectly fine. Do not be afraid to blindly drop downward to explore new paths or take massive shortcuts. The developers hid a ton of secrets and upgrade materials in the abyss. Jump first and ask questions later.
The Floor Is Literally Enemies
While gravity will not kill you, the ground absolutely will. The environment is littered with Spiked Fingers. These are horrific little mimic enemies that disguise themselves as standard environmental damage spikes. They lie completely dormant on the floor and aggressively snap at you the second you get close. If a patch of spikes looks slightly off or is placed in a suspiciously empty hallway, approach it with your weapon raised.
You also need to watch out for fragile floors and platforms. Stand on them for more than a second and they shatter. Sometimes this drops you directly into a pit of those aforementioned spikes. But in true Metroidvania fashion, breaking these floors intentionally is often the only way to access hidden lower areas and stat-boosting secrets.
Economy And Progression Quirks
Building your character requires managing bizarre resources and understanding systems that the game barely bothers to name properly. If you allocate your upgrades blindly, you will feel completely underpowered against even the lowest tier mobs.
Finding The Handcloth Set
Paint is the resource required to cast your assimilated Mold abilities. In the early game, your natural Paint generation is agonizingly slow. This makes your coolest abilities feel too expensive to ever actually use in regular combat. You need to hunt down the complete Handcloth armor set as soon as possible. Wearing the full set provides a massive bonus to Paint generation. It completely fixes the early game economy and lets you actually experiment with throwing enemies and firing projectiles instead of anxiously hoarding your energy for boss fights.
Stats And Prismatic Pearls
The leveling system is deeply confusing at first glance. You earn points, but the Force Meter cannot be leveled up directly, and Hunt Pigments feed into a totally separate skill tree. Plus, you have to decipher what stats like Diverging actually mean. If you want to know how the weird stuff actually works, you can read my comprehensive breakdown of Diverging, Pliability, and the rest of the stat sheet.
But if you have already messed up your build, take a deep breath. Keep an eye out for Prismatic Pearls. These consumable items let you completely respec your character and redistribute all your earned stat points. They are not lying around everywhere, but they exist in enough quantities to save you from a ruined save file.
Hunting Dropot Runners
Eventually, you will encounter unique enemies called Dropot Runners. They do not respawn. Holy shit, do they hit hard. They are significantly tougher than the standard grunts in their respective areas, but the risk is worth it. If you manage to slay them, they drop exclusive containers. Hold onto these and bring them to a merchant named Addo in Kankan. He trades them for incredibly valuable upgrade materials and Item Molds that you cannot get anywhere else.
Mastering these systems takes patience. The game is going to kick your teeth in for the first few hours, but once you understand how to manipulate the assimilation mechanics and farm your own healing, the entire experience opens up. Respect the environment, parry everything that moves, and stop worrying about gravity.