Crimson Desert Legendary Mounts: Necromancy For Beginners
Riding a standard horse across a battlefield usually ends with you walking home in the mud, but these new beasts are built to survive actual warfare.
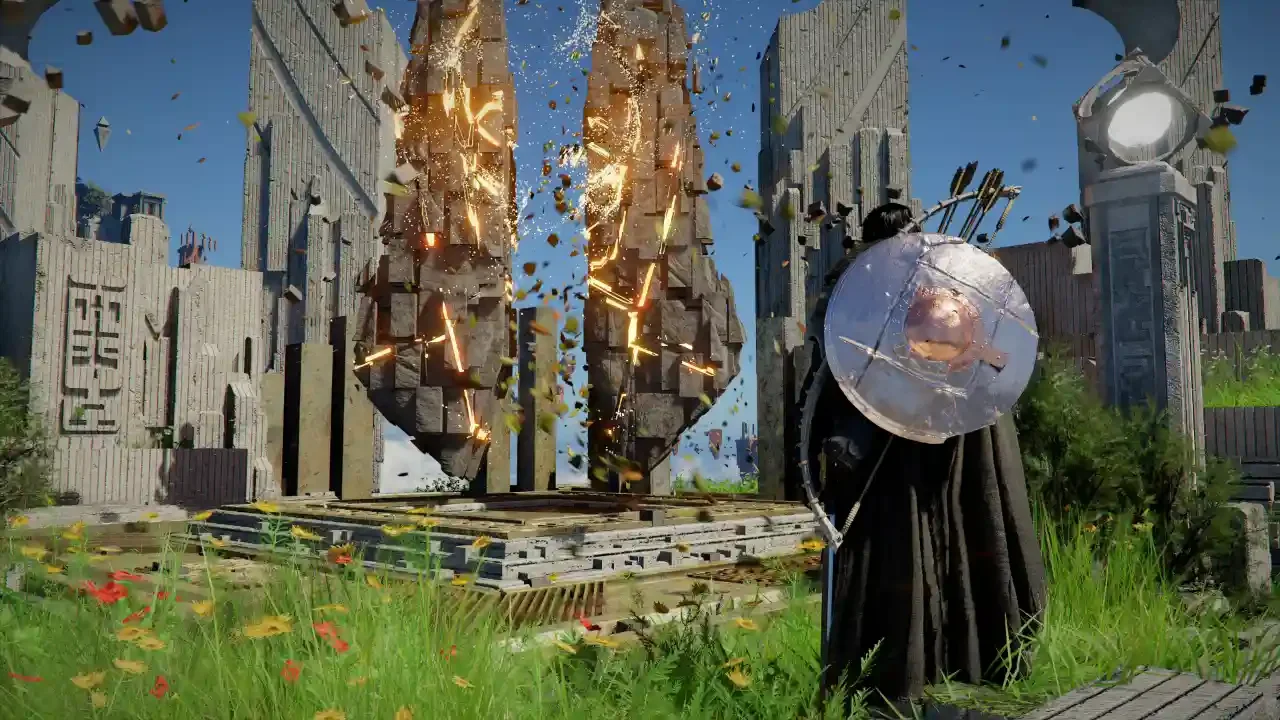
The massive 1.01.00 patch finally dropped, and it fundamentally changed how I approach traversal in this game. If you are tired of your basic horse throwing you into the dirt the second a goblin looks at it funny, you are going to want to engage with the new legendary mount system. The developers added five incredibly hostile apex predators to the continent of Pywel. You can now swap out your fragile equine transport for a literal polar bear or a combat-trained dire wolf.
If you already read my Dragon Mount Guide, you know that flying around Pywel makes you feel like an absolute god for about fifteen minutes before the novelty wears off. These new ground mounts offer a much more permanent and practical solution for everyday travel. However, adding these beasts to your collection requires a very specific and morally questionable workflow. You do not tame these animals with treats and soft words. You have to murder them.
The Dark Ritual of Animal Taming
The taming mechanic in this game is essentially applied necromancy. You cannot just sneak up on a legendary creature and throw a saddle on its back. The process is a brutal three-step combat and crafting loop that requires you to actively hunt the beast you want to eventually ride.
First, you have to track down the specific boss variant of the animal and defeat it in combat. The second step is the most critical. You must perform the skinning action on the corpse. If you forget to skin the boss and simply walk away after the fight, you will miss the unique soul item required to unlock the mount. I made this mistake early on and had to wait for an entire respawn cycle.
Once you have the required body part safely in your inventory, you need to find a Witch. Elowen in the Witchwoods is usually my go-to vendor for this, but the Witch stationed in Hernand works just as well. Note that you will need to have progressed to Chapter 5 and completed the "Guest Unbidden" quest to access these specific services. Access her vendor menu and navigate to the "Craft Abyss Gear" section. Use your right trigger to tab over to the "Special Item" category. Here, you can exchange the animal part for a Sigil of Solidarity.
The final step is opening your own inventory, finding the Sigil under Key Items, and using it. This permanently binds the creature to your character. You can then hold down on the D-Pad, open your character wheel, and cycle through your available mounts using the right trigger until the new beast is selected.
The Big Three: Wolves, Bears, and Deer
Three of these new mounts are highly accessible if you know exactly where to look on the map. They each serve a very distinct tactical purpose, and I strongly recommend keeping all three in your active rotation.
Silver Fang: The DPS Companion
Silver Fang is a massive white dire wolf located in the Howling Hollow cave, just north of The Sage's Peak in Hernand. You cannot just walk into the cave and expect him to be there. You must first complete the "Silence from Afar" quest found in the House Celeste tab of the Hernand Faction Quests. This requires you to hunt down his counterpart, Black Fang, first.
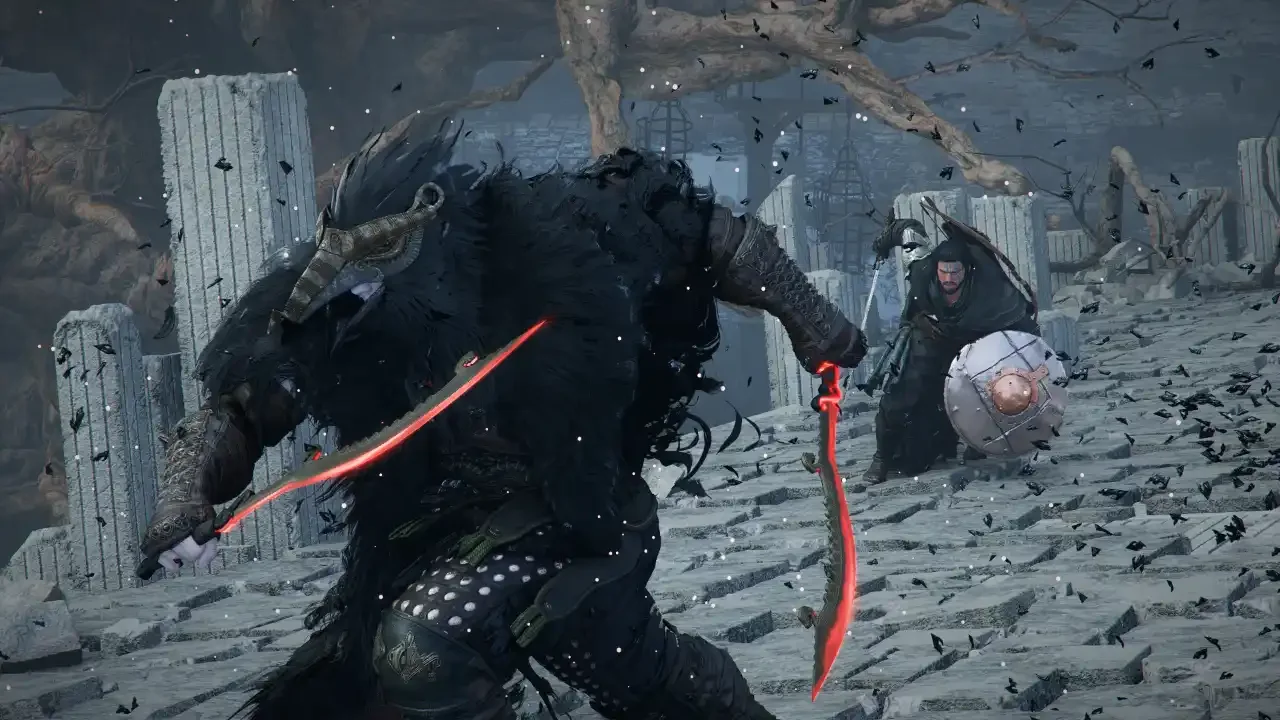
When fighting Silver Fang, watch out for the purple plants in the area that can drain your health rapidly. Once you finally trigger the Lurking Wolves encounter and slay Silver Fang, skin him to obtain the Fang of Silver Fang. Take that to a Witch and craft his Sigil.
Silver Fang is completely unique because he functions as an active combat companion. He is the only mount in the game equipped with an independent, aggressive AI. When you dismount to fight on foot, he does not run away in terror. He stays in the pocket and actively attacks your enemies alongside you. The trade-off is that his base stats are incredibly low compared to the other legendary beasts. Treat him as a summoned DPS unit rather than a heavy transport vehicle.
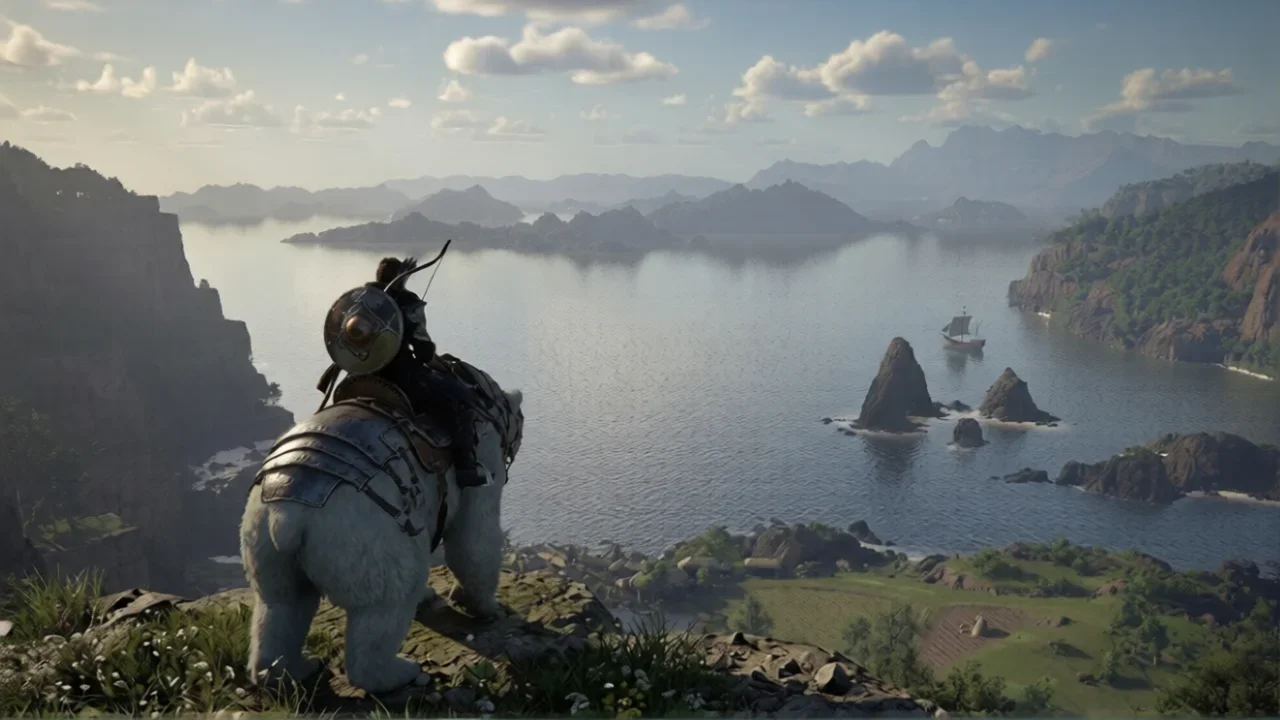
The White Bear: The Siege Engine
If you want to absolutely bulldoze through enemy camps, the White Bear is an incredible option. This absolute unit patrols the Five-Finger Mountain region in the far northwest corner of Pailune, directly west of the "S" in Silver Wolf Mountain. If you have already secured the Darkbringer sword from the White Wastes Sanctuary, that Abyss Nexus is your closest fast travel point.
Walking into this fight unprepared is a quick way to see a game over screen. The bear hits like a freight train. You need to exploit its massive vulnerability to fire. Before you make the trek into the mountains, consult my Resource Gathering Guide to stock up on fire oils and craft plenty of fire arrows. Hitting the bear with flames causes it to writhe on the ground, giving you a massive window to unload your highest damage combos.
Skin the corpse for the White Bear Claw and take it to a Witch. This mount boasts a massive health pool and raw attack power. While riding it, you have total manual control over its devastating swiping attacks. You can literally ride it through hostile towns and most NPCs will simply flee in terror instead of trying to fight back.
Snowwhite Deer: The Marathon Runner
When you need to cross massive stretches of empty terrain without constantly stopping to regenerate stamina, you need the Snowwhite Deer. You can find this skittish creature roaming the Silver Wolf Mountain region. Specifically, look near the "A" in the word Pailune on your world map, which sits just west of the Sanctum of Solace.
Do not try to chase it down on foot. It will easily outrun you, and it prefers to flee rather than fight. The most efficient tactic is to hit it with a fully charged fire arrow from a vast distance to stagger it before it can escape. Skin it to claim the Snowwhite Deer Antlers.
Once bound via the Sigil, this deer offers a ridiculous stamina pool, far exceeding the other mounts. You can hold your right trigger to activate a charging sprint that gobbles up distance and allows you to physically ram through smaller enemies with its massive antlers.
The Elusive Mentions: Ibex and Warthog
The final two mounts added in this patch require significantly more story progression and patience. Both of these encounters utilize an incredibly annoying two-phase tracking mechanic where the boss will flee after losing its first health bar.
Icicle Edge Alpine Ibex
You cannot even look for this frost hunter until you reach Chapter 8 of the main campaign. You also have to grind out fifteen separate Pailune Militia missions and murder the White Horn Yeti from the Sogghorn Tribe. Doing all of this busywork finally triggers the "Fog Over the Forest" faction mission from the Longleaf tribe.
You will visit a camp in the center of Pailune to collect a bounty quest. After clearing the camp and reading the letter, you must track down the rider, Moren, who is riding the Ice Horn Mountain Goat. You will find the Ibex north of the Ridge Hunter Tannery. Once you deplete its first health bar, the coward runs away. You have to follow a frustrating frost trail using the red circle markers on your minimap to corner it for the final kill. Ensure your gear is fully optimized by checking my Weapon and Armor Upgrades Guide before you commit to this lengthy tracking sequence.
Rock Tusk Warthog
This armored swamp pig is located at the Boarding Ruins in the southern swampy area near Demeniss. You have to trigger the "Master of a Forgotten Land" mission just by picking fights with the local enemies in the area. Your target is Ravok, who rides a massive hog wearing a bright red cape.
Just like the Ibex, this is a two-phase pursuit. Deplete its health, watch it run away, and track it through the muddy ruins for round two. Once you finally secure the Stone Mason Boar's tusk, you gain access to an incredibly heavy mount with a devastating frontal charge ability designed to shatter shielded enemy formations.
Having to constantly open the map to find these obscure ruins can be a massive headache. Keep my Fast Travel Map Guide handy to streamline your tracking routes and save yourself hours of aimless wandering in the swamps.
Mastering the quick swap menu is the real secret to this patch. I highly advise keeping the Snowwhite Deer active while you are crossing open plains, and instantly swapping to the White Bear the moment you see a bandit camp on the horizon.