GRIME 2 Map Guide: Surviving The Seal System And Unlocking Fast Travel
Getting lost in a sprawling labyrinth is standard for this genre, but GRIME 2 actively weaponizes your lack of direction to punish you.

Most games hand you a map fragment from a friendly NPC and send you on your way. This sequel forces you to earn the fundamental right to know where you are standing. When you first step into a new zone, you are completely blind. There is no outline, no helpful icons, and absolutely zero fast travel. You are wandering through an alien landscape built from teeth and painted nails while the local wildlife tries to rip your head off.
It is incredibly easy to spend an hour fighting your way into the depths of a new region only to die and get thrown all the way back to the previous zone. I know exactly how frustrating it is to lose that much progress because the game hid the checkpoint behind a jumping puzzle. I mapped out these miserable corridors so you can actually navigate them with some confidence.
Here is exactly how the brutal cartography mechanics work, how to track down the hidden Seals, and where to spend your hard-earned Aurum along the way.
The Dual Seal System Explained
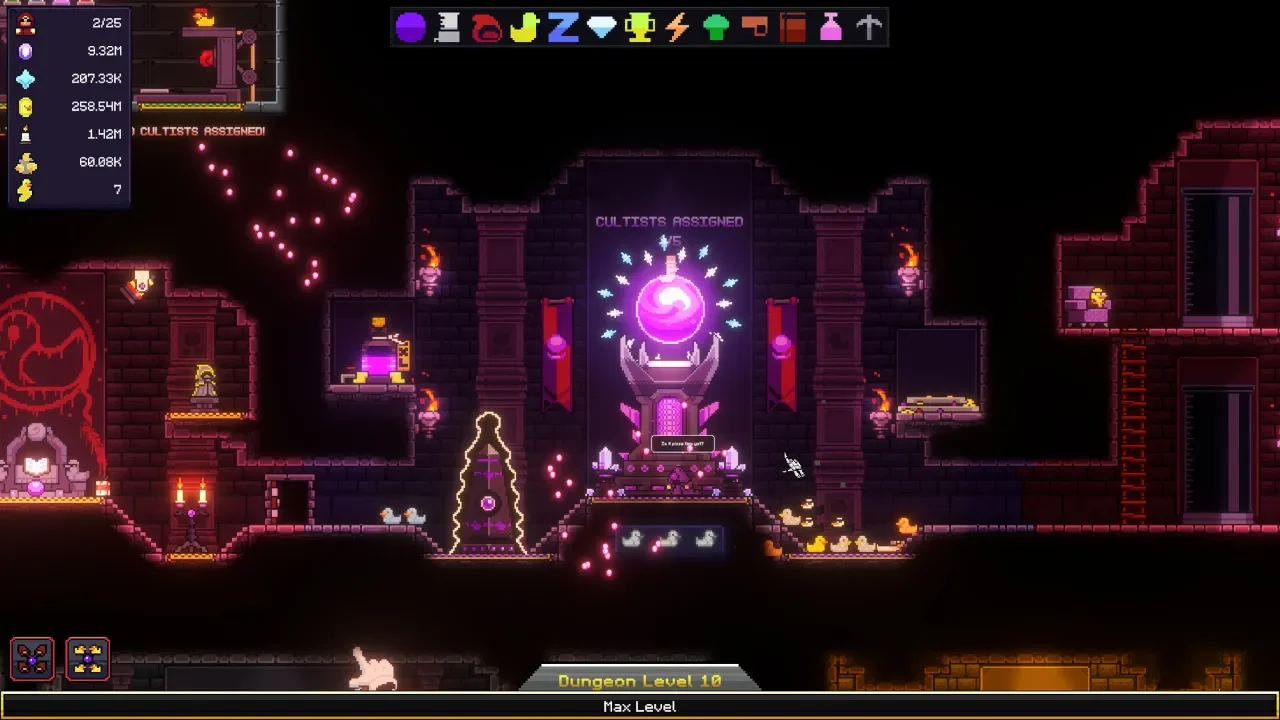
Every single area in this game is locked behind an interactive mechanism called a Seal. There are exactly two Seals hidden in every zone. You need to track down both if you want to explore efficiently without tearing your hair out.
The First Seal And The Fog Of War
Finding and activating the first Seal in a region unlocks the Area Map. But do not expect a fully detailed schematic. Activating this mechanism simply gives you the blank canvas. It does not reveal the layout or remove the fog of war. You still have to physically explore every single room and corridor to clear the grayed-out sections and see the actual architecture. It is a slow process, but securing this first Seal at least gives you a frame of reference so you stop running in circles.
The Second Seal And Area Warp
This is the one that actually matters for your sanity. The second Seal unlocks Area Warp. This feature allows you to fast travel between the giant living hand checkpoints called Surrogates within that specific region.
If you do not find the second Seal, you are in serious danger. If you die in a new area without Area Warp active, the game will often bypass the local Surrogate you just rested at and aggressively respawn you at the nearest checkpoint from the previous zone. Getting sent back a full region because you missed a hidden rock is pure bullshit. Make finding the second Seal your absolute highest priority the second you cross into a new map boundary.
How To Read The Environment And Find Seals
Wandering aimlessly is a death sentence. The developers actually left breadcrumbs for you to follow, assuming you know what to look for amid the visual chaos.
Follow The White Paint
The most reliable method for finding a Seal is tracking the white paint trails. If you look closely at the environment, you will occasionally spot glowing white effects floating in the air. These trails are shaped like tiny hands pointing in a specific direction. They are literal signposts guiding you toward major points of interest like Surrogates and Seals. If you are ever completely turned around, stop moving, watch the wind currents, and follow the floating hands.
The Rule Of Symmetry
The level designers relied heavily on symmetry when hiding the second Seals. As a general rule of thumb, if you find the first Seal placed high up near the ceiling of a zone, the second Seal is almost certainly located deep below ground on the exact opposite diagonal side of the map. It is a consistent pattern. If you find one mechanism, draw an imaginary diagonal line across your blank map screen and start digging in that direction.
Prepare To Backtrack
You will not be able to 100 percent a map on your first visit. Certain areas containing Seals are completely inaccessible until you acquire specific traversal skills like the wall jump or advanced dash abilities. If you see a ledge that is mathematically impossible to reach, do not waste twenty minutes throwing your Formless body at the wall. Keep track of visual landmarks like stone monoliths or unique enemy spawns. Note the location in your head and come back later.
Hunting Secrets And Stockpiling Item Molds
Once your map is actually functional, you can start hunting down the real treasures. Exploring the hardest jumping puzzles in a zone usually rewards you with Item Molds. As I noted in my beginner survival guide, these are consumable skills that refresh when you rest, and they are essential for staying alive.
You can find them hidden in secret rooms requiring complex Grasp and dash combinations, but the most reliable way to stockpile them is by finding Breathsmiths. These specialized vendors trade powerful Item Molds and Breathcrown upgrades for Aurum (gold).
If you are confused about how your stats impact the damage of these abilities, I highly recommend reading my complete breakdown of Diverging and Pliability before you spend all your money on a Mold you cannot use effectively.
Keep in mind that some merchants will temporarily vanish depending on where you are in the main story. When Manzil sends you out to track down parts to hunt Goel, his crew will eventually return and you can access the Sib traders again. Buy out their inventory whenever you have the cash, follow the white paint, and you will eventually conquer this deeply hostile map.