Palworld 1.0 Beginners Guide: Bypassing The Early Game Grind
Getting dropped onto a hostile island with nothing but a loincloth is a pretty rough way to start your weekend.
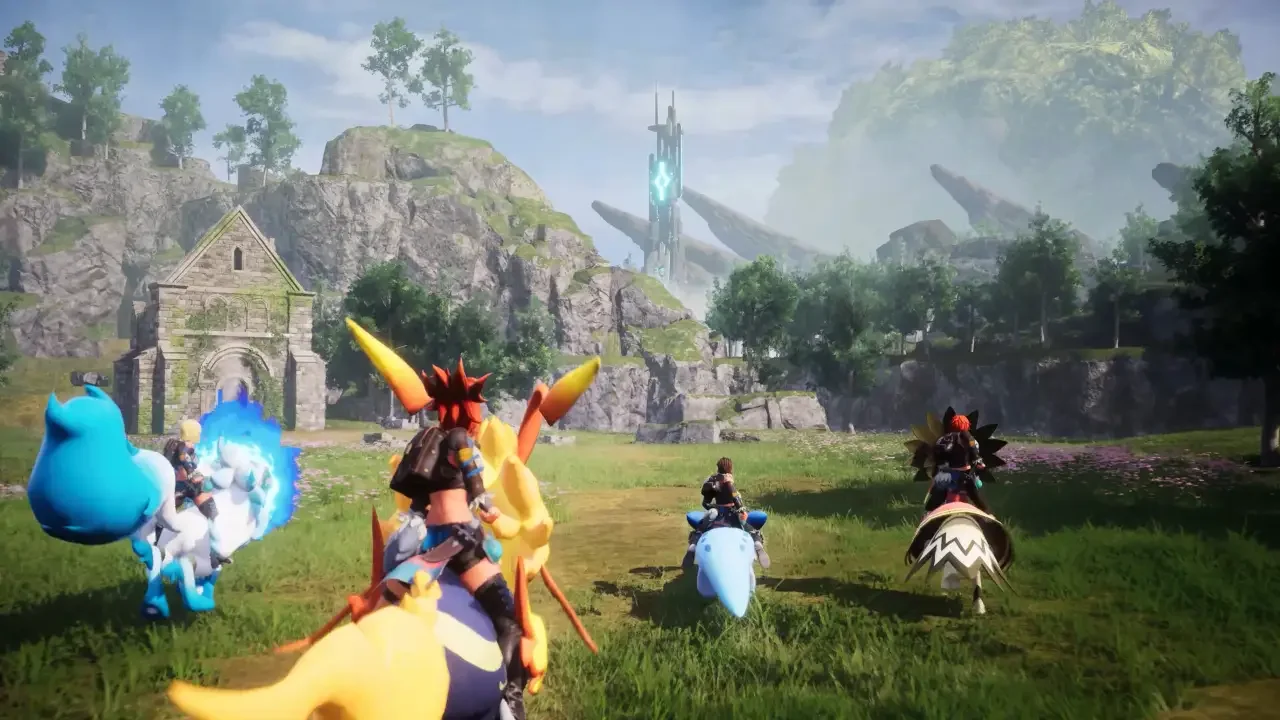
The game throws a massive checklist at you the second you spawn, and if you aren't paying attention, you'll end up doing everything the hard way. The tutorial walks you through setting up basic amenities, which gets you enough experience to unlock your early shields and armor, but it leaves out the actual survival tricks. The 1.0 update completely overhauled the sandbox, but the early game grind remains punishing if you don't know the exact shortcuts to take. I've spent enough time fumbling through the dirt to know that nobody needs to suffer through the default experience. Before you get frustrated and quit because you're carrying too many rocks, I put together a roadmap to get you past the initial misery.
Fix Your World Settings Before You Spawn
If you're playing solo or hosting a private world, you don't have to suffer through the default survival mechanics. The settings menu lets you completely strip away the most tedious parts of the grind so you can focus on the stuff that's actually fun. Before you even think about building a campfire, go into your world options and tweak these specific values.
Death Penalty: Change to "No Drops." Losing all your gear at the bottom of a dungeon just forces you to waste an hour running back to your corpse naked.
Time to Incubate Eggs: Set this to zero. Staring at a massive real-time timer for a digital egg to hatch is miserable.
Structure Deterioration: Set to zero. If you accidentally shoot a rocket at your own base or build outside the blue circle, your stuff won't crumble into dust.
Meteorite / Supply Drops: Lower the interval to somewhere between 15 and 60 minutes. The default three hours is way too long to wait for good loot.
Item Weight Rate: Turn this off entirely if you hate inventory management, or just lower it.
Exploit the Capture Bonus and Manage Your Stats
Leveling up unlocks your technology tree, which dictates your entire progression. Grinding levels by just killing random enemies is incredibly slow. Instead, you need to exploit the capture bonus mechanic. The game hands you a massive burst of experience for the first twelve times you catch a specific species. Don't just catch one Lamball and move on. Catch twelve of them, then twelve Cattivas, and keep chaining that bonus. You can check your progress simply by aiming a sphere at a wild creature; the HUD tells you exactly how many you currently own. Once you start dealing too much damage and accidentally killing things before you can catch them, equip a Ring of Mercy. It leaves targets at one health instead of flatlining them.
Every time you gain a level, you earn a stat point. Dumping points into Attack or Work Speed is a rookie mistake. You need to focus almost entirely on Weight and Stamina. The sheer volume of resources you transport during the early game is staggering. Stamina is equally vital for running, gliding, and climbing. Let your creatures handle the heavy lifting while you focus on maximizing your mobility.
Secure the Best Early Game Mounts
Walking across the map is painfully slow, so you need to secure traversal mounts the second their saddles unlock. For ground travel, ignore the basic boars and hunt down an Eikthyrdeer just west of the starting area. You can craft its saddle at level 12. It provides an excellent high-speed dash and a double jump that makes navigating cliffs trivial. Plus, it's a phenomenal woodcutter for your base.
For the skies, your earliest true flying option is the Nitewing. You can unlock its saddle at level 15. It isn't the fastest bird in the game, but it completely changes your exploration routes by letting you fly over the ocean. Before you get that saddle, grab a Celaray. Unlocking its gloves at level 7 turns it into a massive glider upgrade that makes moving around much smoother.
Assemble Your Combat and Mining Teams
You don't have to fight your battles alone. Head out into the starting hills at night and catch a Daedream. Once you craft its necklace, this dark spirit hovers around you and fires magic at whatever you attack without even needing to be summoned.
For early boss fights, Foxparks is an absolute lifesaver. You can scoop one up in the western fields alongside your Eikthyrdeer. Its partner skill turns the little fox into a handheld flamethrower that completely melts early game health bars, though you'll have to wait out a 100-second cooldown between uses.
Once you hit base level 10, you unlock the ability to build a second base. Find a spot with dense copper ore nodes and drop a new Palbox down. To make this base autonomous, you need creatures with a Level 2 Mining skill. The easiest one to grab early on is the Incineram. They usually live on the high-level volcanic island, but you can find a low-level one near the Windswept Island Watchtower. A Syndicate goon stands nearby and summons it to fight you. Wait for the beast to pop out, knock the goon out, and capture the Incineram. Drop a few of them into your new mining camp alongside a hot spring, and they'll mine ore and run your furnaces forever.
Map Markers, Effigies, and Incubation
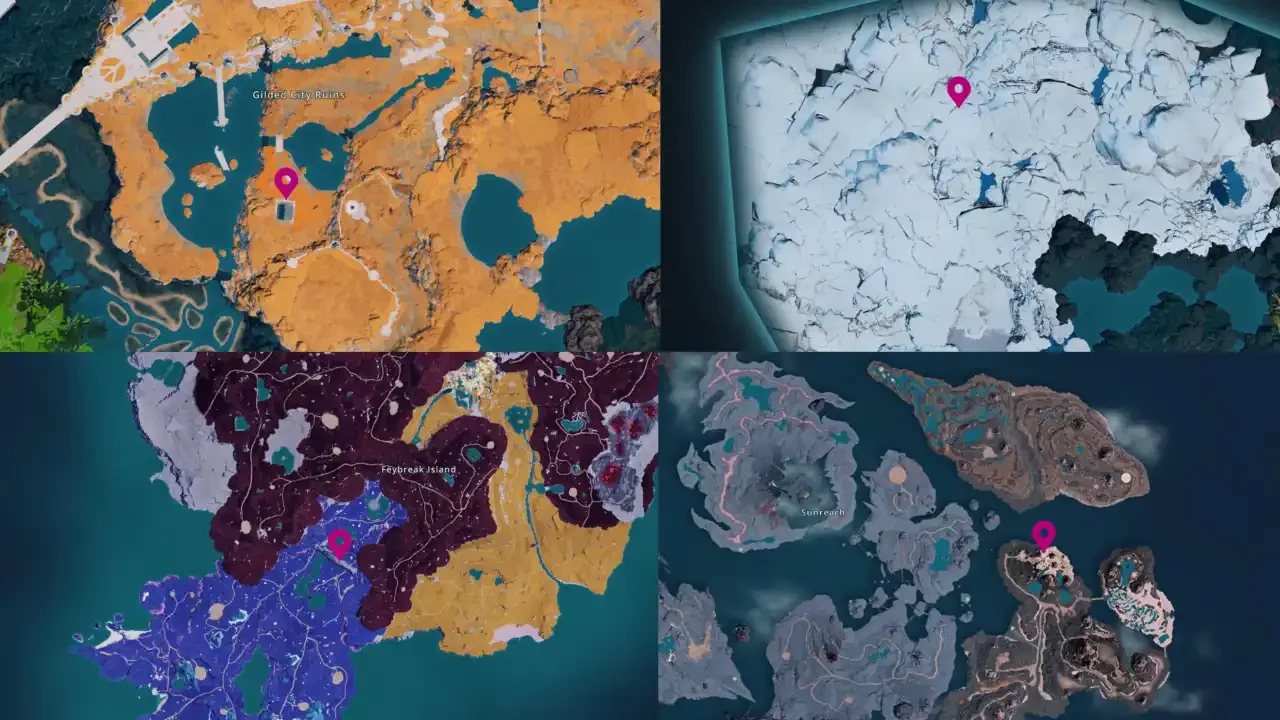
The game map is gigantic, and relying on your memory to find a specific dungeon entrance three days later is a terrible strategy. Use your custom map markers aggressively. Whenever you stumble across a dungeon cave, drop a marker. Dungeons cycle through active and inactive states, but their physical locations never change. You should also mark any dense clusters of ore nodes or Skillfruit Trees you find in the wild.
While you explore at night, keep an eye out for glowing green Lifmunk Effigies. Snagging these and offering them to a Statue of Power permanently increases your capture rate, which saves you a fortune in wasted spheres.
Finally, build an Egg Incubator as soon as you can. Finding random eggs in the wild and hatching them is a massive cheat code. I pulled a Tarantriss out of a random egg hours before I ever saw one in the wild. It completely broke the early game difficulty curve. Just make sure you save any weapon or armor blueprints you find in chests along the way. You can upgrade them all the way to legendary status once you unlock the Drafting Table, giving you the firepower you need to tackle the endgame challenges.