Palworld 1.0 Final Boss Guide: Surviving Zenara and Astralym
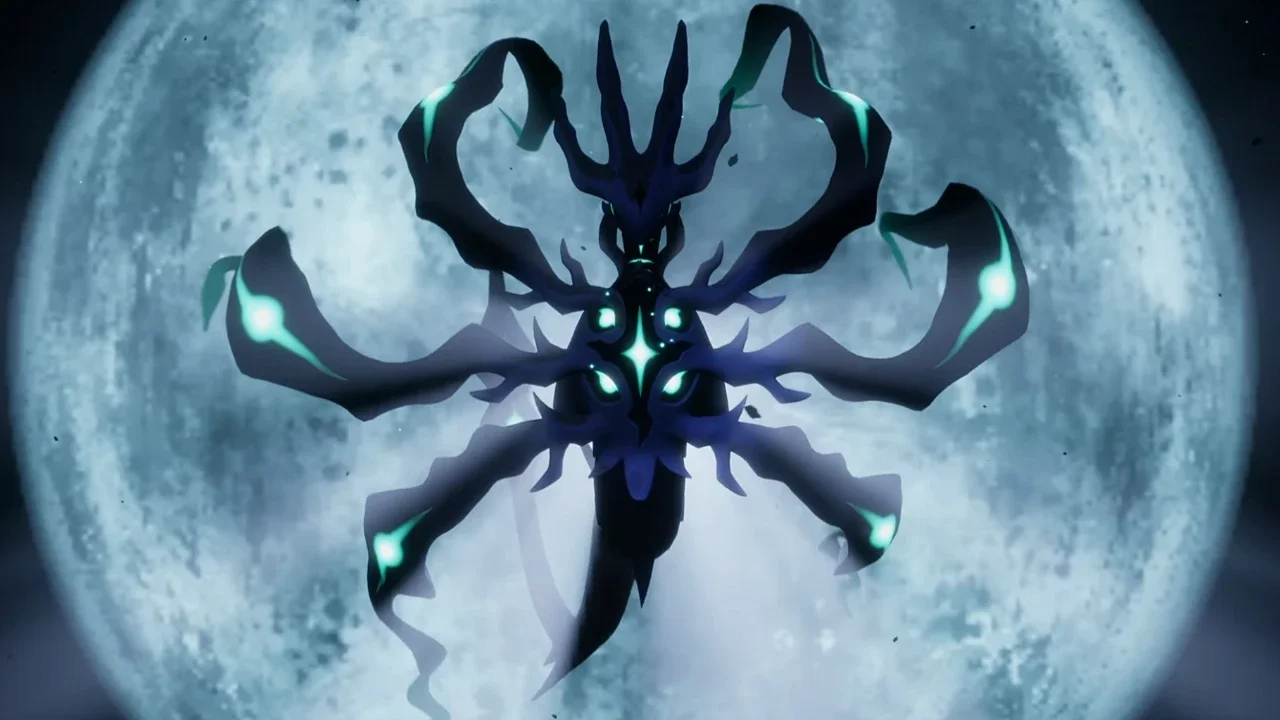
The final story encounter inside the World Tree is a strict Level 80 damage check that requires precise positioning to survive.
Breaching the Western Tower
You can't walk straight into the arena. Accessing the final encounter requires a specific sequence of objectives. Once you bypass the barrier and enter the World Tree region, track "The Sealed Calamity" in your quest log. The game points you toward three distinct mini-bosses located in the surrounding irradiated biomes.
Eliminating them yields Contaminated Cores. Take these items directly to the World Tree Core and insert them to break the seal. This opens the doors to the western tower. Astralym is entirely immune to capture mechanics. Don't throw spheres at it. Your only option is to drain its 420,000 health points to zero.
The Mandatory Loadout
Bringing underleveled gear into a Level 80 arena results in a fast respawn screen. You need equipment crafted specifically for mobility and burst damage.
Primary Firepower: Equip a Beam Launcher for maximum burst damage or a Plasma Rifle for sustained output. You need raw numerical damage to beat the final enrage timer.
Armor Selection: Wear Lightweight Ancient Armor. The fight demands constant dodging. Heavy armor severely limits your movement speed and guarantees you get caught in overlapping blast zones.
Defensive Accessories: Equip the Ancient Shield and Ancient Helm. Maximizing your base defense is necessary to absorb the unavoidable chip damage from homing projectiles.
Pal Roster: Astralym has zero elemental weaknesses. Fill your team with your highest stated attackers. Jetragon is the optimal choice for a mount, as its aerial speed allows you to cleanly evade the laser grids.
Phase One: The Homing Tendrils
The encounter starts the moment Zenara fuses with Astralym. The boss immediately fires a wide laser beam straight down the center of the room. Dodge to the outer edges of the arena the second the opening cutscene ends.
During the first half of the fight, Astralym uses six tendrils to fire homing projectiles. You can't simply sprint away from them. Wait until the leading projectile is inches away, then execute a scoped dodge roll to break the tracking logic.
The primary threat in this phase is an instant-kill charge attack. A warning pop-up flashes on your screen when Astralym plants its tendrils into the floor. You must focus all your weapon fire directly onto those planted tendrils to interrupt the sequence. Failing this specific damage check results in immediate death.
Phase Two: The Laser Grid
Pushing the boss below 50 percent health fundamentally changes the arena. Astralym replaces the homing projectiles with an overlapping grid of lasers. You have to weave through the beams while maintaining constant damage output. Fighting from the back of a fast flying mount makes navigating this grid significantly easier.
When Astralym drops to 30,000 health, it initiates a self-destruct sequence. The boss surrounds itself with violent energy tornadoes, completely cutting off melee range. The game gives you exactly 20 seconds to eliminate the remaining health pool. Empty your heavy weapons and trigger every active Pal skill off cooldown. If the timer hits zero, you wipe.
Shattering the boss grants five Ancient Technology Points and triggers the final story cutscene.