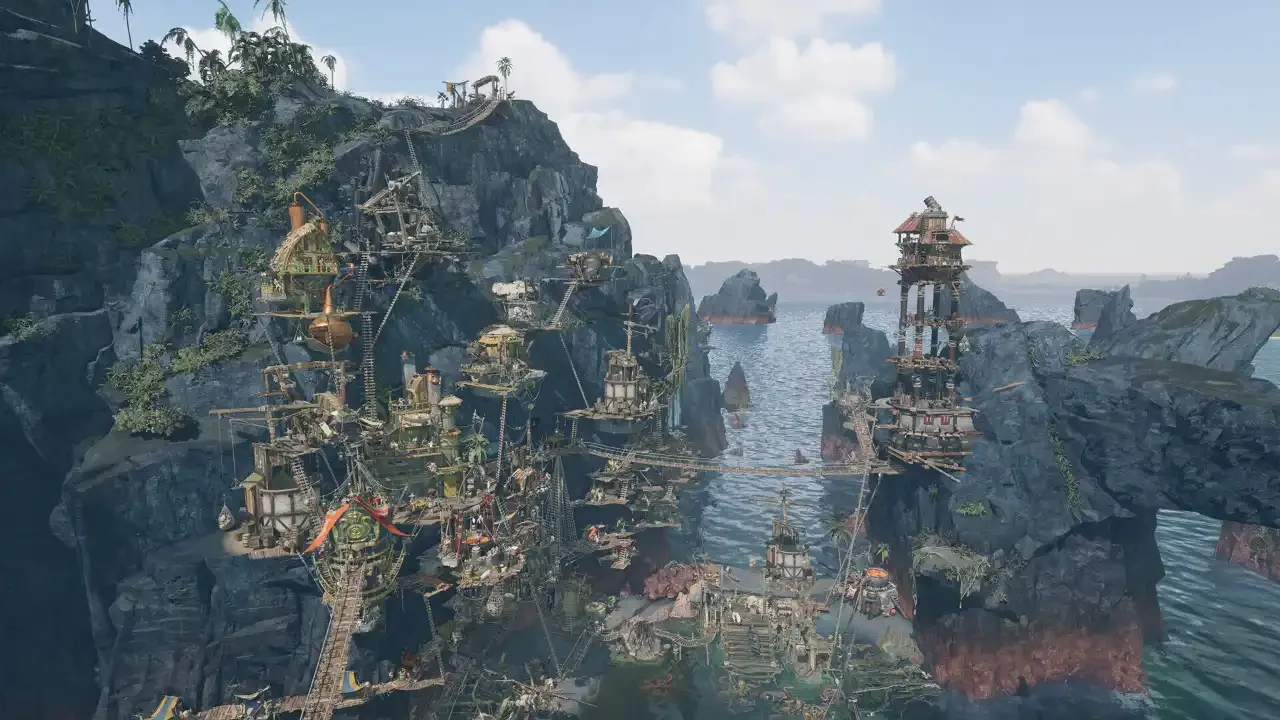
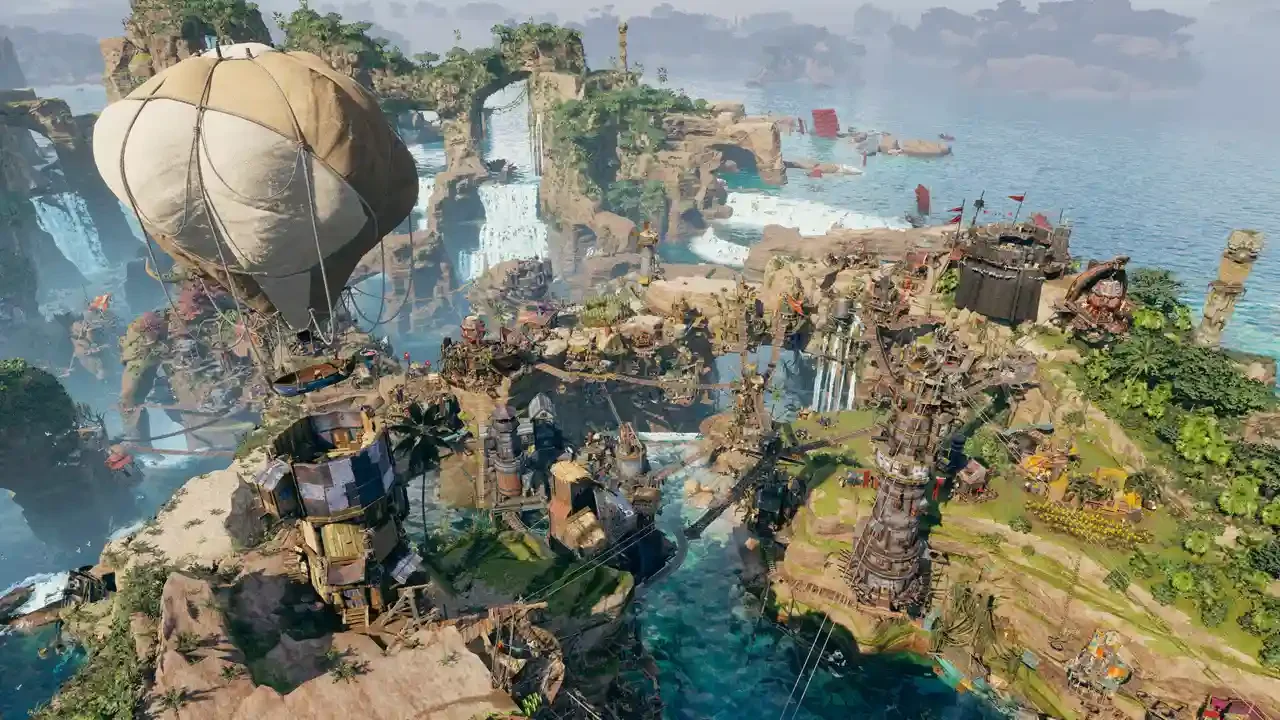
Planet Of Lana 2: Children Of The Leaf 100% Achievement Guide
The developers finally took pity on our collective sanity and completely removed the flawless run requirement.
If you played the first game, you probably have lingering trauma from trying to finish the entire campaign without dying to a random alien hazard. Planet of Lana 2: Children of the Leaf does not hate you. You can plummet off cliffs or get crushed by machines as many times as your heart desires and still walk away with a perfect completion screen.
This sequel is highly forgiving. If you want my unvarnished thoughts on the narrative and puzzle design, you can check out my Planet of Lana 2 Review. Right now, my only goal is to guide you through the digital trophy checklist so you can wrap this up in an afternoon. You are looking at roughly three to five hours of playtime depending on how often you stare blankly at the environmental puzzles.
There are zero missable achievements here. If you accidentally walk past a collectible, the main menu has a very generous chapter select tool that lets you drop right back into specific sub sections.
The Purrfect Petting Grind
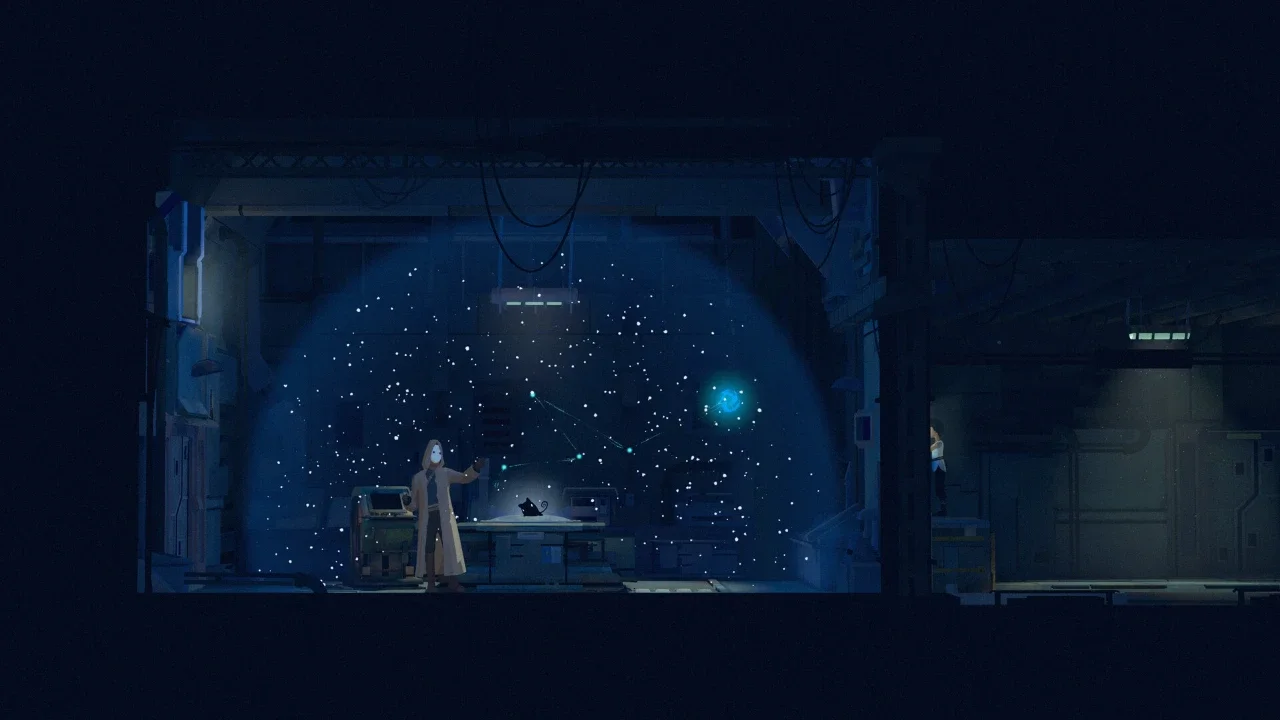
This is the only achievement that requires you to pay attention across the entire game. You get an achievement simply called "It Purrs!" for petting your alien companion Mui for the first time. The real challenge is the "Purrfect" achievement, which demands that you pet Mui in sixteen specific locations throughout the campaign.
The easiest way to track this organically is to look for the loading screens. Whenever you see a black screen with a small white running Mui icon in the bottom right corner, you have entered a new zone. Crouch down and interact with Mui immediately. Do not walk forward and risk triggering a cutscene.
If you just want the raw data, here are the exact sixteen moments you need to show some affection to your sidekick. Note that Chapters IV and VI are entirely excluded from this requirement.
Chapter I and II Locations
The Shipwreck: The game literally forces you to do this during the tutorial phase.
Tailo Forest: Pet Mui right at the start after Rakuen drops you off on the cliff leading to the village.
Tailo Village: Give Mui a pat as soon as the objective to search for healing seaweed begins.
Chapter III Locations
The Mountains: Immediately after Rakuen drops you off on the snowy ridge.
The Mountain Mine: Right after you descend the dark mine shaft and pop the "Finding a way down" story achievement.
Demoa: Right after the drop off on the rocky shore.
The Sunken Shipwreck: This one is tricky. You cannot pet Mui while inside the submarine device. Wait until you both exit the machine after moving the platforms to connect the electricity, then pet her immediately.
Chapter V Locations
The Ocean Rig: The moment you finally reunite with Mui.
Wemari Forest: Right after the forest clearing drop off.
Wemari Village: Do this right before you follow Orin into the settlement.
The Raid: Pet her right before you initiate the night raid on the forest drill tower.
The Attack: Pet her right before you step foot into Orin's attacked village.
Chapter VII Locations
The Wastelands: After you crash Rakuen's ship into that depressing robot junkyard.
The City: Pet her after sliding down into the grimy sewers beneath the city, or right after you trigger the "Utopia" achievement.
The Train: Just do it while the train is physically moving.
The End: The train will eventually stop and grant you "The secret base" achievement. Pet her right here. If you did everything correctly, the Purrfect notification will pop.
All Secret Hologram Locations
There are ten hidden holograms scattered across the planet. Some are tucked away in obvious alcoves, while others require you to backtrack or deliberately ignore the critical path. Collecting all ten will naturally unlock the individual achievements for each discovery alongside "The Secret Trail" achievement for grabbing the whole set.
Chapter I: The Shipwreck
After you leave the captain's quarters, you will stumble into a room with two massive hydraulic presses. Walk past both of them. You need to climb forward two separate times, then double back and jump onto the top of the final hydraulic press. This path leads you directly out of the shipwreck and right into the first hologram.
Chapter III: The Mountains
You will start climbing inside a damp cave. The game clearly wants you to go up toward a windy ravine that threatens to blow you off the ledge. Ignore that path. Walk forward along the lower edge of the cliff instead and drop down onto the hidden ledge below.
Chapter III: The Mountain Mine
This one requires zero effort. Literally moments after you descend into the mountain mine, turn to your right and jump. The hologram is sitting inside a tiny, illuminated alcove.
Chapter III: Demoa (First Hologram)
Survive the underwater section with the two electric sharks keeping watch. Bring Mui over and tuck her safely into the flower pod. Dive back into the water and navigate the underwater cave. Hug the left side of the rocky undercliff closely. When you resurface on the other side, pull yourself onto the left ledge. The collectible is sitting on the rocky beach.
Chapter III: Demoa (Second Hologram)
You will reach an oil rig platform and deal with a sliding elevator puzzle monitored by a red security camera. Take the elevator up, but do not walk left toward the submarine. Turn around, jump across the floating platforms, and land in the open green space at the far end to claim your prize.
Chapter V: Wemari Forest
You will find yourself in an annoying area filled with floor spikes and a beehive that relentlessly shoots projectiles at you. Use the hanging rope to swing across the gap, then climb up the glowing mushrooms attached to the wall. Jump onto the right ledge, then immediately launch yourself toward the top left corner of your screen. There is an opening hidden in the rock face that leads to a small cave containing the hologram.
Chapter VII: The Wastelands
Use the flying bot to carry Lana and Mui across the swampy terrain. You will eventually climb a rope and encounter the first spider robot of the chapter. Do not engage it yet. If you look closely, you can see the hologram hiding underneath the platform you are standing on. Backtrack slightly, crouch down near the two busted robot carcasses, and crawl into the hidden space.
Chapter VII: The City (First Hologram)
Survive the second massive ink fish underwater labyrinth. When you reach the platform that elevates you to the city rooftops, look for a ledge on the left side. Walk forward, press your character model flush against the wall, and crouch. The wall will reveal a hidden opening with the hologram inside.
Chapter VII: The City (Second Hologram)
You will descend into the sewers and ventilation shafts directly beneath the city rooftops. Look for a distinctly bright area. Drop down from the platforms and walk as far left as the game allows. You will reenter a sewer pipe that dumps you into a hidden room holding the ninth hologram.
Chapter VII: The End
You have to complete a massive puzzle involving a moving cube and magnetic platforms carrying rocks. Once that is done, hop onto the conveyor belt and dodge the red security lights. Before you leave the area, jump back to the spot underneath the belt where Mui was helping you. Drop down the interior ledges to find the final hologram.
The Unmissable Story Trophies
The rest of the list is entirely padded out with mandatory story progression. As long as you keep walking to the right and solving puzzles, you will earn all of these naturally.
You get achievements for discovering the captain's quarters, taking control of an Ink Fish for the first time, and piloting a Roller. Finding your way into the mountain and locating the three crucial ingredients for the cure are also scripted events. Waking up, finding the secret base, and reuniting with Mui are impossible to miss.
Once you finish the story, scoop up the holograms, and pet Mui a highly specific amount of times, the "100% Complete" achievement will pop. You can now safely uninstall the game and reclaim your hard drive space.