Survival 101: Mastering Tools and Resources in Quarantine Zone: The Last Check
Separating the living from the dead is only half the battle; the other half is making sure the living don't kill you because you ran out of canned beans.
I’ve seen plenty of players get the "perfect day" in inspections only to have their entire save file go up in smoke because they forgot to order fuel or let their quarantine cells turn into a literal buffet for the infected. In Quarantine Zone: The Last Check, your checkpoint is a living organism. If you don't feed it, power it, and manage your gear with surgical precision, the "good guys" behind your gate will be the first ones to tear it down.
The game is surprisingly punishing when it comes to resource management, and the UI doesn't always play nice, especially if you're rocking a non-standard keyboard or wondering why your syringe scanner just ate half your budget. I’ve broken down the essentials so you can move past the "how do I play" phase and actually start surviving.
The Tool Priority Guide: Don't Waste Your Budget
You have a toolbox full of gadgets, but using them all on every survivor is a fast track to bankruptcy and a very long line of angry people. You need a workflow that filters out the obvious cases first.
Start with the Freebies
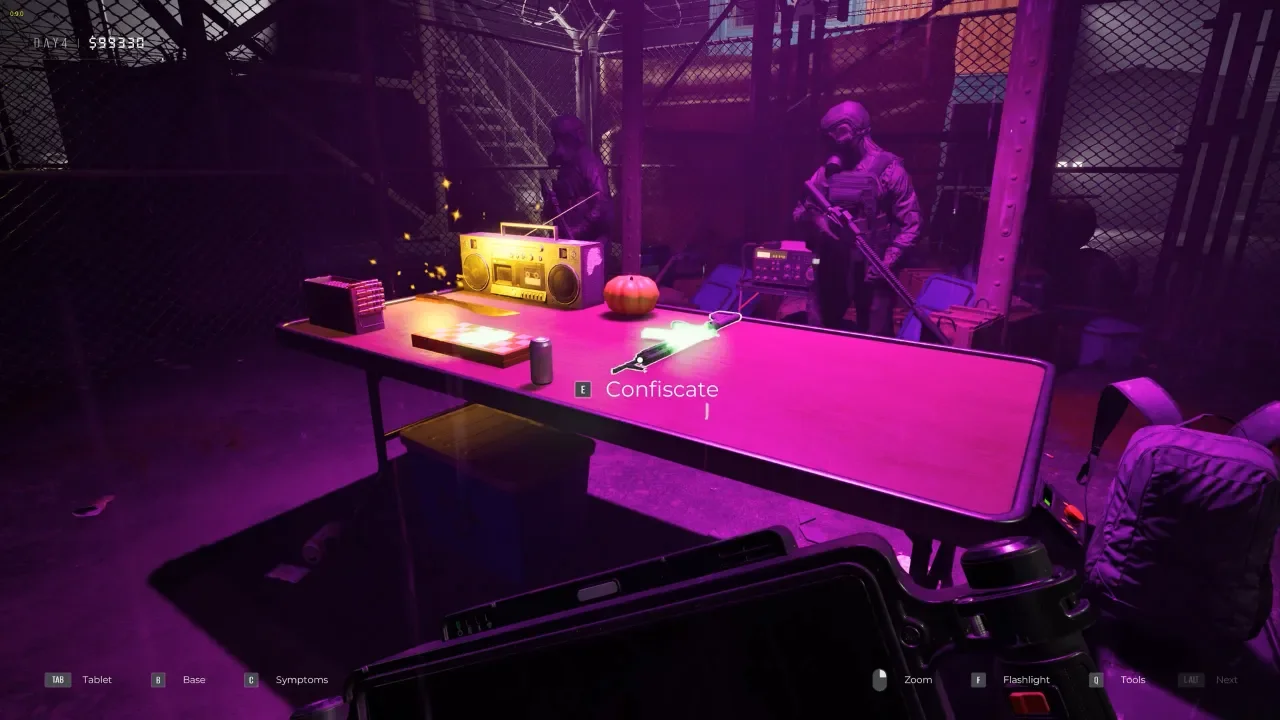
Your Scanner and your Stethoscope are your workhorses. Point the scanner at their face for eyes, then hit the UV mode to check for hidden bites. If the scanner doesn't show a smoking gun, move to the stethoscope. These don't cost you a dime to use and will filter out 80% of the terminal cases.
The "Ambiguity" Solvers
The Thermo-Pulse-Meter and the Reflex Hammer are for the ones who look "okay" but act twitchy. If their vitals are slightly off, they go to the block. The Syringe Scanner is the nuclear option. It gives a 100% definitive "Infected" or "Clean" result, but the materials are ridiculously expensive. Only use this if you have someone with conflicting symptoms and you’re desperate to reach your evacuation quota for the day.
Managing the Quarantine Zone: The 24-Hour Rule
The quarantine cells are your safety net, but if you treat them like a long-term hotel, you’re asking for a riot. You start with four beds, and you need to keep them rotating.
Check-in and Check-out
When you send a "Possible Infected" to a cell, the clock starts ticking. You must re-examine them within 24 hours. Some survivors will actually recover, their fever breaks, or that cough turns out to be just dust. Others will deteriorate. If you leave someone in there for more than two days and they turn, they will attack everyone else in the quarantine zone. I’ve lost potentially healthy workers because I left a "cougher" in a cell with a ticking time bomb.
Resource Ordering: The 30% Rule
Your survivors consume food, fuel, and medical supplies every single day. If any of these hit zero, your base falls into chaos. Riots trigger almost instantly when the kitchen goes dark or the heaters stop working.
Never Wait for the Warning
The golden rule is the 30% Rule. Check your tablet’s resource tab constantly. The moment you see food or fuel dip to 30%, order a shipment. Bulk orders take time to arrive and they are expensive. Smaller, frequent purchases are easier to manage than waiting until you're at 5% and realizing the delivery truck won't make it before the morning riot starts.
Control Fixes and the Gacha Grind
If you’re playing on an AZERTY or left-handed setup, the game can be a literal pain in the ass. The demo was notorious for this, but in the full version, you can rebind most keys in the settings menu. However, be warned: the Drone controls for the defense segments are often hard-coded. If you get stuck, use the table below to see the defaults so you can map around them.
Dealing with the Hats
The "Gacha" hat machine is more than just a cosmetic gimmick, it’s the only thing that keeps your soul intact in this miserable world. You use the Skull Tokens you earn from finding infected to roll for new headgear for your helpers. To navigate the machines, use your mouse wheel or grab the tiny grey scroll bar at the bottom. It’s janky, but seeing a helper in a bunny hat while he liquidates a zombie makes the grind worth it.
Got a hot take on this? I know you do. Head over to r/neonlightsmedia to discuss it.
