Romeo Is A Dead Man: The Complete Guide to Bastard Cultivation and Fusion
You can’t survive the apocalypse alone, so you might as well grow some ugly, violent friends in a garden.
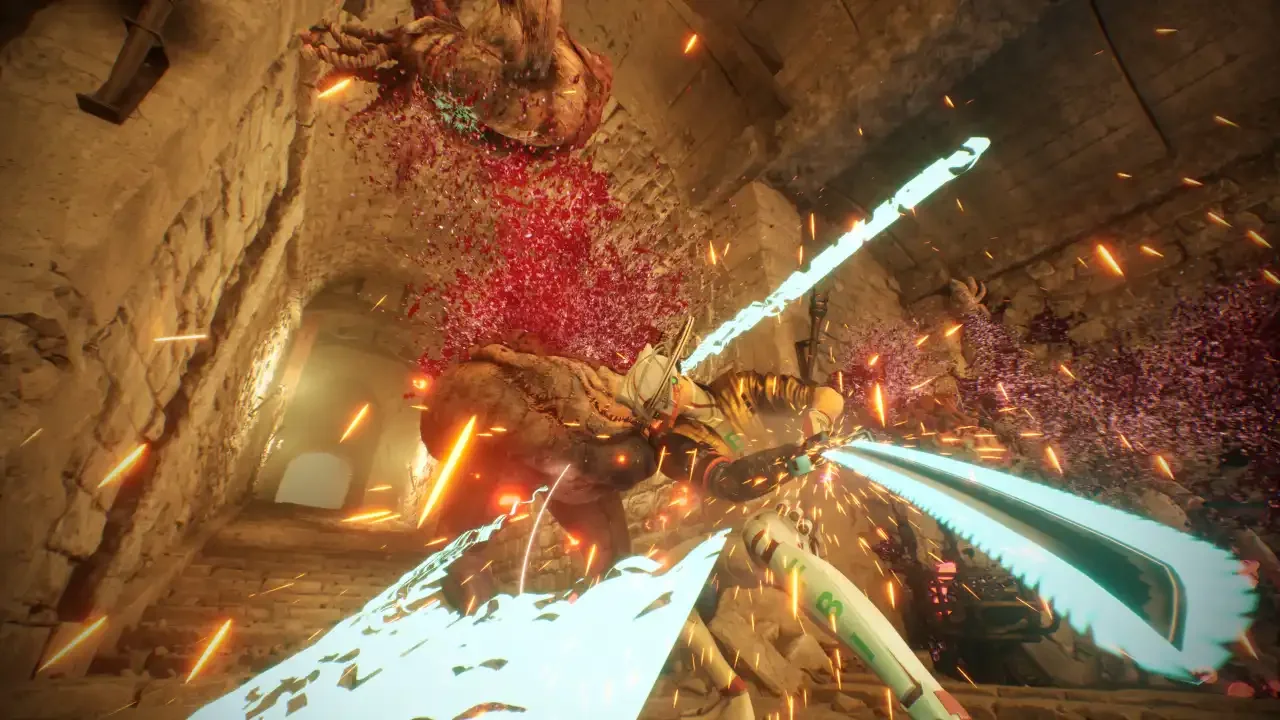
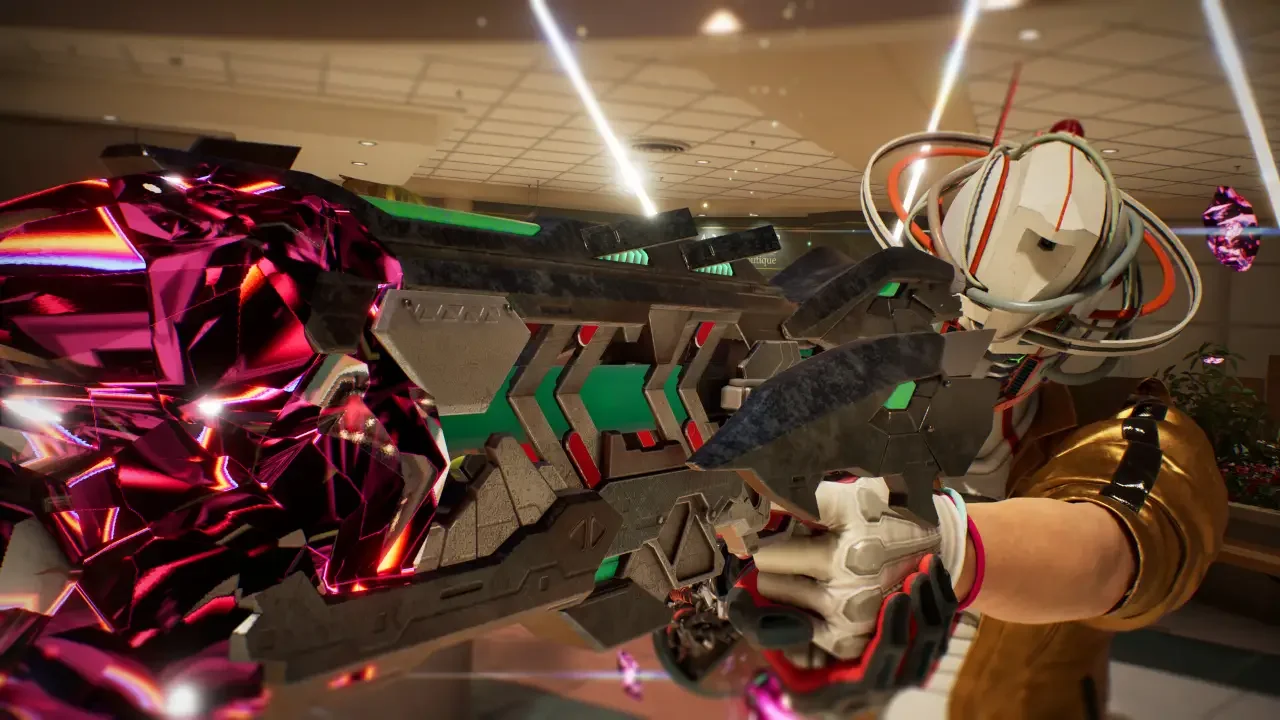
Most games give you a skill tree or a dusty scroll to learn new magic, but Romeo Is A Dead Man decides to get weird with it. You don't learn spells here. You act like a deranged farmer, planting seeds in a spaceship garden to grow "Bastards"—zombie-like summons that fight for you. It’s a strange system that feels like a mobile game crashed into a console action RPG, but if you ignore it, you are going to die. A lot.
I spent way too much time staring at soil plots and experimenting with Luna’s fusion mechanics to figure out how this actually works. The game doesn't hold your hand, and if you just plant random seeds, you’re going to end up with a pocket full of trash common summons when you could have had a Legendary nuke.
Here is how to cultivate, harvest, and fuse every single Bastard in the game.
The Basics of Bastard Farming
Before you start worrying about high-tier fusions, you need to understand the loop. You find seeds, you plant them, and you wait. It sounds boring, but the combat payoff is worth the headache.
You get seeds in three ways:
Violence: Killing enemies. They drop seeds. You walk over them. Simple.
Exploration: Some treasure points are seeds instead of Sentreys.
Commerce: You can buy them from Shiroyabu in the library. His stock gets better as you progress, so check back often.
Once you have the seeds, you have to take them to the garden on the Space-Time Ship (the Last Night hub). Head down the right-hand hallway and talk to Luna. She’s your gateway to power.
When you plant a seed, it takes 10 real-time minutes to ripen. Yes, actual minutes. When the blue hand sticking out of the dirt turns red, it’s ready. You can harvest it immediately, or spend Emerald Flowsion to speed it up if you are impatient. Honestly, just wait the ten minutes. Go make a sandwich or organize your inventory.
Mastering Fusion
This is where the game actually gets interesting. You shouldn't just rely on the seeds you find on the floor. The best Bastards in the game—the Epics and Legendaries—are locked behind Fusion.
Fusion consumes two "parent" Bastards to create a new seed. The massive benefit here is that fusion seeds ripen instantly. No ten-minute wait timer. You fuse them, you plant them, you pluck them.
There are two rules you need to know:
Same-Type Fusion: If you fuse two of the exact same Bastard (like two SentryCannons), you just get a stronger version of that same Bastard. Better stats, but no new toy.
Recipe Fusion: If you fuse specific different Bastards, you get a completely new species.
This is the only way to get the Legendary tier allies. You cannot find them in the wild. You have to build them.
The Complete Bastard List & Fusion Recipes
I’ve compiled every Bastard I found, sorted by rarity. If it requires a fusion, the recipe is listed. If it says "Seed Drop," you just have to hope the RNG gods are smiling on you or buy it from Shiroyabu.
Why You Can't Ignore The Garden
I know what you’re thinking. You just want to slash zombies, not play generic farming simulator 2026. But the difference between struggling through a level and absolutely owning it is usually your Bastard roster.
Early in the game, you should focus on getting a HealingSpire. The passive health regen is a lifesaver when you are still learning the parry windows. Once you get deeper into the ship, try to rush the Nosferatu fusion. It hurts enemies and heals you, which is just efficient multitasking.
The Legendary Bastards are flashy, but don't sleep on the Epics. FrostBolt (Epic) is arguably more useful than some Legendaries because freezing an enemy completely stops them from attacking, giving you a free window to unload your combos.
Ultimately, you need to treat the garden as part of your loadout. Swap your Bastards based on the enemies you are fighting. If there are birds, bring the SentryCannon. If there are tanky enemies, bring WeakenFlower. If you just want to watch the world burn, fuse a Gozu and let them kill each other.
