Slay The Spire 2 Doormaker Boss Guide: How to Evict Act 3's Biggest Coward
Getting killed by a boss that keeps running away and hiding behind rocks might be the single most humiliating way to lose a good run.

The Doormaker doesn't fight like anything else in Act 3. Instead of standing still and trading hits, he hides behind a barrier, takes a few shots, buffs himself, and retreats through a portal to do it all again, each cycle worse than the last. Runs built around heavy block and slow-burn stalling tend to fall apart here specifically, since the fight is designed around a compounding timer rather than a straight damage race. Anyone still working out the general pacing of the late game should look at my beginner's guide before running into this one, since the habits that get punished here are pretty fundamental ones.
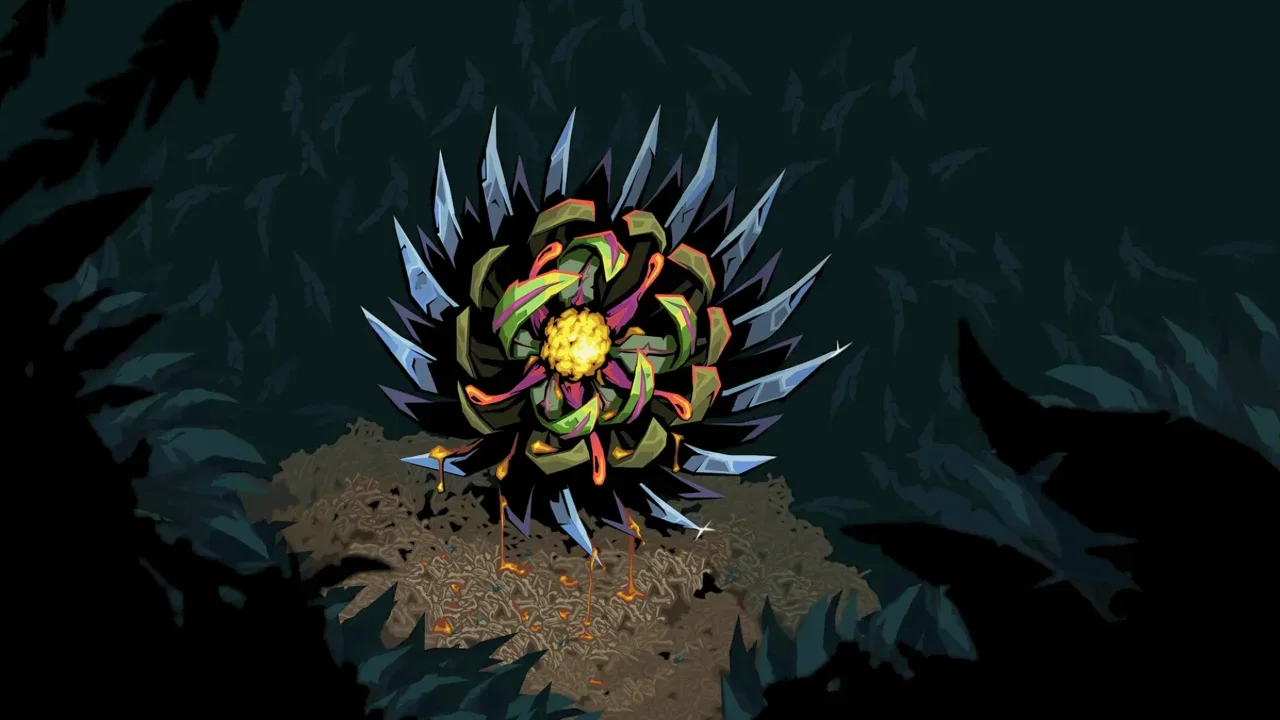
The Rocks Aren't the Real Fight
Every encounter opens with a floating barrier of stone the game calls a Door, sitting at 155 HP and hitting for around 20 damage a turn on its own. That's manageable in isolation. The actual danger is the clock underneath it: if the barrier survives to turn three, it permanently gains 3 Strength, and that buff carries through the rest of the fight. Every point of Strength banked here means the real boss hits harder once he actually shows up, so the correct read on this opening isn't "survive the rocks," it's "kill the rocks in two turns or start losing the fight before it's even begun." A deck built around slow setup pieces struggles badly against this specific check, and building toward something more frontloaded is worth a look at in my Ironclad guide if that's the kind of deck that's missing.
One Free Turn That Decides Everything
Breaking the barrier reveals the actual boss, a face stuck halfway through a torn portal, and for exactly one turn he does nothing at all. That single stunned turn is the most important moment in the entire encounter. There's no reason to spend it on block. Every point of energy should go into damage, potions included, since this is the one guaranteed window where nothing's coming back. If a friend's along for the run, this is also the moment to sync up and dump both characters' hardest hitting combos at once, since a shared stun window like this doesn't come around twice.
The math shifts hard right after that. Turns two and three bring real retaliation, 30 or more damage a swing, and this is where the plan flips entirely to survival. Block what's coming, absorb whatever leaks through, and just get through it. At the end of his third turn he tacks on another 3 Strength and retreats back through the portal, and a fresh barrier of rocks drops in to restart the whole cycle.
Why the Second Loop Is Worse Than the First
This is the part that actually kills runs. The new barrier comes back at full 155 HP, but it keeps every point of Strength gained in the previous phases. That means the rocks hit harder on the second loop than the boss himself did on the first, and if that barrier survives to turn three again, it stacks yet another 3 Strength on top. By the third full cycle, incoming damage climbs to numbers that block alone can't reasonably keep up with.
That's the entire reason endurance-focused decks lose this fight specifically. There's a genuine ticking clock here. If a deck can't close things out by the second or third time the boss's face appears, the escalating math simply outpaces whatever defense is on the table.
The Counter That Trivializes the Whole Fight
Status effects that stack over time have a specific advantage here that isn't obvious at first: they carry through the portal retreats. Poison stacked on the boss stays on him even when he pulls back into hiding, which means a Silent deck or a Poison-focused Regent build can spend the barrier phases just breaking rocks while the boss quietly bleeds out in the background, unseen. By the time the barrier's down and he's forced back out, a good chunk of his health is already gone before a single attack's been thrown at him directly.
Without that kind of setup, leaning on the inventory becomes the fallback plan. This is not a fight worth saving potions for. Whatever's been stockpiled through the run, strength potions, firebombs, all of it, is worth spending here rather than carrying it forward to nowhere. There's no bonus for finishing with a full health bar. Taking a 30 damage hit is a fair trade if the energy that would've gone to blocking it instead secures the kill a turn sooner. The whole fight is built to pressure defensive instincts while the numbers quietly get worse behind the scenes, and the actual answer is to occasionally ignore that instinct entirely and just end it.