Slay The Spire 2 Insatiable Boss Guide: Escaping The Sandpit
A full health bar and a mountain of block mean absolutely nothing the moment this fight's timer hits zero.

The Insatiable doesn't care about your stats. It's built around a countdown that kills outright once it reaches zero, no matter how tanky or well-defended the character standing on that sand happens to be. That single detail changes what this fight is actually testing. It's less a combat encounter and more an audit of deck consistency, and it exposes bloated, unfocused decks harder than almost anything else in Act 2.
Two Threats Running at the Same Time
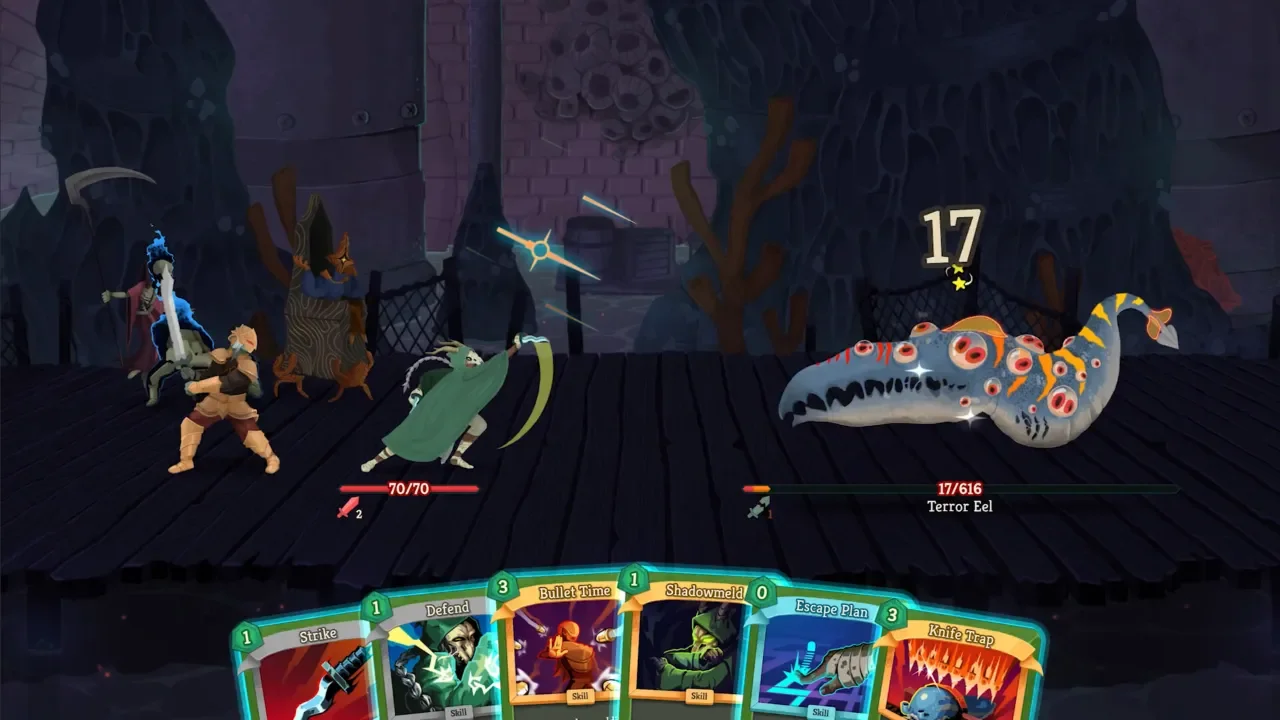
The Sandpit timer starts at 4 and drops by 1 at the end of every turn, with zero meaning instant death regardless of remaining HP or block. The only way to push it back is playing one of six Frantic Escape cards the boss shuffles into the deck at the start of the fight, each one costing energy to play in exchange for adding a turn back onto the clock.
That alone would be manageable if the worm weren't also fighting normally on top of it. Its attack pattern cycles through a permanent Strength buff, a standard hit, then a heavier hit, then another buff, and because that Strength gain never resets, every cycle through the pattern hits harder than the one before it. Surviving this fight means managing the timer and the escalating damage at the same time, and neither problem waits for the other to be solved first.
Why This Fight Is Really a Deck-Thinning Test
It's tempting to chalk a bad run here up to unlucky draws, watching a full health bar die because the right card never showed up feels like pure RNG in the moment. It usually isn't. The boss hands over exactly six Frantic Escape cards, a fixed number regardless of deck size, which means the odds of drawing one in time depend entirely on how bloated the rest of the deck is. Six escape cards buried in a 40-card pile of half-considered picks are going to sit at the bottom of the draw order when they're needed most, and that's a deckbuilding problem, not bad luck.
The fix starts well before this fight ever begins. Skipping card rewards that don't serve an actual win condition and using merchants to strip out basic Strikes and Defends throughout Act 1 and Act 2 keeps a deck lean enough that those six escape cards actually show up when the timer's running low. My Ironclad guide goes into keeping a deck tight if that's a habit still being worked on. A total card count sitting around 20 is the range where drawing an escape card in time stops being a coin flip and starts being a reasonable expectation.
Spending Energy Without Starving Either Side
Drawing the escape cards is only half the fight. Playing them costs energy, and every point spent pushing the timer back is a point not spent on damage or defense, which turns the whole encounter into a constant balancing act rather than a simple checklist.
Playing every escape card the instant it's drawn isn't actually correct either. If the timer's sitting comfortably at three, holding that card back and spending the turn's energy on setup or offense instead is often the better call, since burning it too early just means needing another one sooner. Exhaust mechanics deserve extra caution here too. Several strong cards exhaust random cards from the hand as a side effect, and accidentally losing a Frantic Escape card to one of those effects is a permanent turn lost off the clock with no way to get it back. Anyone running a heavy card-manipulation deck, the kind covered in my Defect guide, needs to prioritize consistent draw specifically so the hand keeps refreshing with escape options rather than accidentally cycling past them.
Closing the Damage Race Before It Closes on You
None of the above matters if the worm's own damage output is left unaddressed, since perfectly managing the timer forever still ends in a loss once its Strength scaling reaches numbers that can't realistically be blocked. Stalling isn't a real strategy here. The fight has to end.
That means prioritizing burst over patience. Cards that scale Strength quickly, Inflame among them, pay off fast enough to matter within this fight's timeframe, and heavy hitters like Stomp or Hellraiser are worth committing to specifically during the turns the boss spends buffing itself instead of attacking. Pyre is worth a specific mention as a support piece, generating extra energy that makes it possible to land a heavy attack and still afford a Frantic Escape in the same turn rather than having to choose between them.
What Clearing It Actually Unlocks
Getting through this fight transitions the run into the Glory act, along with 110 gold, an attack potion, and a rare card draft. More importantly, it opens an audience with the Ancient Tank, who offers a choice between three powerful relics, a decision that tends to shape the rest of the run more than almost anything else in Act 2. Worth having my best relics guide open when that choice comes up, since picking the wrong one here is a quieter mistake than dying to the sand, but one that compounds just as much over the final act.
This fight rewards exactly the habits that make the rest of a run stronger anyway: a thin deck, careful energy spending, and enough damage to actually close things out. Respect the timer, keep the deck lean, and the worm stops being an execution and starts being just another boss.