How to Farm 5-Star Weapons Fast in Splatoon Raiders
Getting a Primo 5-star weapon in Splatoon Raiders comes down to one simple truth, put yourself in front of the toughest Salmonids you can find and keep doing it.
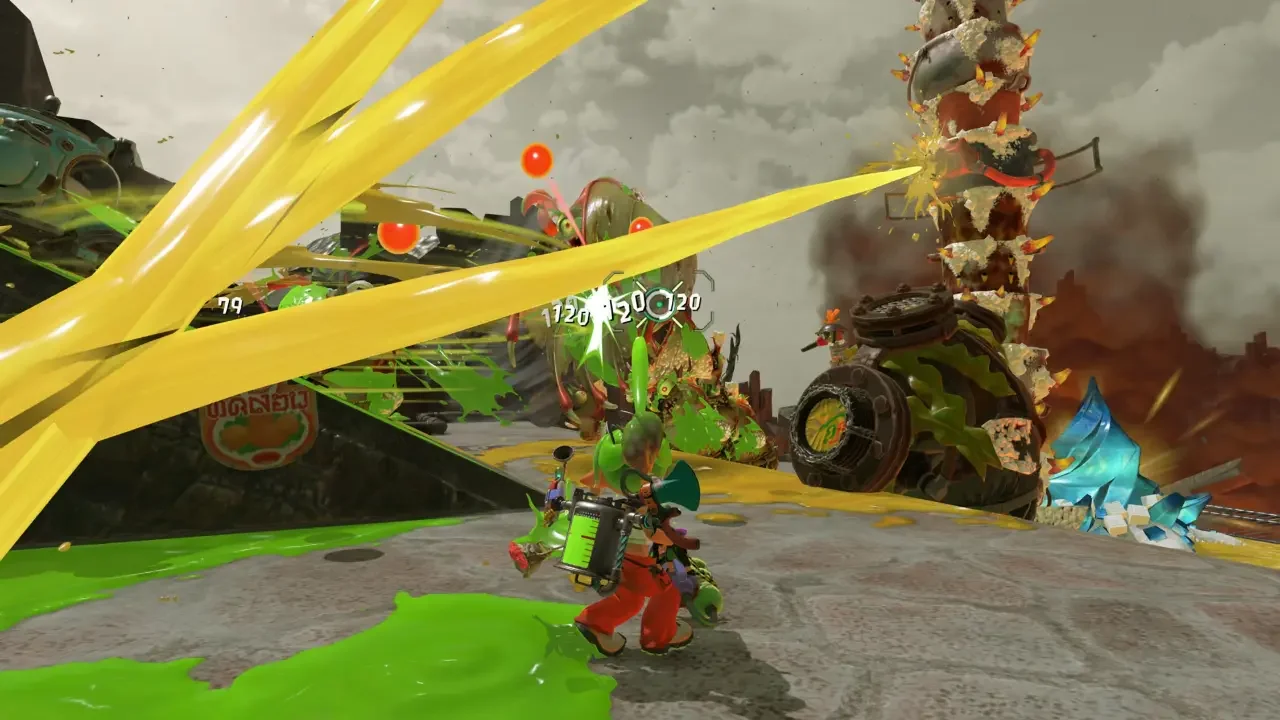
Why High-Level Salmonids Matter So Much
Rarity in this game scales with danger. Boss and seasoned Salmonids at high levels carry noticeably better odds of dropping 5-star gear than anything on an easier setting, so the whole strategy comes down to finding spots where those tougher enemies show up in bulk and looping them efficiently.
Two main options are worth focusing on once you're deep into the post-game, plus a third, more technical route some players have gotten creative with.
Bottomless Buffet
This unlocks once the campaign's done and the Fischflak, Smoksam, and Myunyere Hidden Ruins are cleared with all three tanks. From there, it opens into a run that gets progressively rougher the deeper you go, stacking boss and seasoned Salmonids more densely the further down you push.
The smart move isn't grinding from the top every time. Find the deepest floor that's still consistently clearable, then settle in and repeat it. Drop quality tends to improve the further into the Buffet you get, so it's worth pushing depth before settling into a farming loop rather than staying shallow and safe.

Super Spicy Raids
Lintle Inlet on Super Spicy works a little differently, since it's built around mining crystals through egg collection rather than clearing waves outright. What makes it good for farming is the respawn rate, high-level boss and seasoned Salmonids keep reappearing over time, so there's no real ceiling on how long a single run can stretch. The approach is simple, move from crystal to crystal, mine each one, and keep going until it's time to call it.
Worth knowing going in, the Level 80 Salmonids here hit hard. If a run feels like it's chewing through resources faster than it's paying off, spending more time in the Bottomless Buffet first tends to smooth that out before circling back.

The Awlmun Den Skip
There's a faster, more technical route too, running Awlmun Den on Super Spicy with a skip that clears the whole thing in around 25 seconds when it's set up right.
What's Needed
Equip the Speed Tank with the Jump Bomb gadget, then develop the Double Trouble gadget part and attach it before heading in.
Running the Skip
Swim forward until positioned just beneath the platform holding the Stingers. Call the bot to that spot with X, then pull off a Bot Hop. While airborne, press X again so the bot jumps up to meet you, followed by a midair Bot Hop. From there, using the Jump Bomb gadget twice lands things up on the platform with the Stingers, and shooting the balloons finishes the Salmonids off.
It takes a bit of practice to land smoothly, but once it clicks, it turns into one of the fastest repeatable loops in the game for gadget parts, Salmonid materials, and the occasional 5-star weapon riding along. Getting comfortable with Speed Tank gadgets first makes the whole thing click a lot faster, and our full tank breakdown covers exactly what that tank's built around.
Why 5-Star Weapons Are Worth Chasing
Beyond rarity, there's a real mechanical reason to want these. 5-star weapons can be upgraded up to ten times, double what lower-rarity gear caps out at, and Primo versions push past even that ceiling. Over a long post-game grind, that gap adds up fast, a 5-star sitting near max upgrades outscales a lower-rarity weapon by a wide margin no matter how much time's gone into the weaker one.
A Word on RNG
Even with the best spots dialed in, drops don't come guaranteed. They're rare by design, and it's completely normal to sink a long stretch of time in before the specific weapon actually shows up. I've watched people end up with two pages of 5-stars and still not have the one they actually want, which about sums up how this whole system behaves. Higher-level content does seem to nudge the odds in a better direction, characters around level 30 and up tend to see 5-stars a bit more regularly, but there's still a real element of chance running underneath it all. Treating it like a numbers game rather than something with a fixed finish line makes the whole grind a lot easier to sit with.
Farming solo can wear thin after enough repeat runs, and bringing a friend or two along tends to make the repetition move faster without costing anything in terms of odds.