Timberborn Tips: Things I Wish I Knew Before My First Colony Dried Up
One of the worst feelings in this game is watching a countdown timer tick down to your first drought while knowing your water tanks are completely empty.
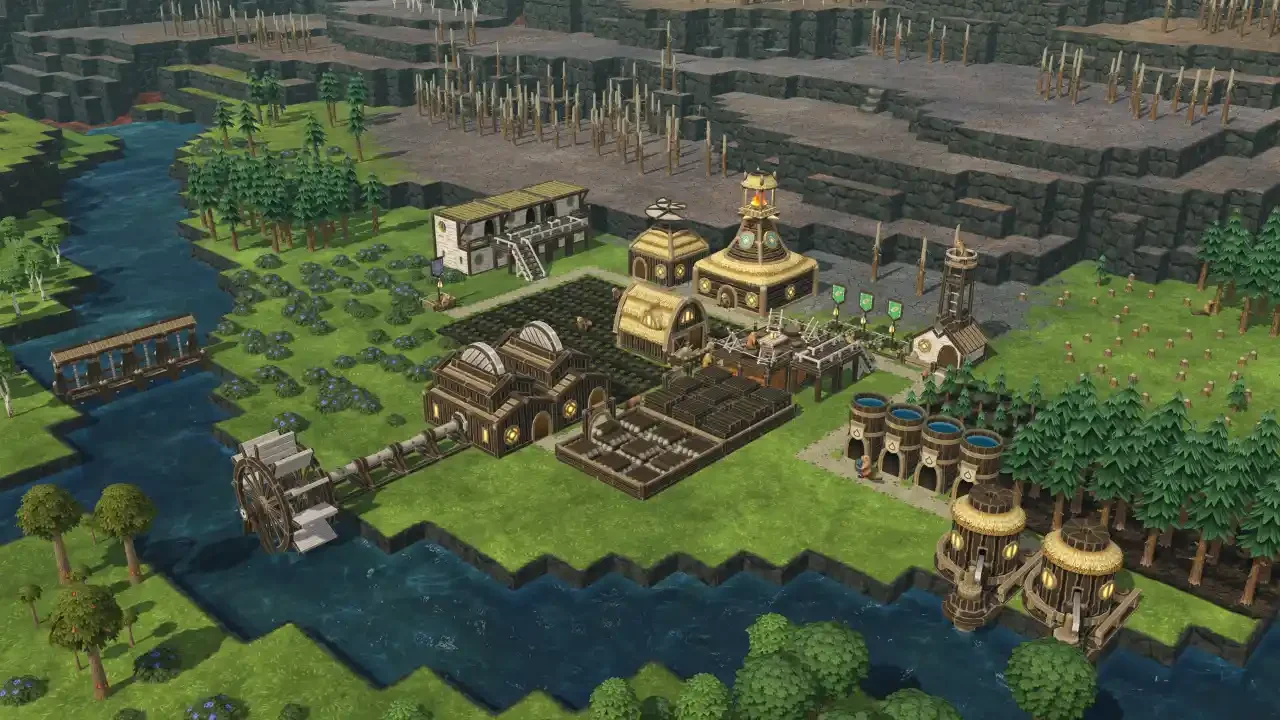
Timberborn drops you into a post-apocalyptic world where humanity has managed to completely wipe itself out, leaving the earth to be inherited by highly industrious, wood-chewing rodents. The aesthetic is incredibly charming. You watch these little guys build water wheels, stack logs, and sleep in cozy wooden lodges. It lulls you into a false sense of security. Make no mistake, this is a hardcore survival city builder. The environment actively wants to kill your colony, and it will succeed if you do not understand the underlying mechanics of water flow, agriculture, and resource management.
I spent my first dozen hours watching my settlements collapse into a horrific cascade of starvation and dehydration. Players often realize they are out of food only when it is far too late to grow more. I had to learn the hard way that surviving here requires strict planning and a healthy paranoia regarding the changing seasons.
Here is exactly what I wish I knew before I launched my first map.
The Deadly Tech Tree Trap
There is a very specific sequence of events that kills almost every new player, and it revolves around trees. When you start a map, you will see plenty of wild trees ready to be chopped down. You place a lumberjack flag, your beavers start harvesting logs, and you start building houses and water pumps.
The problem is that trees do not magically regrow. Once you chop down the local forest, the land is barren.
If you spend all your starting wood on fancy housing and decorations before unlocking the Forester building, your run is functionally dead. The Forester is the only way to plant new saplings. Unlocking it requires science points, which requires an Inventor hut, which costs wood to build. You also need planks to construct the Forester, which requires a Lumber Mill, which requires a power source like a water wheel.
I strongly advise pausing the game the moment you load in. Find your nearest forest, but mentally reserve your first batch of logs strictly for your Inventor hut, your Lumber Mill, and your Forester. Once you have a sustainable loop of planting and harvesting trees, you can start worrying about making the town look pretty.
Green Dirt is Sacred Ground
Land in Timberborn comes in two distinct flavors. You have lush, green, arable land located near water sources, and you have brown, dead dirt everywhere else.
I ruined my first settlement by treating all land equally. I built my storage warehouses, my inventor huts, and my beaver lodges right on the riverbank because it looked nice. When it came time to plant carrots, I realized I had paved over the only fertile soil on the map.
Crops absolutely require irrigated, green land to grow. Buildings do not care where they sit. A beaver will sleep perfectly fine in a lodge built on top of a barren, dusty cliff. Reserve every single square inch of green space for your agriculture and your tree farms. As you progress, you will figure out how to terraform the environment to create more green space, but in the early hours, that natural riverbank is your most precious commodity.
The Anatomy of Beaver Digestion
You need to understand exactly how much your population consumes to avoid the dreaded death spiral. A death spiral happens when a shortage of one resource causes a catastrophic chain reaction. If your beavers run out of food, they suffer a massive penalty to their movement speed. When they walk slower, they take longer to harvest the next batch of food, which means they starve faster.
The math is brutal but necessary to learn. A standard beaver consumes roughly two units of water and two and a half units of food every single day.
Start with a massive carrot field. Carrots are the ultimate safety net because they grow fast and can be eaten raw. I usually aim for at least forty carrot plots before I even consider branching out into other crops. Once you have a comfortable buffer of raw vegetables sitting in a warehouse, you can start harvesting potatoes and building grills to multiply your caloric output.
Respect the First Drought
Around day twenty, the game will introduce you to your first drought. The water sources will completely dry up, the rivers will stop flowing, and the panic will set in.
If you have not built a basic dam by the time this warning appears, you are going to suffer. A basic dam blocks water at a low level, creating a small reservoir that will hold a pool of water even after the river stops feeding it. This localized pool keeps the surrounding dirt green, allowing your crops to survive the dry season. It also gives your water pumps something to draw from while the rest of the world turns to dust.
The tutorial implies you have plenty of time to figure things out. That is complete bullshit. You are in a race against the climate from the second you unpause the game. Stockpile water in tanks, dam your primary river, and harvest every mature crop you have before the dry season hits. Aquatic crops like spadderdock will die instantly the moment the water level drops too low.
Eventually, the game will start throwing Badtides at you, which flood your clean rivers with toxic sludge that poisons the ground. Surviving that requires a much heavier understanding of hydro-engineering. I put together a dedicated guide on how to build automated sluices and Badtide defenses that you should definitely read once you have the basics down.
Shorten the Workday
By default, your beavers will work a crushing sixteen-hour shift. They wake up, work until they are exhausted, and immediately pass out.
It feels counterintuitive in a game about maximizing production, but reducing the working hours to fourteen actually makes your colony significantly more efficient. Beavers have a Well-being score. When they have free time, they socialize at campfires, eat diverse foods, and relax. Fulfilling these needs grants massive passive buffs. A happy beaver walks faster, works faster, and lives longer.
I fought this mechanic for a long time, assuming that more hours at the lumber mill meant more planks. The reality is that an exhausted, miserable beaver operates at a fraction of their potential speed. Give them a few hours off to enjoy the settlement you built for them. It pays off in massive productivity dividends.
This becomes even more crucial when you start expanding your territory. Managing multiple distinct settlements requires a delicate balance of worker happiness and logistical hauling routes. When you are ready to push past your starting zone, check out my breakdown on Timberborn district management and migration so you do not accidentally collapse your own supply lines.
The Long Game
Surviving the early cycles of drought is just the entry fee. The true meat of Timberborn lies in completely reshaping the landscape to your will. Once you have stabilized your food and water income, you can start detonating mountains with explosives, building massive multi-tiered aqueducts, and replacing your mortal workforce with tireless robotic automatons.
The ultimate goal for those looking to "finish" a sandbox run is to build the final monument, a staggering feat of engineering that requires tens of thousands of resources. If you find yourself thriving and looking for the ultimate challenge, I detailed exactly what it takes to construct the Earth Recultivator and save the world.
For now, focus on keeping your first batch of beavers hydrated. Dam the river, plant the carrots, and do not forget to build that Forester.