Vampires: Bloodlord Rising Beginner’s Guide – Survival, Thralls & Tips
Most vampire games let you hunt, but Bloodlord Rising is the only one that lets you force a kidnapped baker to renovate your guest bedroom.
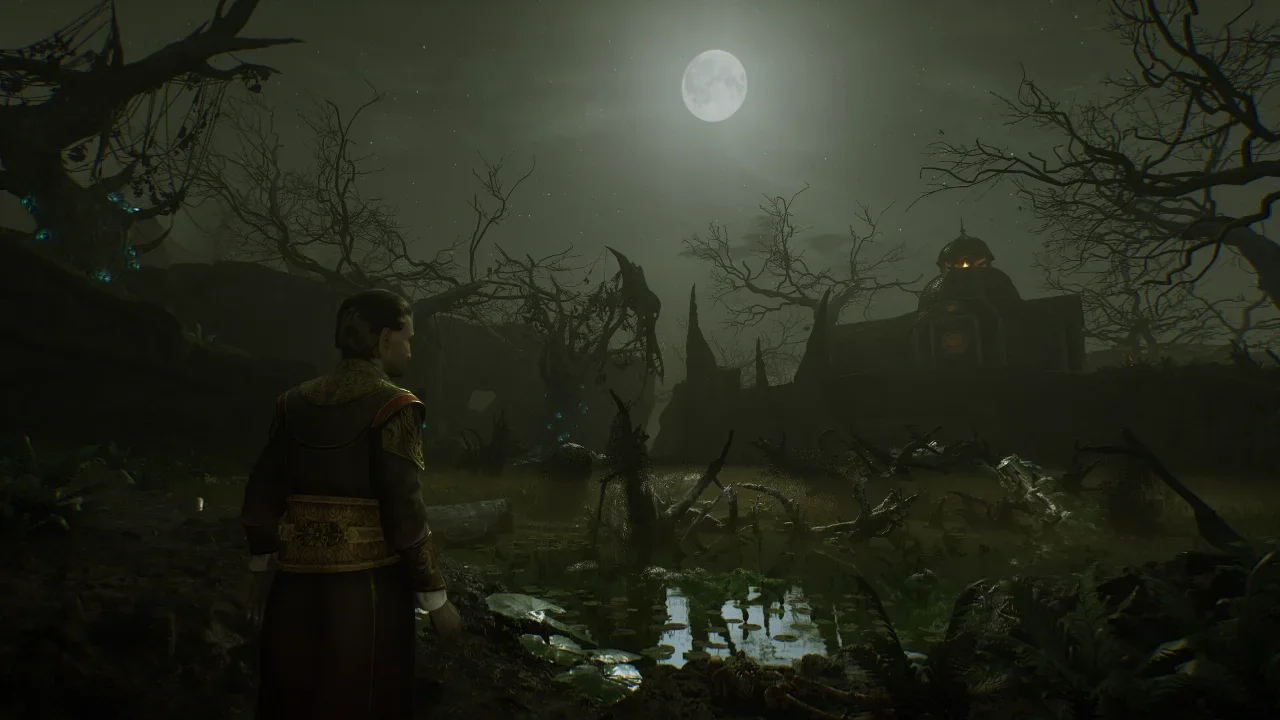
It is impossible to talk about Bloodlord Rising without addressing the elephant in the crypt. Yes, it is essentially the vampire survival formula shifted into a third-person action camera. You awaken as a weakened Lord in the cursed land of Sangavia, your master Verago is effectively dead, and the Inquisition has turned your once-mighty fortress into a pile of Gothic rubble.
Your job is simple on paper but annoying in practice. You need to feed the pulsing Castle Core, push back the “Silver Veil” fog that chokes the map, and rebuild your dominion. But if you are playing this like a standard action RPG where you hack, slash, and manually chop wood, you are doing it wrong. The game tries to trick you into thinking it’s about combat. It is actually a simulation about middle-management, automation, and recruitment.
I have sunk my teeth deep into the Early Access build to bring you a comprehensive guide on how to stop playing like a grunt and start playing like a Lord. Here is everything the tutorial forgets to mention.
Surviving the First Hour
The game throws you into a dingy crypt with a door sealed by rubble and absolutely zero context. This part is a fairly straightforward tutorial, but it sets the tone for the rest of the experience. You are weak, you are thirsty, and the sun hates you.
Blood vs. Existence
You have two bars that matter. Blood is your fuel. You get it by feeding on animals or humans. If this runs out, you start losing Existence. Existence is your HP. It regenerates as long as you have Blood. If it hits zero, you die and respawn at the nearest crypt. It is a simple loop, but don’t ignore it.
The Sun is not a suggestion
I cannot stress this enough. Being in sunlight kills you in seconds. It is not a slow drain. It is a melt. At the start, you have no castle. Your only option is to build a coffin. Even if it is just lying in the dirt, hopping into a coffin advances time to night. Do not try to run across an open field at noon. You will lose.
Decoding the HUD
The UI in this game is functional but busy. Before we get into the advanced strategies, I want to quickly unclutter what you are looking at so you don't miss the important stuff.
Compass & Clock: Top left. The clock is the most critical tool you have. If that sun icon is rising, you need to be indoors.
Core Status: Bottom left. This tells you if your base is powered. If the Core runs dry of blood, your crafting stations stop working and your thralls lose loyalty. Think of it as the electricity bill.
Messages: Top left. This is where the game screams at you if a minion can't find a path to a tree. Pay attention to this, or you'll wonder why your wood stockpile is empty for three hours.
Base Building and HR Management
The castle building system in Bloodlord Rising is surprisingly robust, but the developers have implemented the Holy Grail of survival crafting: Global Inventory. Your servants can access materials from any chest in your castle. To truly abuse this system, you need to change your mindset regarding construction.
The "Ghost Blueprint" Method
Do not wait for resources to build. Open your build menu and place the “ghost” blueprints for your entire castle layout even if your inventory is completely empty.
This effectively creates a “shopping list” for your empire. You can leave your castle in “blueprint mode” and go explore. As your minions gather resources and dump them into chests, they will automatically run over and construct the buildings you planned. You plan the architecture while they lay the bricks. Never stand around watching a progress bar.
Recruiting with Gossip
Recruiting thralls is the core gameplay loop. You sneak into villages, knock someone unconscious, and drag them home. However, biting random villagers is inefficient. You don’t want a castle full of generic bloodbags. You want specialists.
To do this, utilize the Dual Form System. Switch to Aristocrat Form, head into town during the day, and find the NPC Florica. Pay her for gossip. The flavor text here is a code for the NPC’s hidden stats.
"Collects pretty rocks" means they are an Enchanter.
"Hunted a bear alone" implies high Hunter stats.
"Works day and night" is your ideal Builder.
Stop recruiting based on vibes. Recruit based on the resume.
The Coffin Rule
You’ve abducted a blacksmith, turned him into a vampire, and forced him to build walls. He should be grateful, right? Wrong. Even the undead have HR complaints.
Thralls have a Loyalty stat. If this drops, they work slower or stop entirely. You must assign a specific coffin to every thrall via the management tab. It validates their status in your court. Do not make them sleep on the floor or they will go on strike.
Combat and World Traversal
We need to be honest here. The combat in Early Access is a bit floaty. It lacks weight, and the enemy AI can be bafflingly blind. However, shielded enemies and Crossbowmen will still wreck you if you don’t respect the mechanics.
Dash is for I-Frames
The biggest mistake players make is using the Dash for movement. Dash is your invincibility button. When you see a red attack indicator, do not dash away from the enemy. Dash through the attack. The I-frames (invincibility frames) will protect you, and you’ll end up behind the enemy ready to strike.
Breaking Shields
You will encounter enemies with tower shields who block all your spam-clicks. Beginners often try to circle-strafe them. The actual solution is the Charged Attack. Hold your attack button. A charged strike is specifically designed to shatter guards. It staggers the enemy and opens them up for a combo.
Mausoleum Anchors
The map in Sangavia is large, and running back from your castle after a death is a slog. However, the game gives you a way to cheat the commute.
When you discover a Mausoleum, it becomes a respawn point. Treat these as tactical anchors. If you are pushing into a high-difficulty area, fight near the Mausoleum. If you die, you respawn instantly next to the fight. This turns a punishing “Game Over” screen into a quick reset.
Hell's Chasm Priority
Once you level up your Core to level 2, the game offers you three regions to unlock. Ignore the others. Go for Hell's Chasm. It contains the resources needed for Roof Tiles and Blood Vessels. Without Roof Tiles, you can't build a proper ceiling to block the sun. Without Blood Vessels, you can't upgrade your Core capacity. It is the only logical path for progression.
Fast Travel and Automation
Finally, you need to understand how to move around and how to stop doing manual labor.
How Fast Travel Actually Works
You cannot simply teleport to a location you have never visited. The first rule of fast travel is exploration. You must physically reach a new region and unlock it. Once you do, a carriage becomes available in that area.
Look for the carriage parked in the hub area. Standing next to it is the local Coachman. You have to pay him in Gold. Gold comes from looting Inquisition soldiers or selling items to the merchant in your Aristocrat form. It is not cheap early on, so plan your trips carefully.
Automated Resource Loops
Do not waste your time hitting rocks. As soon as you have thralls, set up these loops immediately.
The Wood-to-Coal Pipeline: Coal is the bottleneck for Glass and Roof Tiles. Wood is infinite. Build a Furnace and set an automated loop to burn Wood into Coal constantly. Treat Coal like a manufactured good.
The Wax Drip-feed: Wax seems useless until you need lights, and then it is annoying to find. Build a Gathering Station and assign a low-level thrall to prioritize Wax. It is a slow burn resource. You want a passive drip-feed of it entering your inventory starting from hour one.