007 First Light Guide: How to Farm Intel and Find Every MI6 File
Unlocking every gadget upgrade and reaching full completion in 007 First Light requires you to hunt down two entirely different types of Intel.
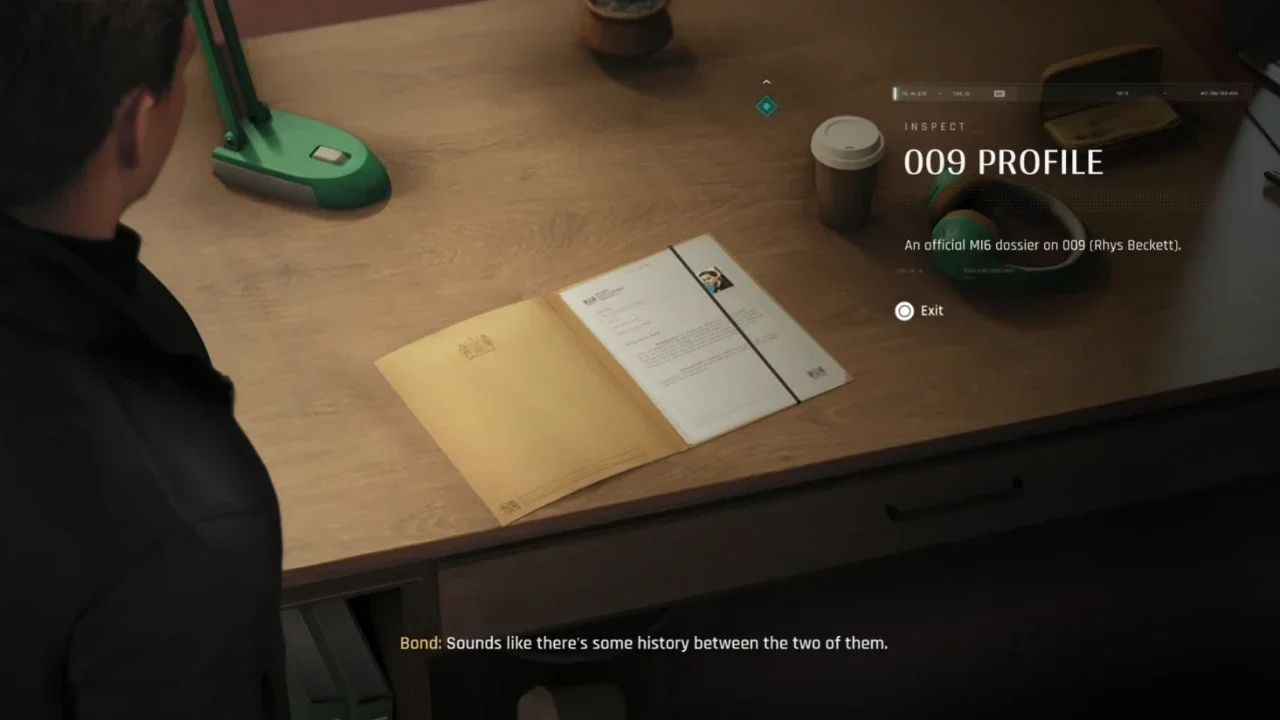
The word Intel carries a dual meaning in this game, which causes a lot of unnecessary confusion when you look at the menus. It acts as a digital currency you grind out in the Tactical Simulations mode to buy upgrades, but MI6 Intel also refers directly to 23 physical collectibles scattered throughout the main story campaign. I'm going to break down how to get your hands on both so you can max out your gear and hit full completion without tearing your hair out.
The TacSim Economy and Clearance Levels
Upgrading your gadgets or buying new cosmetic gear requires a trip to the Tactical Simulations mode from the main menu.
Walk down the stairs right outside the actual simulation room, and you'll spot the Intel Shop. This specific vendor is the only place in the entire game where you can purchase weapon skins, gadget upgrades, and new clothing. If you want to know exactly what kind of wardrobe you're grinding for, check out my complete suits unlock guide to see all the available options.
Securing those items requires spending Intel currency and holding a high enough Clearance Level. You earn both by hitting the Mission Selector and running combat simulations. Grinding for these gadget upgrades early dictates your survivability in the campaign. Expanding your Laser Strap capacity or increasing your Dart Phone ammunition completely bypasses some of the hardest late-game security chokepoints, saving you from getting stuck in difficult stealth sections with zero resources.
Selecting the Right Simulations
You have two different ways to grind out the currency you need.
Escalations act as bite-sized trials focused heavily on combat, stealth, or improvisation. Completing the specific challenges tied to each trial drops a heavy amount of Intel. These missions serve as your fastest method for farming raw currency to quickly afford basic weapon attachments so you can actually survive the harder content.
Operations offer a totally different experience. These massive sandbox missions drop you into open areas with specific objectives to clear. They dish out both Intel and Clearance XP, which you need to unlock the higher-tier cosmetic items. Treat Operations strictly as endgame activities. Jumping into one with an under-leveled loadout usually results in an instant fail. If you struggle to survive these encounters, take a look at my breakdown of the difficulty levels and completion times to identify what you're doing wrong.
Tracking Down the MI6 Collectibles
The physical collectibles hidden in the campaign are a bit of a nightmare to track down because they lack a uniform look. You're forced to hunt for everything from closed laptops and manila folders to driving gloves and wooden spoons.
Worse still, they don't physically disappear from the environment when you pick them up. The game just quietly logs them in your menu. Get in the habit of tapping your Q-Watch button constantly to scan rooms. The watch highlights interactable items in a bright yellow glow. Relying on the scanner prevents you from wasting hours squinting at empty desks in dark rooms looking for a tiny piece of paper, letting you clear out heavily guarded areas significantly faster.
If you miss a few files on your first run, don't panic. The game features a highly forgiving Chapter Select menu that lets you jump directly to specific checkpoints. The system auto-saves collectibles the exact moment you grab them. This allows you to pick up a missing file and quit to the main menu instantly, saving you from having to finish a 45-minute level just to secure one missing item. While you're doing your cleanup sweeps through the early hotel sections, crack the manager's safe and punch in the laundry room code to grab those separate rewards at the same time.
The Complete MI6 File Checklist
The timeline below tracks exactly where each file spawns so you know what checkpoint to load.