007 First Light Guide: The Ultimate Gadget Tier List
Picking the right piece of experimental hardware for a stealth operation dictates whether you quietly ghost a compound or trigger a massive shootout.
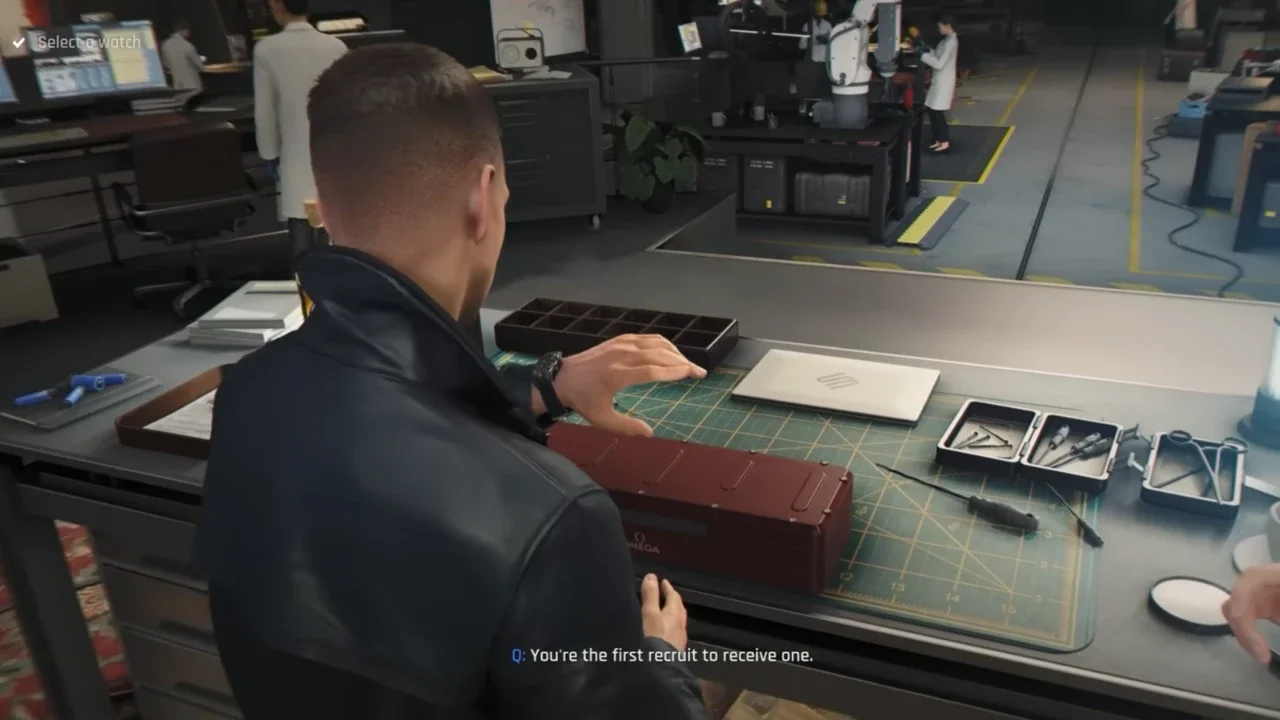
MI6 issues a solid variety of experimental hardware in 007 First Light, but your inventory space is strictly capped. Q-Branch permanently bolts two tools to your suit early on. That leaves you juggling a couple of free slots for the rest of your gear, though a third slot opens up much later in the story. I spent hours testing every chemical and explosive option to see what actually keeps you alive in the field. Packing the right tool completely changes how you approach a heavily guarded compound. Here is exactly how the arsenal stacks up.
Permanent Upgrades
You don't get a say in carrying these. Q-Branch permanently attaches them to your character during the "A New Home" mission (Mission 2).
Q-Lens
This acts as your x-ray filter. Activating it highlights hostiles, interactable objects, and structural weaknesses through walls. I spent roughly half my playthrough staring through this exact filter just to map out patrol routes and avoid getting ambushed by roaming guards.
Q-Watch
Your dedicated hacking interface. You need this to shut down security cameras, open electronic doors, and trigger environmental distractions. Bypassing checkpoints quietly relies entirely on abusing this piece of tech.
The Loadout Rankings
The remaining six items compete for your limited active slots. I ranked them based on raw utility and how consistently they pull you out of a bad situation.
S-Tier: The Dart Phone
I refuse to launch a covert op without this equipped. Unlocked in Mission 2, it shoots a chemical payload that gives a guard sudden, violent food poisoning. They immediately abandon their patrol route to go find a bathroom. It also severely disorients targets if you just need to steal a keycard from their pocket. It is the single best tool for breaking apart clustered enemy formations quietly.
S-Tier: Smoke Pods
You get these in Mission 3 ("All the Time in the World"). Think of them as a localized panic button. If a stealth run goes completely sideways, dropping one conceals you instantly and lets you reposition safely. They cost almost nothing to craft, meaning you can easily spam them whenever you make a stupid mistake.
A-Tier: Laser Strap
Mission 4 ("The Past Never Dies") hands you this industrial cutting tool. It melts padlocks, severs security wires, and breaches metal containers. Pointing it at an enemy during a firefight temporarily blinds them, opening a quick window for a melee finisher. I always keep it handy for accessing restricted side rooms holding extra cash.
A-Tier: Missile Pen
You find this explosive tool halfway through the game in Mission 6 ("Knightfall"). Firing it instantly destroys cover and eliminates grouped hostiles. It ruins any attempt at a stealthy approach, but it remains the strongest option in the game for surviving a forced shootout.
B-Tier: Shockwave Camera
Another Mission 3 unlock. Triggering it unleashes a kinetic blast that shatters enemy body armor and knocks them backward. You can also point it at weak doors to blow them off their hinges. It offers solid crowd control in a pinch, but I strongly prefer loadouts that prevent me from getting swarmed in the first place.
C-Tier: Flash Mine
You grab this sticky proximity explosive during Mission 4. Anyone walking past it gets blinded and takes shrapnel damage. Setting up defensive traps works well if you know an assault is coming. The main issue is the setup time. Tossing a smoke pod and sprinting away is just far more efficient than trying to lure a guard into a hidden mine.