Assassin's Creed Black Flag Resynced Guide: Mastering Sea And Sword
Surviving the Golden Age of Piracy requires precise timing and a deep understanding of your deadly new arsenal.
The combat system in this remake has been entirely rebuilt from the ground up to give you a rhythmic and ruthless swashbuckling experience. Slicing through a fort or sinking a massive frigate feels incredible when you actually know what you are doing. If you're jumping in for the first time or coming back after a decade, you'll quickly realize the AI is much less forgiving these days. Before you get desynchronized by a random Brute, I put together this guide covering every hidden mechanic, sword type, and naval maneuver you need to dominate the Caribbean. You should also make sure your vessel is ready for war. Check out my full breakdown on how to upgrade the Jackdaw before picking fights with the Royal Navy.
Hand To Hand Combat Essentials
The core of your ground combat revolves around a simple foundation that rewards quick thinking and precise timing.
The Art of the Takedown
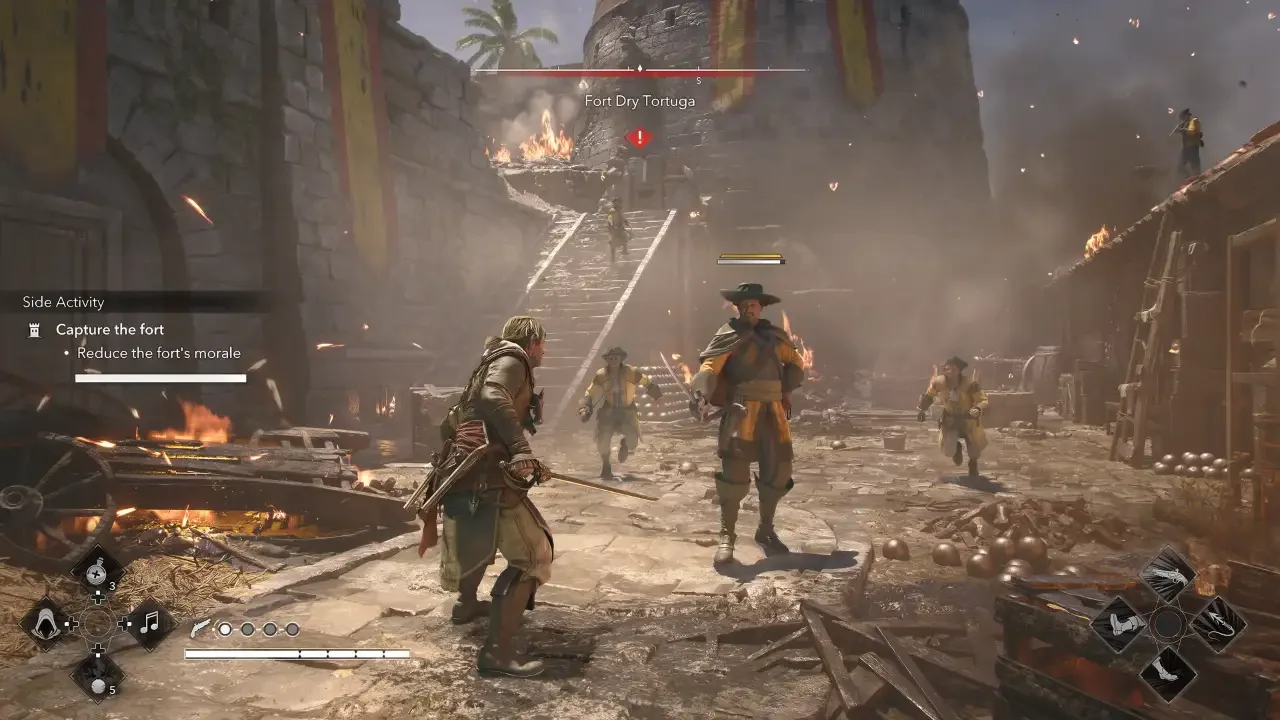
Your basic attacks chip away an opponent's defense bar. Once that bar breaks, they become vulnerable to a takedown. These are brutal finishing moves that can instantly change the momentum of a brawl.
Hidden Blade Takedown: Break a defense with multiple attacks or a quick pistol shot, then move in for the kill.
Chain Takedown: Landing a perfect parry instantly opens an enemy up for a takedown. Depending on your equipped sword, you can chain up to four of these back to back.
Advanced Chain Takedown: Tougher enemies will deny your standard chains. Quickfire a pistol between your kills to break their defense and keep the chain going.
Wall Takedown: Kick an opponent into a wall or a ship railing to open them up for an environmental fatality.
Tools and Hidden Mechanics
The game conveniently forgets to tell you a few crucial details that will absolutely save your life. First, parries are completely omnidirectional. You do not need to physically face an attacker to block them. Just press the parry button exactly when the enemy flashes. This is mandatory knowledge for surviving cramped boarding sequences where you are surrounded on all sides.
Second, the Rope Dart grants you a massive invincibility window. If you're cornered or a gunner has you in their sights, deploying the Rope Dart makes you completely immune to damage for the entire pulling animation. Bullets will literally pass right through you.
You can also grab nearby enemies to use as a Human Shield when firing lines target you. If you get overwhelmed, drop a Smoke Bomb to stun everyone and set up easy assassinations.
Knowing Your Enemy And Choosing Your Blade
You cannot run into every fight with the exact same strategy because the upgraded AI will adapt and punish you for spamming the same moves.
Sword Types
You have three distinct sword types to pick from, and each one fundamentally changes how your Heavy Strike works.
Rapier: Heavy strikes pierce directly through foes for focused precision damage.
Cutlass: Your heavy attack becomes a wide sweep that is perfect for crowd control.
Pistol Sword: Fires two shots on a heavy attack, letting you concentrate fire on one target or split the damage across two enemies.
Enemy Archetypes
Before you get crushed by the advanced troops, you need to understand how to counter them.
The Soldiers: Standard guards that are easy to break and perfect for starting a chain takedown.
The Agile: Fast and highly disruptive. They dodge attacks, vault over you, and parry your counters. You have to slow down, read their movements, and wait for a clean opening.
The Brute: Slow, immovable, and completely immune to parries. You must dodge their attacks or use a quick pistol shot to break their defense. Watch out for the grenades they throw from a distance.
The Gunner: Positioned up high to snipe you. Use the Human Shield mechanic to absorb their shots.
The Captain: Extremely dangerous. They wield swords and pistols, and they can easily block, dodge, and parry you. Push too hard and they will blast you point blank.
The Demolitionist: A brand new enemy armed with a blunderbuss that deals wide fire damage. They lob grenades to flush you out of cover and force you to keep moving.
Failing to assassinate major targets quietly will trigger full boss fights, so maybe try not to announce your arrival with a blunderbuss. I highly recommend running optimal graphics settings so you don't drop frames when these massive brawls break out.
Naval Combat And Ship Maneuvers
Sword fighting is fun, but ruling the open ocean is how you actually build your pirate empire.
Advanced Sailing Tactics
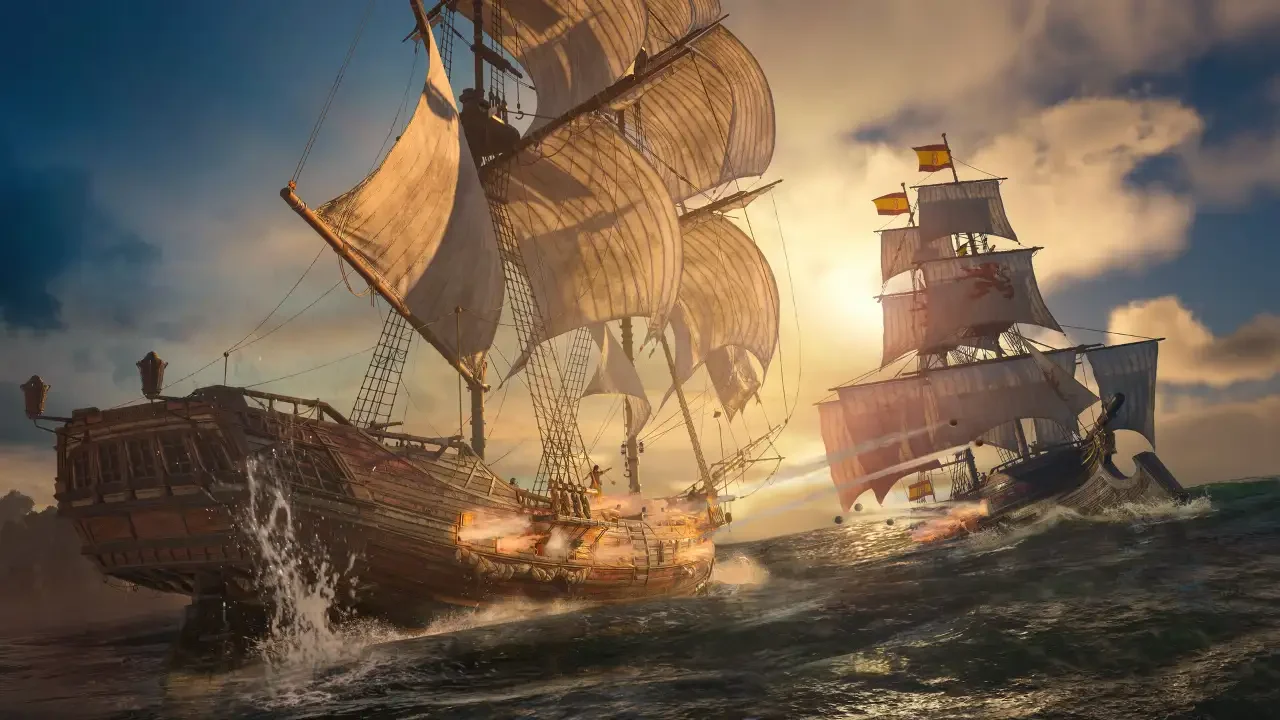
Winning at sea is all about positioning. Keep enemies alongside the Jackdaw to guarantee consistent broadside damage. Adjust your sails constantly to line up better shots rather than just rushing straight into the chaos. If you have to cover a huge distance to reach a target, use the fast travel system to save yourself a massive headache.
Heavy Shot is incredibly powerful, but it requires point blank range to work. Save it for your finishing blows when you can safely close the gap. Mortars are your best opening move. Use them to soften up multiple targets from a distance while they try to approach you. When incoming fire is completely unavoidable, hold the Brace button just before impact to drastically reduce the damage to your hull.
Finally, if an entire fleet surrounds you, focus on taking down one ship at a time. Boarding a crippled vessel is almost always smarter than sinking it. A successful boarding action restores your health and grants you a huge pile of resources. If you need a break from sinking ships, you can always hunt down every buried treasure map to pad your wallet instead.