Assassin's Creed Black Flag Resynced Guide: Every Jackdaw Ship Upgrade And Cost
Getting blown to splinters by a random British frigate gets old fast, which is why you need to upgrade the Jackdaw immediately.
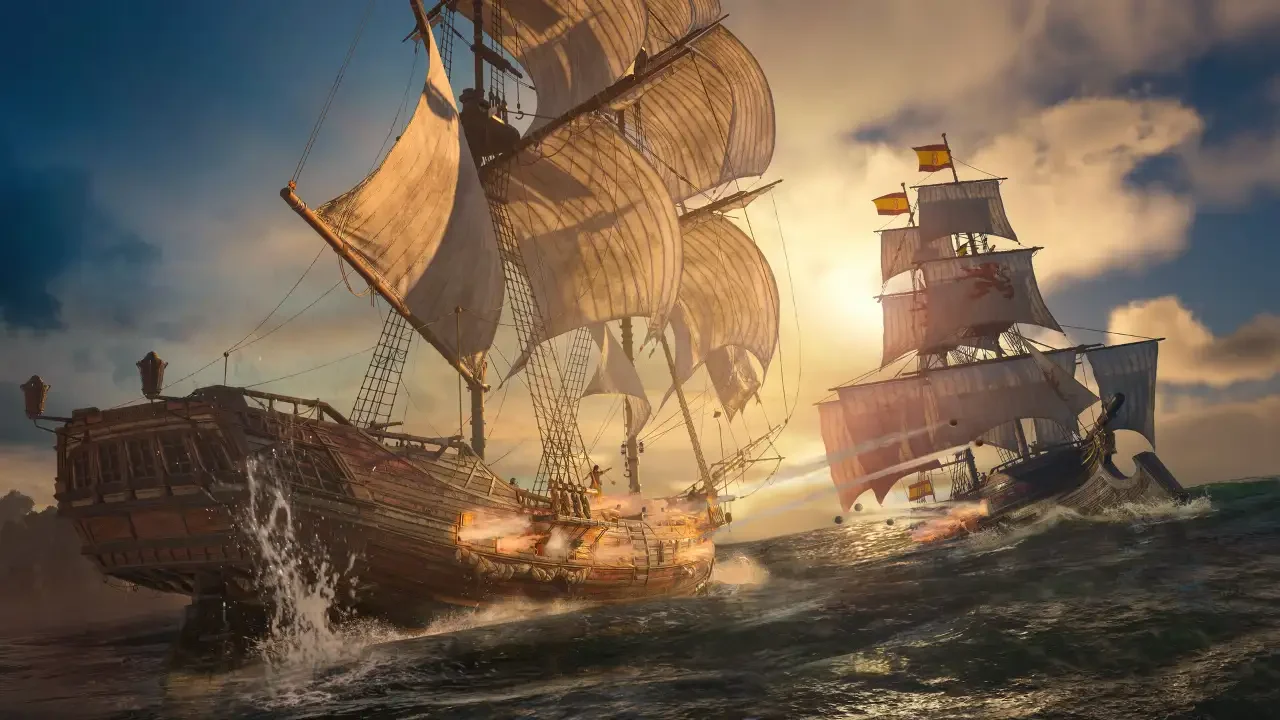
Sailing across the Caribbean is the absolute best part of this game, but the ocean is completely unforgiving if you ignore your ship's stats. You spend the opening hours running around on foot, but the real meat of the game opens up once you take the helm. Building a warship requires a massive stockpile of Reales, wood, and metal. Before you sail into restricted waters with a hull made of wet paper, you need to understand exactly how the customization and upgrade economy works.
I strongly recommend unlocking your fast travel points early so you can warp back to a Harbormaster quickly to spend your loot. Also, ensure your graphics settings are optimized to handle the chaotic naval combat without dropping frames.
Making The Jackdaw Look Good
You gain the ability to customize your ship visually during the very first mission of Sequence 3.
Head down into the Captain's Cabin located directly beneath the ship's wheel. You will find a model ship sitting on the right side of the desk. Interacting with it opens the customization menu. You can also access this exact same menu by speaking to any Harbormaster docked at a port, saving you a trip back to your cabin. If you bought a premium edition of the game, check out my guide on how to claim your deluxe items to equip your bonus sails and figureheads right away.
Conquering naval forts is your best bet for expanding your cosmetic collection. Destroying the defenses and killing the commander rewards you with new visual pieces and a huge payout of Reales. Keep in mind that cosmetics are purely visual. Hanging a fancy sail on the mast does absolutely nothing to stop a cannonball.
Upgrading Your Firepower
Actual stat upgrades unlock slightly later during the third mission of Sequence 3, titled "Prizes and Plunder."
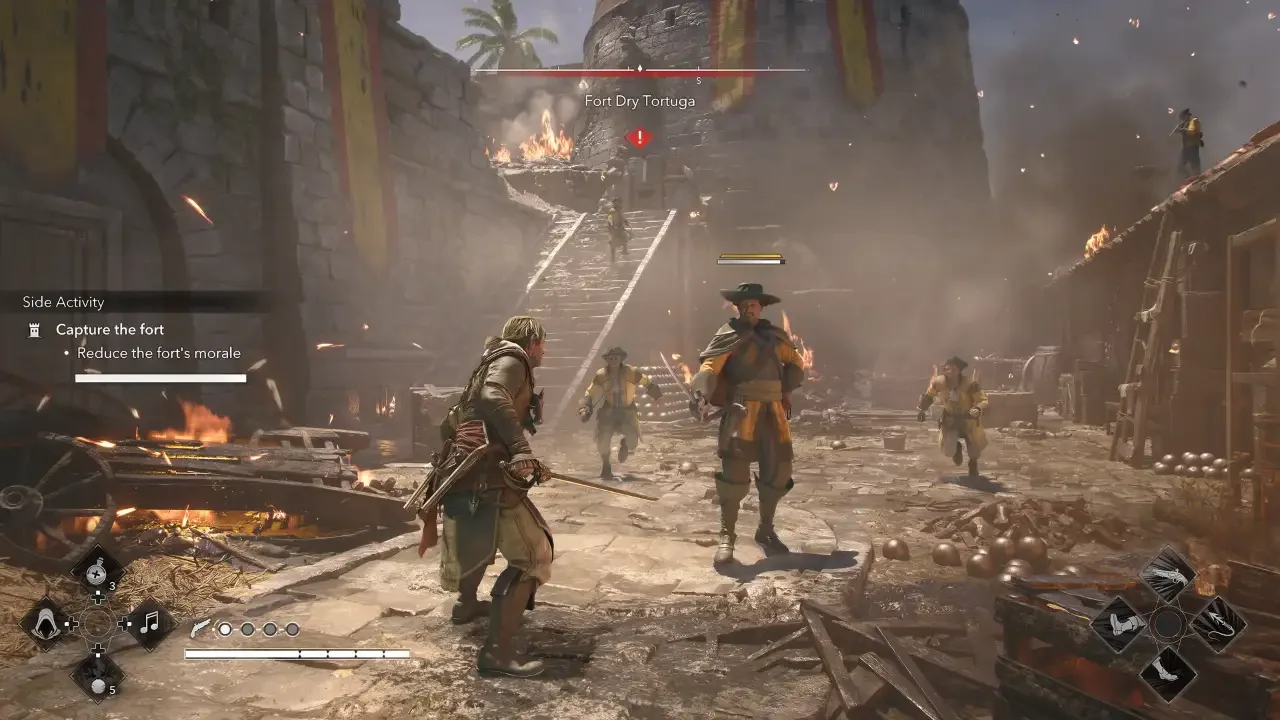
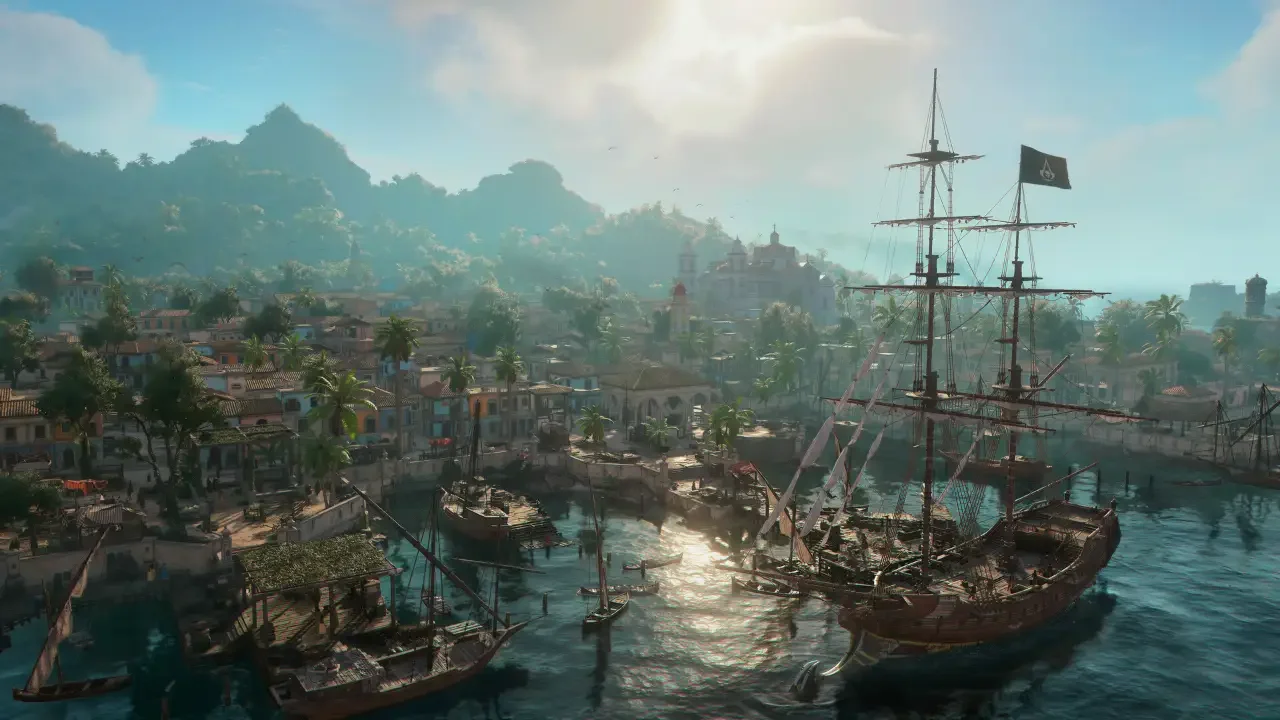
The game forces you to visit a Harbormaster at Salt Key Bank in Dry Tortuga to buy your first upgrade. From that point on, you can spend Reales, wood, metal, and cloth to improve your armor and weapons. You farm these materials by using your spyglass to identify cargo on enemy ships, engaging them in combat, and boarding them successfully. Naval convoys carry the largest payouts, so target them whenever your ship is strong enough to survive the fight.
You will notice some upgrades are completely locked out early on. To access the highest tiers of ship equipment, you have to invest money into your personal hideout. Head to Great Inagua and speak with the NPC standing right next to the Harbormaster to purchase hideout upgrades, which subsequently unlocks the advanced Jackdaw blueprints.
What To Upgrade First
Do not spread your resources thin across every category. Focus on survivability and raw damage output first.
Prioritize the Armored Hull, Round and Heated Shot, and Broadside Cannons. Upgrading your hull gives you the health pool required to survive drawn-out engagements with multiple ships. Maximizing your broadside damage guarantees you can quickly strip the armor off enemy vessels to trigger the boarding sequence. Once you secure those core upgrades, you can confidently take on the massive Man o' War ships and heavily fortified coastal bases.
Core Ship Upgrades And Costs
Here is exactly what you need to farm to build the ultimate pirate ship. Some late-game costs are still TBC, but I will update this data as I gather the remaining ultimate plans.
Weapon Upgrades
Invest heavily here to make ship combat significantly faster.
Storage And Harpooning Upgrades
You need plenty of ammunition to support your upgraded cannons, and extra rowboat armor is essential for hunting massive sea life.