Assassin's Creed Black Flag Resynced Guide: How to Conquer All Forts
Taking over all eleven naval strongholds in the Caribbean is your golden ticket to ruling the high seas and filling your pockets with pirate gold.
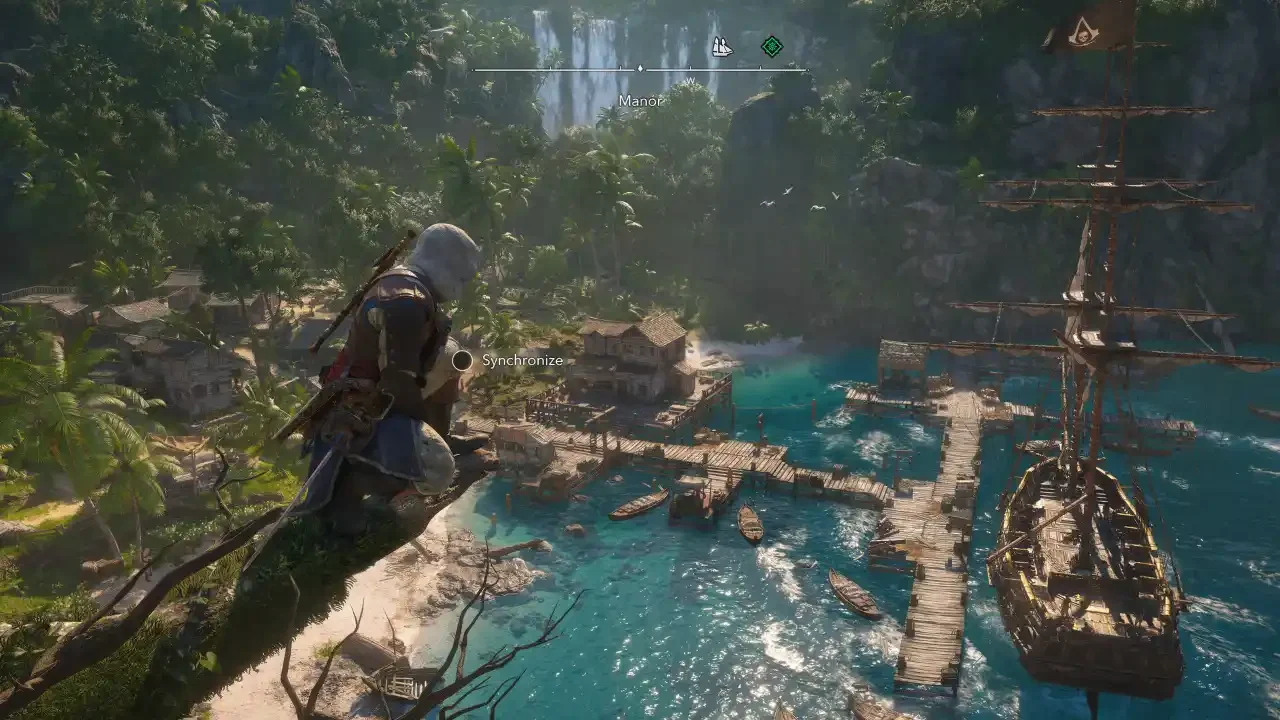
Stepping into the boots of Edward Kenway means dealing with some heavy resistance from both Spanish and British forces. The Caribbean map is completely massive, and you'll spend a giant chunk of your playtime clashing swords and battling rival ships. The absolute most critical step in making those waters safe is clearing out the heavily armed forts scattered across the map. These military bases watch over designated regions and constantly threaten your piracy operations. Taking them down unlocks the King of the Castle achievement and grants you some wild tactical advantages.
Preparing the Jackdaw for War
Before you sail a barebones ship into a three-skull death trap, take the time to actually upgrade your hull and cannons. The northern territories generally hold the weaker one-skull targets. The southern regions house the brutal three-skull gauntlets that will turn you into driftwood if you show up unprepared. Remember, you can always drop the game difficulty to the lowest setting if a specific base is giving you a massive headache.
Phase One Naval Bombardment
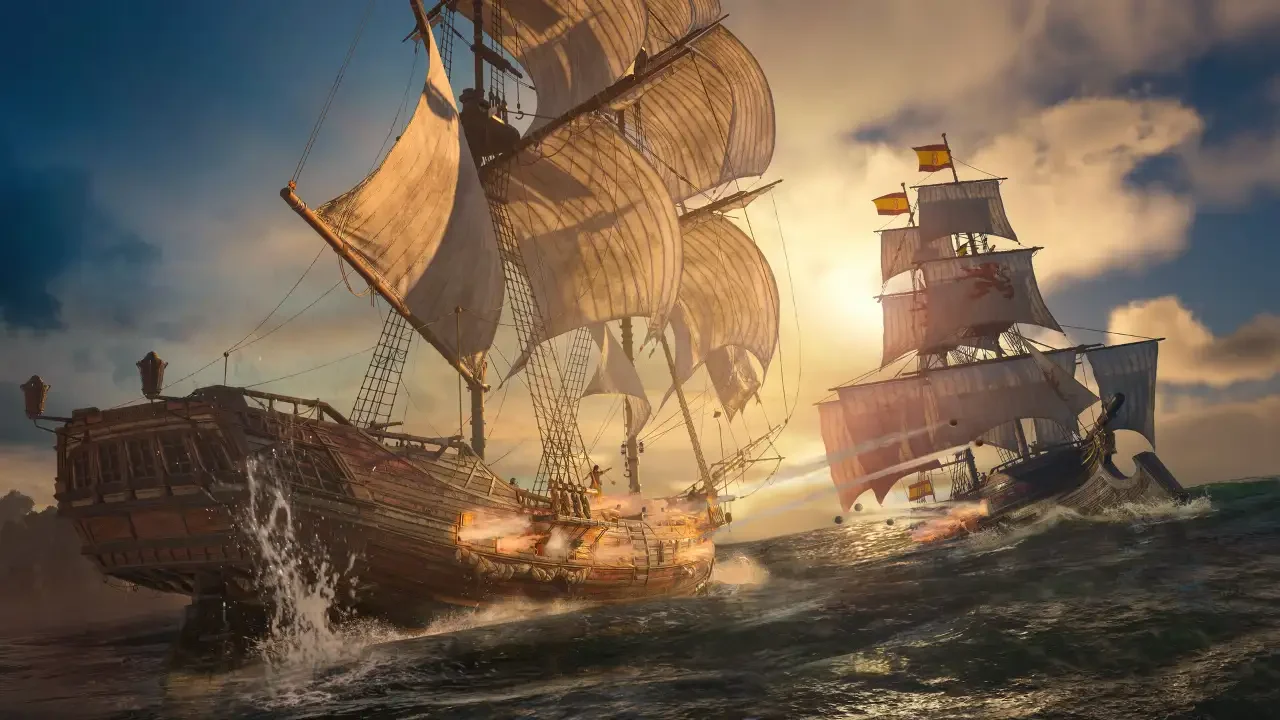
Conquering these targets happens in two distinct phases, starting with a chaotic naval battle. You take the wheel of the Jackdaw to systematically dismantle the exterior defenses. Every fort features multiple walls and cannon towers with independent health bars. Your goal is to drop every single health bar to zero to neutralize the incoming fire.
Positioning and Heavy Artillery
I usually approach these structures from the side. You want to sail slowly or come to a complete stop to line up precision shots on individual towers. Use your Mortar (L1/LB) as you close the distance to soften them up. When your cannons connect with the stone walls, you'll occasionally expose glowing red weak spots. Don't ignore these targets. Hit them immediately with your swivel gun (R1/RB) to deal massive structural damage. While your primary weapons are on cooldown, you must hold the brace button constantly to severely reduce the damage you take from return fire. Keep an eye on the water for glowing orange circles and steer clear, because those indicate an incoming mortar barrage that will absolutely wreck your health bar.
Managing Enemy Ships
You might also encounter hostile ships patrolling the immediate area. They'll immediately become aggressive, and you can't transition to the on-foot phase of the siege while you're considered in combat with them. Treat these ships as floating health packs. By disabling and successfully boarding them mid-fight, you gain the option to repair the Jackdaw. This tactic keeps you alive through the tougher three-skull encounters. If you get lucky, some of them might just flee in terror once the main fortress collapses.
Phase Two Ground Assault
Once you blow up the final defensive tower, the cannons finally go silent. Anchor the Jackdaw outside the shattered walls and lead your crew on foot into the ruins.
Breaching the Commander Gates
Your objective here is to eliminate enough defending soldiers to completely deplete the progress bar located in the top left corner of your screen. There's no need to rush this section. Let your crew charge ahead to draw the attention of the guards. This gives you plenty of opportunities to sprint around the chaos and score easy hidden blade assassinations.
When you run into a Captain, avoid spamming the attack button. They'll block your strikes and try to shoot you from a distance. Hit them with a Rope Dart first to stun them, then break their defense for a quick takedown. If you get surrounded by too many standard guards, pull out your Flintlock Pistols to thin the herd. I cover handling large groups of enemies extensively in my Assassin's Creed 4 Black Flag Resynced advanced combat guide if you're struggling with the swordplay timing.
After draining the progress bar, you get a prompt to breach a heavy wooden door alongside a crew member. The commander waits inside. Don't panic, because this guy is a total pushover. You can execute him just like any standard heavy enemy. Once he drops, a cinematic plays, and the territory belongs to you.
All 11 Fort Coordinates and Difficulty
Finding the targets is easy enough since they pop up as bright red castle icons on your map from the very beginning. Once you successfully liberate a base, that red icon turns gold, and the enemy forces can never reconquer it.
Note that Punta Guarico operates under different rules. You won't see this location on your map early in the game because it ties directly to the main campaign. You automatically conquer it during Sequence 05 Mission 01. If you're wondering how close you are to reaching that specific checkpoint, you can check my Assassin's Creed 4 Black Flag Resynced mission list to see what's coming next.
The Spoils of War
Taking a stronghold is hard work, but the payout makes it a mandatory activity for anyone trying to dominate the Caribbean.
Clearing the Fog of War
The immediate benefits are fantastic. The waters become entirely safe for you to navigate, and you gain a brand new fast travel point to speed up your map traversal. You also receive a massive payout of money, valuable ship upgrade materials, and unique cosmetic options for the Jackdaw.
The strategic benefits are even better. Capturing the base lifts the fog of war across that entire map region. Every single point of interest gets highlighted for you, revealing hidden islands, smuggler caves, lucrative harpoon hunting grounds, deep diving spots, and the locations of legendary ships.
Expanding Kenway's Fleet
You also unlock the ability to assign Kenway's Fleet missions in that specific region. You can access these passive missions from your captain's cabin or back at the Great Inagua Manor. This system lets you generate extra income and materials while you're out exploring, effectively paying you to sail around looking for more trouble.