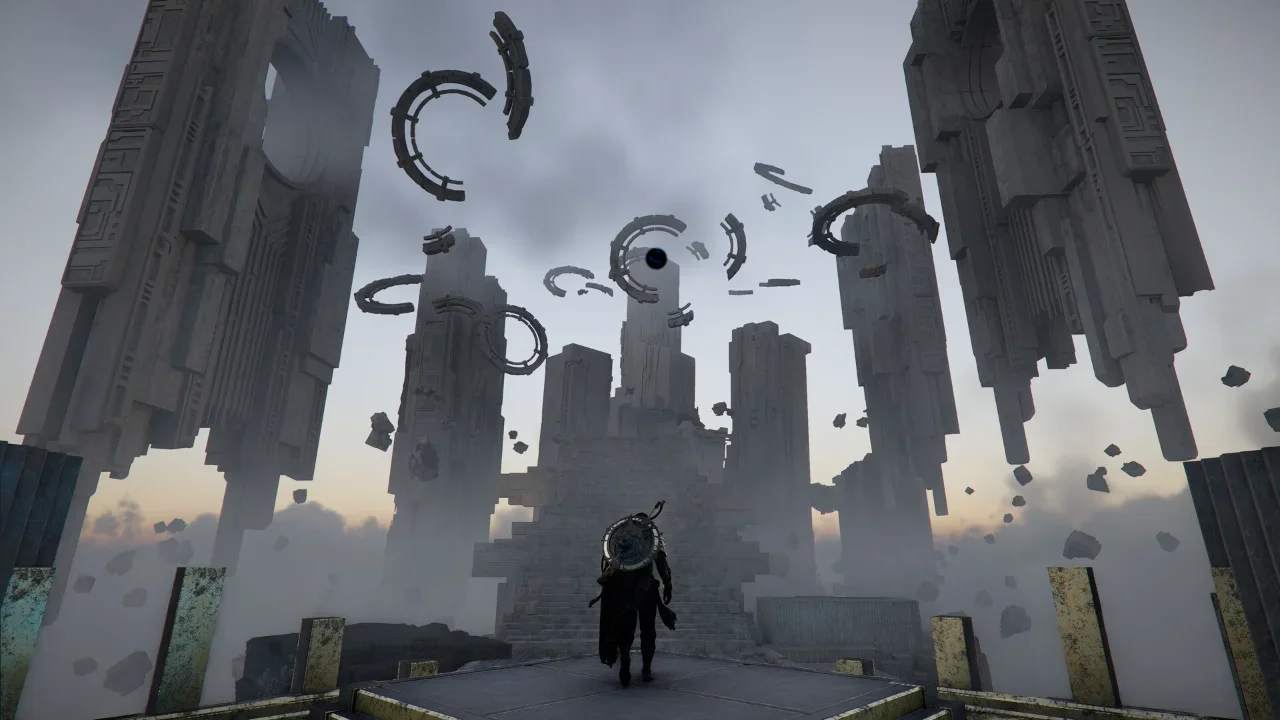
Crimson Desert Ancient Ruins Guide: Every Puzzle Solution and Location
Pywel is a beautiful continent, but its ancient architects were absolute sadists when it came to hiding their treasure.
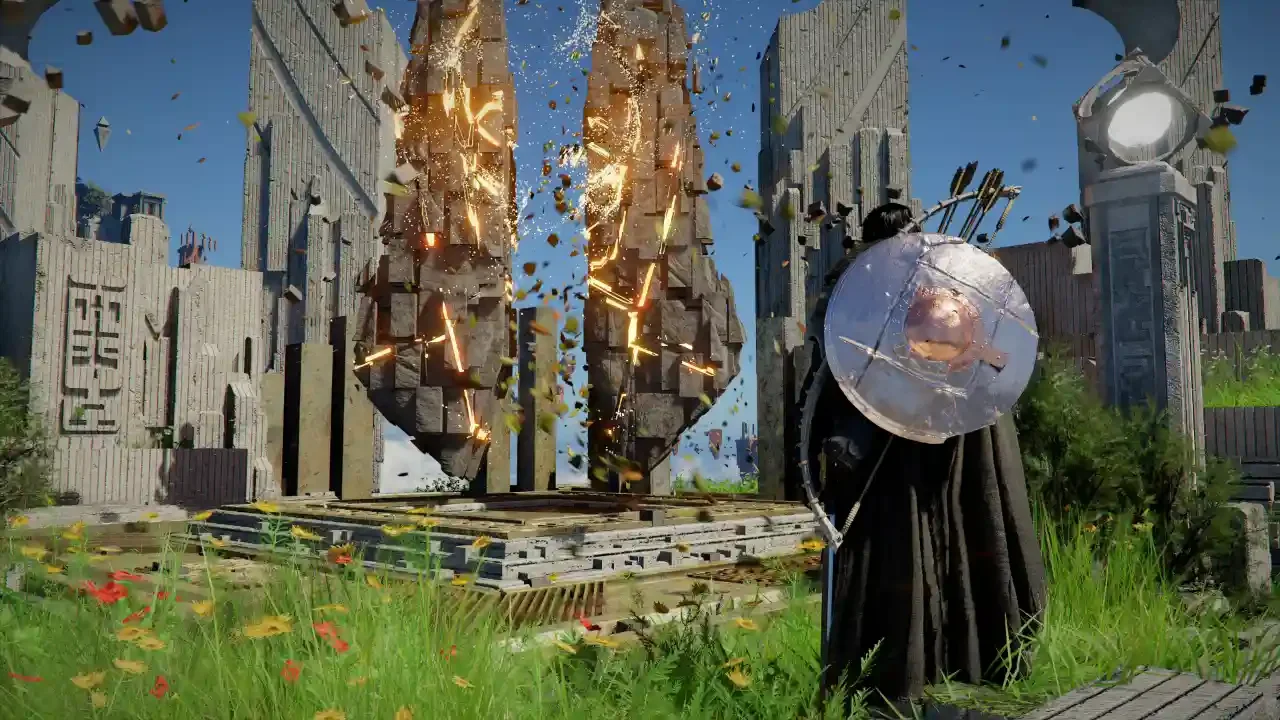
If you have spent any time wandering the wilds of Crimson Desert, you have probably noticed those glowing "Mysterious Energy" icons popping up on your map. Those are Ancient Ruins. Every single one of these 37 locations guards an Abyss Cresset. Activating that cresset is mandatory if you value your time, as it grants you a permanent fast travel point and an Abyss Artifact.
You need those artifacts to upgrade your character. Skipping these puzzles means leaving serious progression on the table, and you will feel that deficit hard when you start taking on tougher bounties. If you are struggling to stay alive, I highly recommend checking out my guide on the best early skills to unlock before you go hunting for ruins. Getting around the map is also a massive pain on foot, so brush up on my fast travel map guide to make this hunt less miserable.
The Core Mechanics of Pywel's Puzzles
Before you go running headfirst into a crumbling ruin, you need to know what you are actually dealing with. The game recycles a few core puzzle archetypes. If you understand the base mechanic, you are already halfway to the solution.
Hernand Region Puzzle Solutions
Hernand is where you cut your teeth. The puzzles here start out simple but quickly ramp up into frustrating territory. If your gear is looking a bit weak while exploring, you might want to look into weapon and armor upgrades before venturing too far.
Central Hernand Locations
Meandering Hills Ruins: You cannot miss this one. It is part of the Act 2 Reunion quest. Lift the wall with Nature's Grasp. Hit the stone plates with Force Palm in this exact order: Middle, left, right.
Duskwood Waterside Ruins: Located west of Kilnden Workshop. It is essentially a simple game of Go. Pick up the white stone by the cresset and drop it into the empty slot to connect five stones in a row.
Duskwood Hill Ruins: South of Kilnden Workshop. This is a pillar height puzzle with four sockets. The goal is to match the leftmost pillar. Use Socket 2 to raise the second and fifth pillars. Then use Socket 3 to raise the second, third, and fourth. Hit Socket 4 to bring up the third, fourth, and fifth. Finally, hit Socket 2 again to lower the second and fifth. Everything should now be perfectly aligned.
Dragon's Stone Chamber Ruins: East of the Greymane Camp. This is a brutal mural puzzle. Facing the dragon, set the left dial so the sun is at the top. The middle dial needs its C shape pointing left and slightly up. The right dial needs the outer swirl on the bottom left.
Halssius Conflux Ruins: South of the House of Healing. Use Stab on the mechanism to match the symbols hit by the statue's beam. Round one is the Plate. Round two is the Lyre, Vase, and Scales. Round three is two Horses, Lyre, Scales, and Plate.
Hunter's Cabin Ruins: West of the Abyss Nexus. Use Visione to trigger the Memory scene. Whip out your Blinding Flash and light the five lanterns scattered around the cemetery.
Haunted Hill Ruins: East of the Abyss Nexus. A classic Water Drain. Cast Nature's Snare on the accessible mechanism to drop the water level. Then cast it again on the second mechanism that just surfaced.
Southern Hernand Locations
Azure Moon Labyrinth Ruins: Hidden beneath the Witchwoods. The mural inside gives you clues based on five trees in Pororin. You have to activate the correct buttons at the end of the maze based on that visual aid.
Precipice of Echoes Ruins: South of Fort Perwin. A stepping stone memory game. Step on the starting plate and walk to its matching symbol without touching any other active symbols or dead gray stones. Walk slowly with your lantern out so you do not accidentally sprint onto a landmine.
Sunrise Plains Ruins: South of Glenbright Manor. A highly annoying Statue Rotation puzzle. You need to rotate every statue to face the center, but turning one often moves another. Listen for the heavy stone grinding noise to know when a statue has locked into the correct angle.
Steel Mountains Ruins: Far south near the Spire of Insight. Grab the mallet resting nearby. Hit bells one through six in ascending order. Then hit bells four down to one in descending order.
Northern Hernand Locations
Deepfog Basin Everfrost Ruins: Northwest of Calphade. Another pillar height puzzle identical to the logic used in Duskwood Hill. Match the first pillar in the row.
Deepfog Basin Dragon Head Ruins: West of Calphade. This is a sliding tile puzzle. Use Stab to drag the tiles around until they form a complete picture.
Arboria Forest Ruins: West of the Hills of No Return. Use Stab on the fountain sockets. Rotate them until the two waterspouts on each pillar are dumping water directly into the center basin.
Drakesfall Gorge Ruins: Bordering Demeniss. Step on the plate to start a deadly game of Red Light Green Light. Walk toward the king statue. When the king turns around and its eyes glow, stop dead in your tracks. If it catches you moving, you restart.
Ancient Rift Maze: North of Sage's Peak. You need to gather three Engraved Stones hidden behind runestone gates. Use Concentrated Light on the runes to level the pillars. For the first gate, hit the fourth rune. For the second gate, hit the first rune. For the third gate, hit the sixth rune twice, then the first rune twice. Grab the stones and slot them into the main receptacle.
Pailune Region Puzzle Solutions
The frozen north is not very welcoming. You will be dealing with a lot of ice and hostile bears up here. Make sure you stock up on supplies. Read my healing and cooking guide if you are burning through Palmar Pills too fast.
Key Pailune Locations
Hidden Chamber of Wisdom: Center of Pailune. The entrance shows wind blowing. Inside, use Force Current to push the blocks matching your elemental skills. Push the top middle block for Wind, top right for Lightning, middle left for Ice, and bottom left for Fire.
Silverwolf Mountain Ruins: Northeast of the Hidden Chamber. Smash the frozen pool with Turning Slash. Use Nature's Snare on the first mechanism to lower the water, then hit the second one.
Five-Finger Mountain Icy Ruins: Western Pailune. Smash the ice with Turning Slash. Break the cracked ice in the lower area to drain the water. Then solve the block puzzle by moving the human figure block to the exact center.
Five-Finger Mountain Valley Ruins: Northwestern Pailune. Push the stone carts to the edge to expose the revolving statues. Shoot the right side of each statue to spin it until the face with glowing eyes looks at you.
Black Wall Ruins: Northern Black Wall mountains. Easiest puzzle in the game. Lift the stone wall with Nature's Grasp, walk inside to claim the cresset, and walk out.
Demeniss Region Puzzle Solutions
Demeniss introduces a lot of mechanical complexity. Expect to be manipulating water levels and dragging heavy objects. It takes a lot out of your stamina, so increasing your inventory space to carry more stamina boosting food is a smart play here.
Central Demeniss Locations
The Screaming Vault: West of Rustleleaf Farm. Drop down the hole. Set the left room's dial so the vertical bar is at 11 o'clock and the hook faces 9 o'clock. The middle room needs the two circles resting on top of the triangles. The right room needs the archer's bow facing 3 o'clock.
Golden Plains Ruins: North of Demeniss Orphanage. Burn the thorny vines off the fourth statue. Spin statue 2 to face the middle. Spin statue 1 so that statue 3 faces the middle. Finally, spin statue 4 so both 2 and 4 face the center.
Southern Demeniss Locations
Trembling Woods Ruins: Southeast of the Sanctum of Penitence. It is a massive clock puzzle. Set the right dial so the sun is at 2 o'clock. Rotate the middle dial so the large opening frames the sun. Use Stab on the broken left dial and rotate the small circles to frame the moon and eclipse symbols.
Bamboo Forest Seonangdang Ruins: Northeast Serpent Marsh. A simple stacking challenge. Move the stones onto the center pile, starting with the largest rock and finishing with the smallest.
Northern Demeniss Locations
Kingshield Mountains Ruins: West of Tariv. Exact same logic as the Bamboo Forest, but you are stacking clay pots. Largest on the bottom, smallest on top. Keep it centered so it does not tip over.
Wiggling Hill Ruins: Northwest of the Golden Gallop Racecourse. Drain the pool using Nature's Snare on the mechanism, then light the five surrounding lanterns.
Fuming Lands Ruins: East of the Smoking Lands Hearth. Burn the vines off the mechanisms first. Use Stab to rotate the spouts until they fill the fountain.
Smoking Lands Desert Mouth Maze: North of Deadfire Mountain. Check the central diagram. You have to use Force Current to flip 10 stone doors hidden around the area so their symbols match the diagram. One door is already correct. The final door is hidden in a vine covered nook in the northwest corner.
Delesyia Region Puzzle Solutions
Delesyia is dense and confusing. You will be pushing walls and navigating spike traps.
Northern Delesyia Locations
Beardtree Hills Rock Ruins: West of Beardtree Gorge. A stepping stone puzzle. The final round requires stepping on every single plate without making a mistake. Plan your route carefully.
Beardtree Hills Sunflower Ruins: East of the Rock Ruins. A basic water drain. Use Nature's Snare on both spinning devices to empty the pool.
Memory-Laden Ruins: East of the Stoneback Crab Wetlands. Burn the vines and shoot the ropes to cross the spike traps. The clues are actually far to the north at Red River. Push the blocks with the up and down arrows, and the blocks with the fish boat hybrid symbol. Leave the diagonal arrows alone.
Southern Delesyia Locations
Timberdale Cliff Ruins: West of Dewhaven Logging Camp. Burn the vines and use Force Current to push the wall blocks. Pushing one block moves its neighbors. Use trial and error until the energy conducts through the whole wall.
Timberdale Gorge Ruins: Near Dewhaven. Smash the cracked wall with Turning Slash to drain the water. Then push the wall blocks to conduct the energy just like the Cliff Ruins.
Blue Thicket Ruins: South near the Abyss Impact Site. Lift the movable walls on the left and right sides using Nature's Grasp. This redirects the energy to the central device.
Mount Benus Ruins: Southeast of Mount Benus. Red Light Green Light, but in the mud. Kill the enemies first so they do not interrupt you. Walk slowly toward the statue. If you run, your character will slide in the mud when trying to stop, and you will fail the challenge.
Grey Forest Ruins: East of Mount Benus. Another Angel Statue puzzle. Rotate the dial with Stab to match the symbols hit by the beam.
Crimson Desert Region Puzzle Solutions
The final stretch. These ruins are heavily guarded by hostile factions, so expect a fight.
Burhum Maze: Near the Spire of the Sun. This is a bandit camp. Hit the stone plates in the side rooms with Force Palm to reveal three Engraved Stones. Take them to the receptacles at the top of the tallest tower.
Dawnreach Maze: Northeast of Tashkalp. Similar to Burhum, but you have to use Force Palm to push leaning towers upright to access the rooms. Grab the Engraved Stones and slot them in.
Red River Ruins: Southeastern corner. Push the lever to reveal three rotating totems across a gap. Shoot the sides of the totems to rotate them. The walls close incredibly fast. You must use Focused Shot to slow down time and mark the totems to spin them before the walls shut. Look for the red glowing eyes to know you have the correct face.
That is every single puzzle in the game. Claim your fast travel points, spend your artifacts, and stop wandering in circles.