Crimson Desert Guide: All Sword Mastery Challenges
Earning the Master of Swords trophy requires tracking down six painfully hidden Sealed Abyss Artifacts, but the resulting skill points are absolutely worth the hassle.
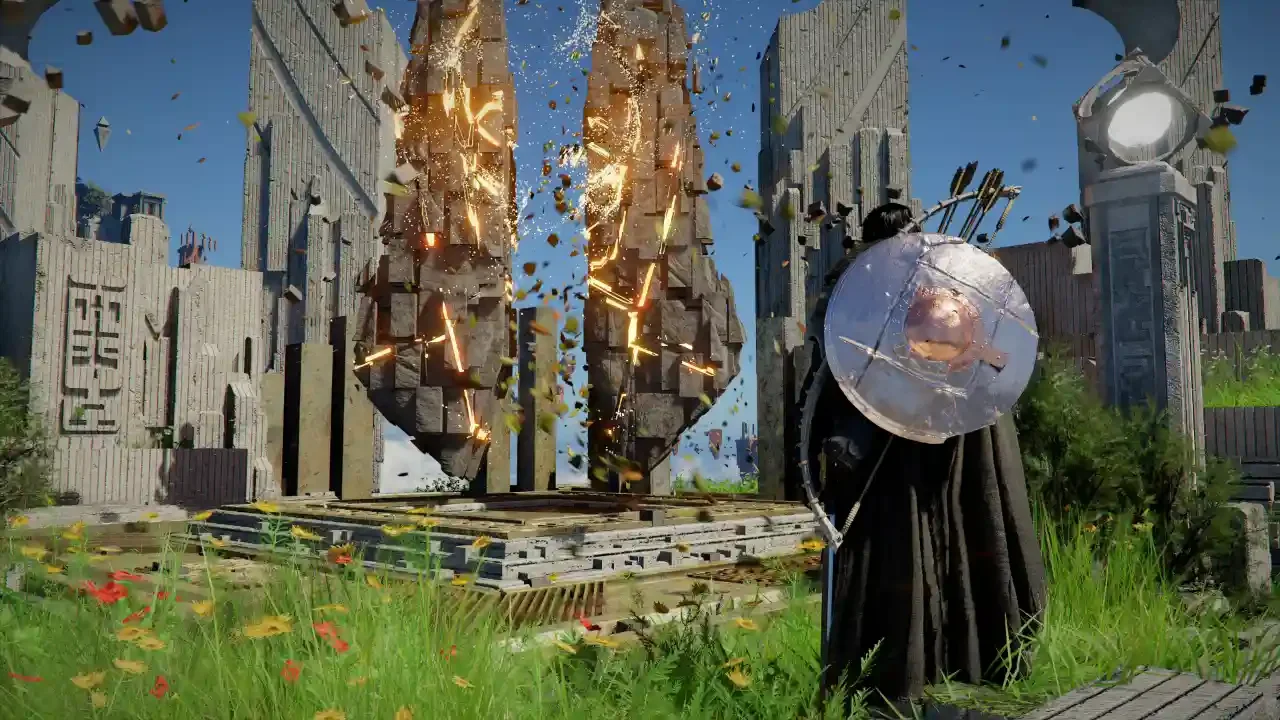
Crimson Desert hides a lot of its character progression behind glowing purple map icons. The Sword Mastery category under your Challenges tab is a prime example. You have to physically locate six Sealed Abyss Artifacts scattered across Hernand and Demeniss just to trigger the combat trials. Completing them rewards you with Abyss Artifacts to feed your skill tree, and finishing the final few throws in some high level Destruction and Rend items. If you are trying to figure out where to spend these points, I highly recommend checking out my guide on the best early skills to unlock before you accidentally waste them on useless passives.
Preparation and Required Skills
You cannot just walk into the later trials and expect to win with basic attacks. You need specific abilities unlocked and upgraded to clear the specific conditions the game throws at you.
The Hernand Region Challenges
Hernand holds the first four challenges. You can track these artifacts down by watching the edges of your minimap for a purple glow, or by utilizing your Blinding Flash to highlight points of interest in the distance.
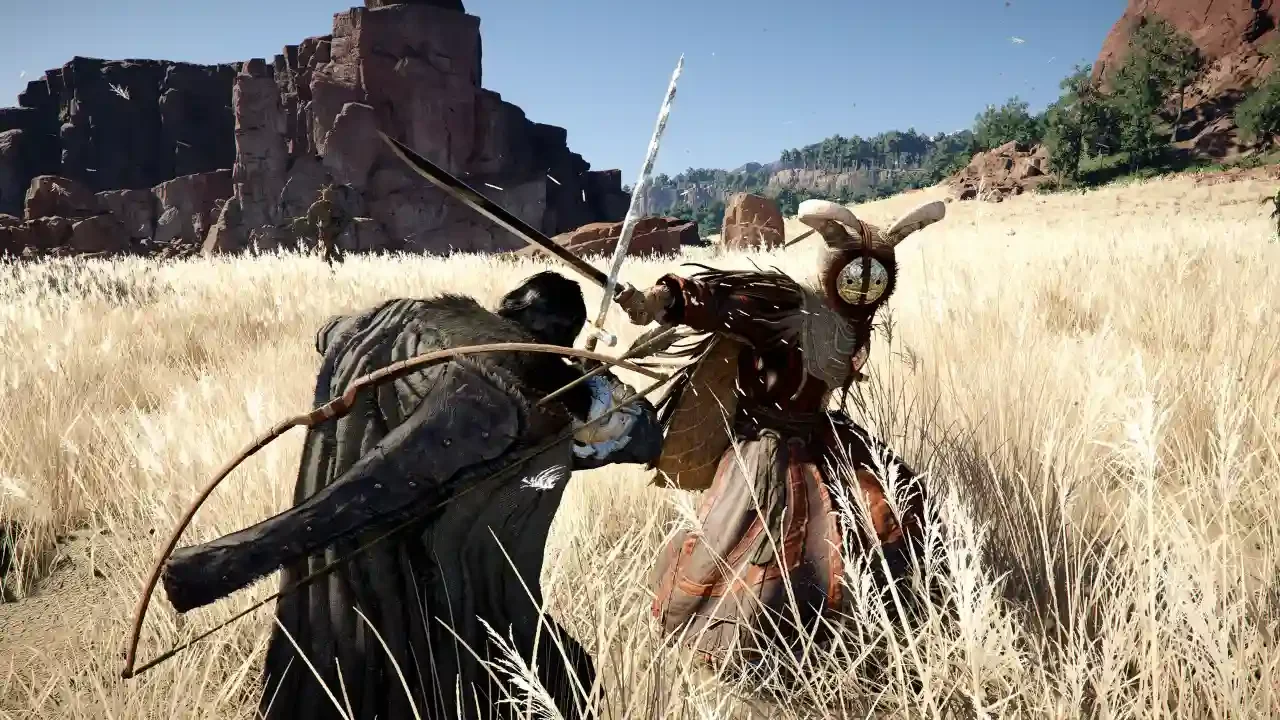
Sword of Trials 1: Quick Kill Test
You will find this first artifact north of Hernand Castle. Keep an eye on the side of the road before you cross the massive bridge at Three Saints' Falls near the Meandering Hills.
The goal is to defeat three enemies within 30 seconds using any one handed sword. This is remarkably simple. Find a small camp of unarmored bandits, rush in, and swing away. If your sword is decently upgraded, they will drop in two hits. You can even soften them up with arrows first if you are feeling overly cautious.
Sword of Trials 2: Simultaneous Kills
Travel to the Steel Mountains south of the Spire of Insight. You are looking for a small wooden shrine sitting directly on the circular mountain road.
You must defeat three enemies at the exact same time. The easiest way to pull this off is by gathering up a group of low level bandits around the Hernandian Territory. Let them group up on you, charge your Turning Slash, and let it rip. The wide sweeping arc will cut through three unshielded enemies instantly. Do not try this on heavily armored targets.
Sword of Trials 3: No Damage Run
Head toward the Goldleaf Tradepost. The artifact sits on a small marker right at the road intersection between Anvil Hill and Howling Hill.
You need to kill three enemies without taking a single point of damage. The trick here is target selection. Do not engage a mixed group of enemies. A stray arrow from a rogue archer will completely ruin your run. Find an isolated group of strictly melee fighters. Use heavy attacks to stagger them before they can swing, or just play defensively and punish their missed attacks.
Sword of Trials 4: Turning Slash Wipe
This artifact is resting near the road northwest of the Kilnden Workshop.
The requirement is to kill three enemies simultaneously using the Sword Turning Slash attack. Yes, this is functionally the exact same requirement as Trial 2. In fact, if you activate Trial 2 and Trial 4 at the same time, landing one solid Turning Slash on a group of three bandits will clear both challenges simultaneously. Completing this nets you an Abyss Artifact and a Destruction I item.
The Demeniss Region Challenges
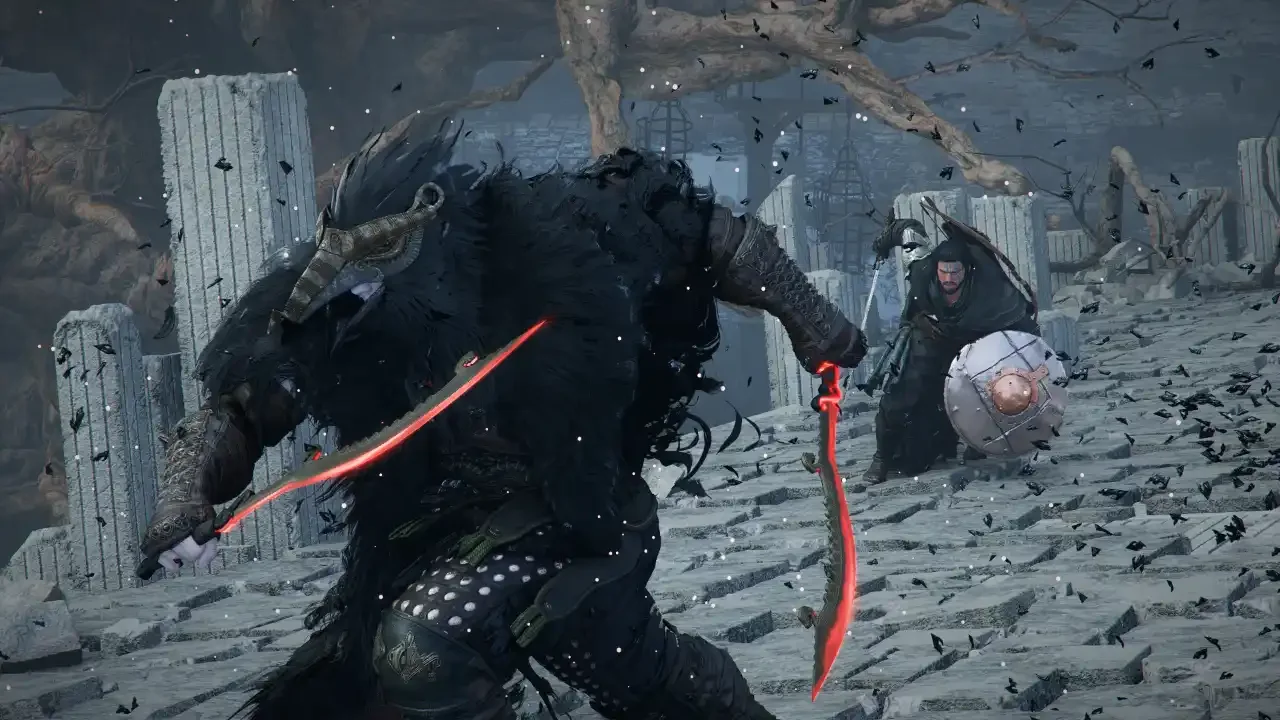
The final two trials are tucked away in Demeniss. The enemies here are slightly tougher, and the time limits feel much more punishing if you mess up your attack inputs.
Sword of Trials 5: Stab Only Kills
Head south from the Reventine Monastery. The artifact is sitting near the first major road intersection leading toward the Reventine Winery.
You have to kill three enemies in a row using strictly Sword Stab attacks. The wording matters here. If you accidentally trigger a Forward Slash or a basic light attack between your stabs, the challenge fails. Find some weak targets and strictly thrust forward. I strongly advise fully upgrading the Stab ability before doing this. The super armor bypass upgrade prevents annoying enemies from tanking your hit and staggering you out of your animation. Finishing this rewards an Abyss Artifact and a Rend I item.
Sword of Trials 6: Speed Kills with Forward Slash
The final challenge is hidden in the Serpent Marsh, the island south of the main Demeniss city. Cross the top of the waterfall, face the Buddha statue, and take the stairs to your right. Follow the path until it splits, go right, then immediately turn left to find the shrine.
You have exactly 15 seconds to kill five enemies using Forward Slash. This is a very tight window. You need a dense cluster of weak enemies, because running between targets will eat up your clock. Spam the Forward Slash input. If it is upgraded, Kliff will automatically track and pull himself toward the next closest target. If your stamina bottoms out mid fight, you will fail. Keep your stamina topped off by reviewing my healing and cooking guide so you have the right food hotkeyed. Successfully clearing this final hurdle gets you an Abyss Artifact, a Faded Abyss Artifact, and a Destruction II item.