How To Show Enemy Health Bars In Crimson Desert: Health Detection Device Location
Every enemy in Crimson Desert fights you without a health bar until you track down one very specific helmet.
Fighting Without Numbers
Combat here runs on feel instead of math. You read attack patterns, dodge, and keep swinging until whatever's in front of you stops moving. It's a deliberate choice meant to keep the fights grounded, right up until an elite enemy soaks up everything you've got and you realize you had no idea how much health it actually had left. There's no toggle for a standard UI buried in the settings menu either. The fix isn't a checkbox, it's a physical item sitting somewhere in the world.
The Chapter 11 Wall
That item, the Health Detection Device, doesn't exist for you until you're on or past "Fortress Keys" in Chapter 11 of the main quest. Show up early and the location simply won't have anything waiting for you.
"Fortress Keys" itself is a grind. It has you teleporting across the map, clearing out heavily defended camps, and working through a few genuinely miserable boss fights just to liberate one stronghold after another. Getting through those camps back to back wears thin fast, and leaning on a few exploits to thin out the tougher packs beats slogging through each one clean. Push through until the story hands you access to Marni's Laboratorium.
Getting to Marni's Laboratorium
Head to the southeast island of Delesyia. The lab is a sprawling, well-defended compound, and the item you're after sits in the central building at its core, not one of the side structures. Enemies guarding this stretch hit hard, so clearing the courtyard takes some patience.
Once you're inside the main building, take an immediate left down the corridor. Keep following it past the cages and scattered lab debris until the hallway ends.
Claiming the Device
At the dead end, turn to face the north wall. There's a cluttered table pushed into the corner, and the Health Detection Device is sitting right on top of it. No puzzle, no strongbox, no lock to pick. Walk up and take it.
Getting It Actually Working
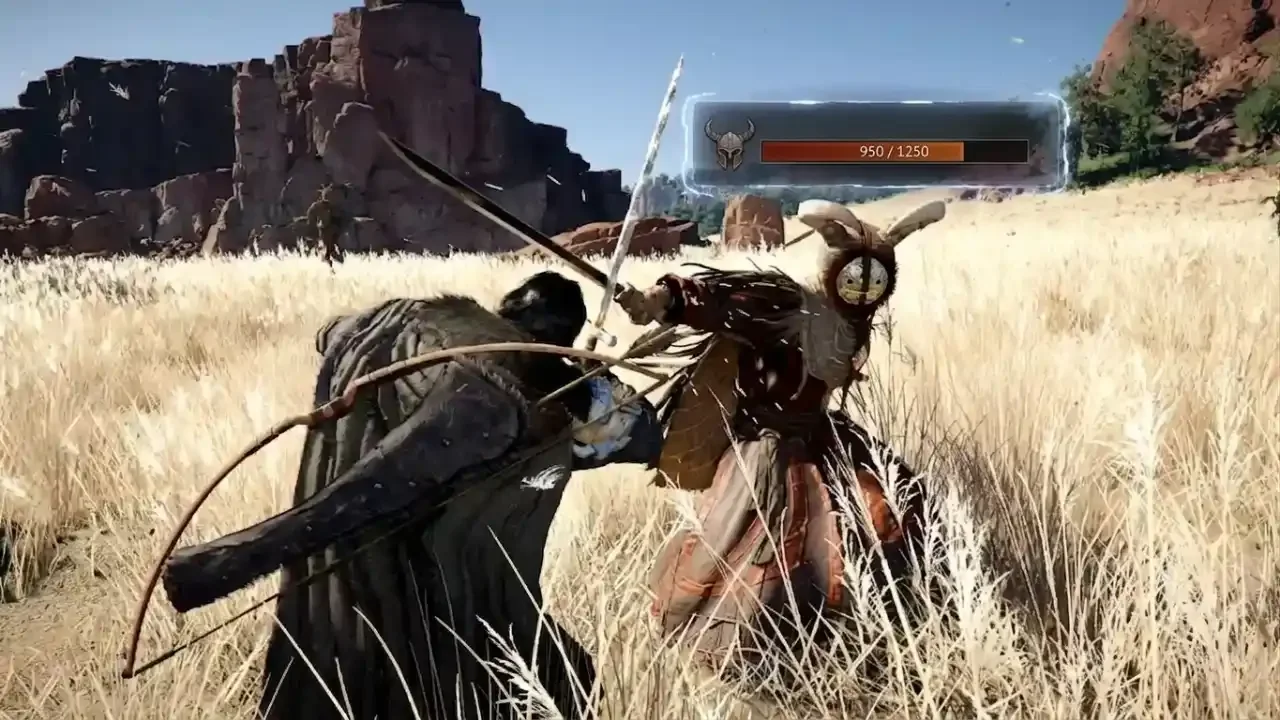
The device equips like any other helmet, but putting it on does nothing by itself. You have to switch it on manually. Open the Functions Wheel with the Right D-Pad, select the Health Detection Device, then press L2 and R2 together to lower the visor. Lock onto an enemy after that and a red health bar appears over their head, standard or elite.
What Wearing It Actually Costs
That means the rest of your gear needs to carry the defensive weight. If you're planning to explore with this on, put the upgrade budget into your chest piece, gloves, and boots first, since your head is wide open. There's no way to reskin the helmet either, so if you're chasing a specific dye for the rest of your set, this piece just won't play along.
That means the rest of your gear needs to carry the defensive weight. If you're planning to explore with this on, put the upgrade budget into your chest piece, gloves, and boots first, since your head is wide open.
Why It's Still Worth Wearing
The upside is that it turns build testing into something concrete. Instead of guessing whether a new weapon or a fresh Abyss Gear combo is actually pulling its weight, find a patrol, drop the visor, and watch the number move in real time. That takes the guesswork out of figuring out whether a heavy attack is worth the stamina cost or just barely scratching the target. Run the math, settle on a rotation, then swap back into real armor before walking into anything that matters.