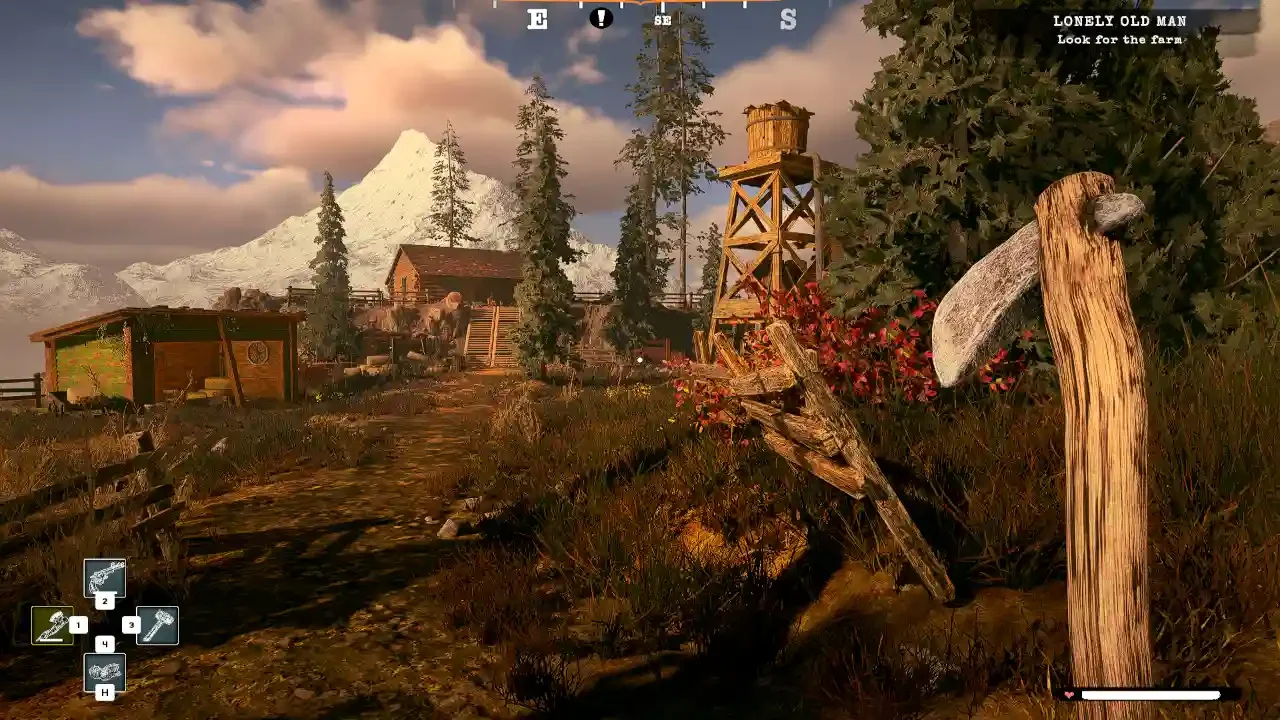
Everwind Skills Guide: Surviving the Warrior, Arcanist, and Engineer Trees
Messing up your build in Everwind is a rite of passage for new players, but reading this guide means you get to skip the painful respec phase.

Leveling up in Everwind is straightforward enough on the surface. You gain a level, you get a skill point, and you drop it into one of three distinct trees.
The complication comes from the tier gating system present in the combat focused trees. You cannot just browse the catalog and pick the shiniest toy. Both the Warrior and Arcanist paths require you to dump at least five points into your current tier before the game allows you to access the next one.
This forces specialization early on. If you try to build a jack of all trades during your first ten hours, you will end up with a character who is thoroughly mediocre at everything.
It is also vital to understand that upgrading a skill in Everwind replaces the previous tier of that skill entirely instead of stacking with it. If a node gives you a 10 percent bonus at rank one and a 20 percent bonus at rank two, your total bonus is 20 percent. Plan your point distribution carefully.
For a deeper look at the absolute cap of your potential, you can check out my thoughts on the Everwind combat skills max level to see what the endgame actually looks like.
The Warrior Tree Breakdown
The Warrior tree is where you go if you want to hit things with heavy metal or shoot them from a distance. You have to commit to this tree if you plan on using high end physical gear, because the game outright locks you out of equipping certain items without the corresponding passive nodes.
Tiers 1 and 2: The Physical Foundation
Your early game survival depends heavily on stamina management and basic mitigation. I highly recommend grabbing Parry Master in Tier 1 just to unlock the mechanic, followed immediately by Agile Parrying in Tier 2 to cut the stamina cost of those parries by up to 30 percent at maximum rank. If you prefer turtling up behind a shield, Defense Stance in Tier 1 reduces your defensive stamina drain by another 30 percent. Bow users get an incredible early tool with Recycling. Maxing this out gives you a 40 percent chance to keep your arrow after firing, saving you a massive headache when it comes to early resource farming.
There is also a very specific synergy hiding in these early tiers. Oppression extends the duration of any debuffs you apply by 60 percent. Anger Management boosts your own melee damage by 35 percent whenever you are afflicted by a negative status effect. If you like playing a berserker style where you trade blows and thrive in the mud, this combo is exactly what you want.
Tiers 3 and 4: Equipment Gates and Mid Game Spikes
Tier 3 introduces the first set of mandatory equipment gates. Advanced Weapons and Advanced Bows are purely passive enables. You can spend hours following the Everwind complete weapons armor crafting guide to forge a beautiful piece of steel, but without these nodes, it will just sit in your inventory mocking you. Grab them as soon as you have the gear to justify it.
This bracket also hands you Great Body for a flat 75 health increase across three ranks, and Finishing Combo for a much needed melee string ender. Tier 4 is where your damage output gets serious. Focus grants a 25 percent damage boost after you avoid taking damage for a set period. At rank one the wait is a grueling 45 seconds, but at maximum rank it drops to 15 seconds, making it a highly reliable buff in mobile fights. Pair this with Devastation to spike your critical damage by 75 percent, and Blood Thirsty for a slow but steady health regeneration on every kill.
Tiers 5 and 6: Assassination and Mastery
The final tiers are designed for pure specialization. Master Weapon, Master Bow, and Master Armor are the final equipment hurdles you have to clear. Beyond the gear checks, Tier 5 completely opens up the stealth playstyle. Backstab gives you a 100 percent damage bonus against unaware targets. Shadowcloak turns you invisible while crouching. When you finally hit Tier 6, you can grab Ambush, which guarantees a stun on any full health enemy you hit with a backstab.
Bow users get Multi-Arrow at Tier 6, allowing you to fire up to four extra arrows per shot. It essentially turns your bow into a shotgun. I do need to warn you about Throatslice, the instant kill mechanic sitting at the bottom of the tree. It looks tempting, but it absolutely does not work on bosses or elite enemies. Do not build your entire strategy around it unless you only plan on bullying low level grunts.
The Arcanist Tree Breakdown
Magic in Everwind requires a healthy amount of patience and a willingness to understand exactly how your tools interact with the world. The Arcanist tree is split by elemental affinities and gated by the same brutal five point requirement as the Warrior tree. It also dictates what magical catalysts you are allowed to wield. If you are diving heavily into the Everwind complete magic alchemy runes guide, this tree is your foundation.
Tiers 1 and 2: The Spark
You start with Fire Mastery, which scales up to a 45 percent damage increase for fire spells. Increased Magic is a mandatory quality of life node in my eyes, extending your spellbook casting range by a flat 25 percent so you can actually stay out of harm's way.
In Tier 2 you get access to Rod Maintenance. If you are using wands as your primary damage source, max this out immediately. It grants a 50 percent chance to ignore wand charge consumption, effectively doubling the lifespan of your catalysts in a long dungeon run. Spiritual Connection is here to keep your summoned minions alive 50 percent longer, and Greater Healing ensures your restorative spells hit 60 percent harder when things inevitably go wrong.
Tiers 3 and 4: Elements and Gambles
Lightning Mastery in Tier 3 adds an area of effect shock to your lightning casts, making it your primary crowd control element early on. You also get Adaptation, a beautiful defensive node that grants one second of immunity to the last magic type that hit you. It sounds brief, but it will save your life against enemies that rely on rapid fire spell strings.
Tier 4 introduces Poison and the most chaotic node in the game: Wild Magic. I have strong feelings about Wild Magic. Every spell you cast will either deal 50 percent more damage or 25 percent less, and the game rolls the dice at the moment of casting. You cannot predict it and you cannot control it. I suggest avoiding this node until your gear is good enough to absorb a string of bad luck without resulting in a game over screen. Detoxification is also tucked away in this tier, giving you a 20 percent duration increase on all potion effects.
Tiers 5 and 6: Absolute Power
The final magic tiers are where you transform from a struggling apprentice into a walking artillery strike. Pure Power slaps a flat 30 percent damage increase onto every magic type you use. Fast Casting is virtually mandatory, accelerating your spellbook cast times by 45 percent so you are not left standing still like a target dummy.
Rod Specialist gives your single target wands an area of effect alternative attack. In Tier 6, Natural Cover grants complete invulnerability while you are charging a spellbook cast. This completely changes how you approach major boss fights. Throw in Magic Mirror to reflect enemy projectiles, and Accumulated Energy to make enemies explode upon dying to your magic, and the screen will constantly be full of particle effects. Do not forget to grab your Master Books and Master Rods unlocks here either.
The Engineer Tree Breakdown
The Engineer tree is the odd one out, but in the best way possible. It completely lacks the five point tier gating found in the other two trees. It only has five skills spread across a single tier, and all of them are dedicated to exploration, survival, and utility.
Quality of Life Overload
Area Scan and Life Detection both upgrade your compass, pushing its detection range from a modest 300 meters all the way out to 650 meters. If you are struggling to find resources for the Everwind complete crafting station recipe guide, these two nodes will highlight the world around you and cut your farming time in half. Advanced Tools acts as the singular equipment gate in this tree, giving you access to the high tier pickaxes and axes you need for rare materials. Price Estimation lets you check item values in the field so you know exactly what is worth hauling back to town.
Then there is Athlete. In my opinion, this is the single most valuable utility node in the entire game. At rank one and two, it significantly reduces the stamina you burn while sprinting. At rank three, sprinting costs absolutely zero stamina. I want to be clear about this. You can sprint infinitely across the map without ever stopping to catch your breath. Whether you are retreating from a fight gone wrong or just trying to navigate the map faster for the Everwind airship building power guide, getting Athlete to maximum rank should be an early priority regardless of your primary class choice.
Mapping Out Your Progression
If you want my advice on where to spend your first dozen points, the strategy is simple. Pick either Warrior or Arcanist as your primary combat method and push straight through to Tier 3. Splitting your points evenly early on will leave you stranded without access to Advanced gear in either category. Once you secure your main damage source and unlock your mid tier equipment, you can afford to skim points off the top.
Whenever you find yourself with a spare point and no immediate need for a combat upgrade, drop it into the Engineer tree to build toward that infinite sprint. Everwind rewards players who commit to a path, so make your choice, stick to it until you are stable, and only diversify once you have the gear to back it up.