15 Things I Wish I Knew Before Playing Mewgenics
I have thrown an unforgivable amount of mutated cats into the meat grinder, and I am finally starting to understand how this miserable ecosystem actually works.
If you just picked up Mewgenics, you are probably realizing that the game actively hates you. It is a dense, punishing hybrid of tactical RPGs and genetic simulators. If you approach it like a traditional roguelike, you will run out of food, your cats will die of horrible diseases, and your house will be overrun with literal garbage.
We have already covered the basics in our Mewgenics Beginners Guide, but surviving the later acts requires a much deeper understanding of the mechanics. I spent dozens of hours failing spectacular runs just to compile this list. Here are fifteen advanced tips, tricks, and hidden mechanics I desperately wish I knew before I started breeding freaks in Boon County.
1. Stop Getting Attached to Your Cats
This is the hardest lesson to learn. You are going to breed a god-tier cat. It will have perfect stats, a rare mutation, and an incredible synergy of passive abilities. You will love it. And then, at the end of the run, it is going to retire. Forever. You do not get to keep your active roster. Your goal is not to build one perfect team; your goal is to build a bloodline capable of consistently producing decent teams. Learn to let go.
2. The Middle Mouse Button is Mandatory
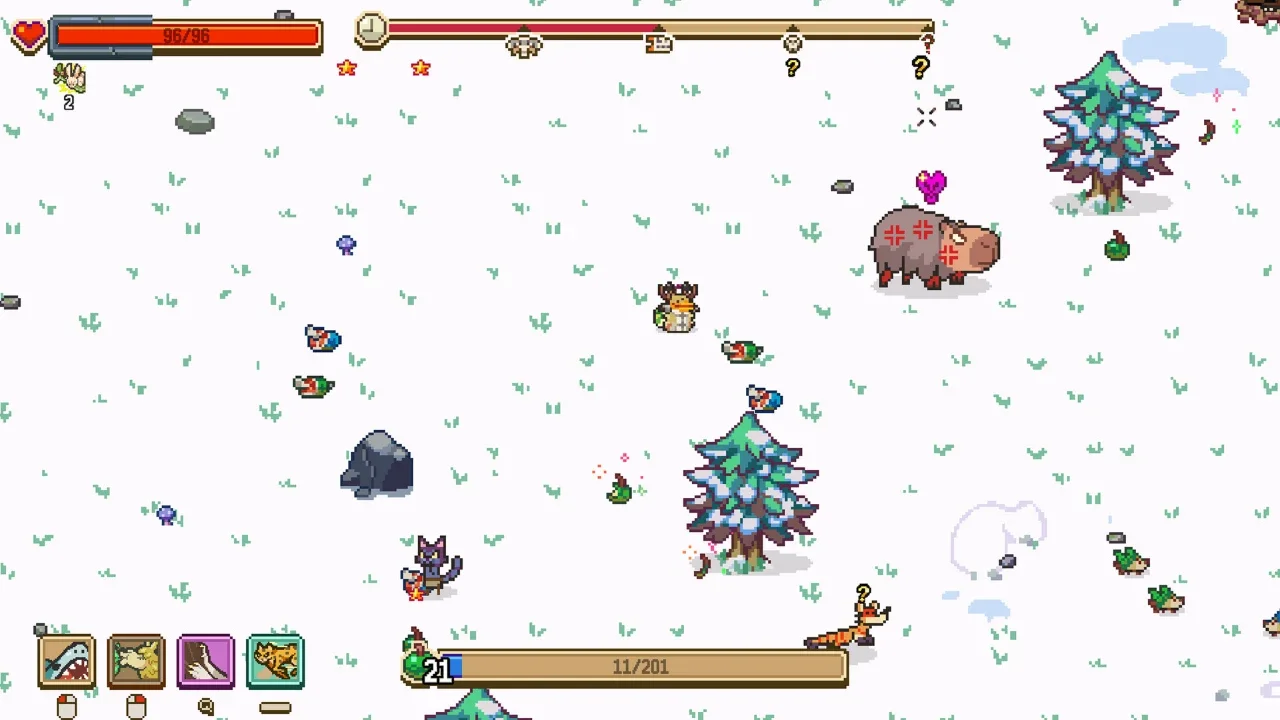
The art style is incredible, but the isometric perspective can be a total nightmare during crowded fights. Maggots and flies easily blend into the background, leading to cheap hits. Press your middle mouse button (or Y/Triangle on a controller) to toggle the Tactical View. This instantly flattens the board. Your cats become green icons, enemies become red skulls, and obstacles turn into grey blocks. Use this at the start of every single fight to check your blind spots.
3. Exploit the Hard Paths
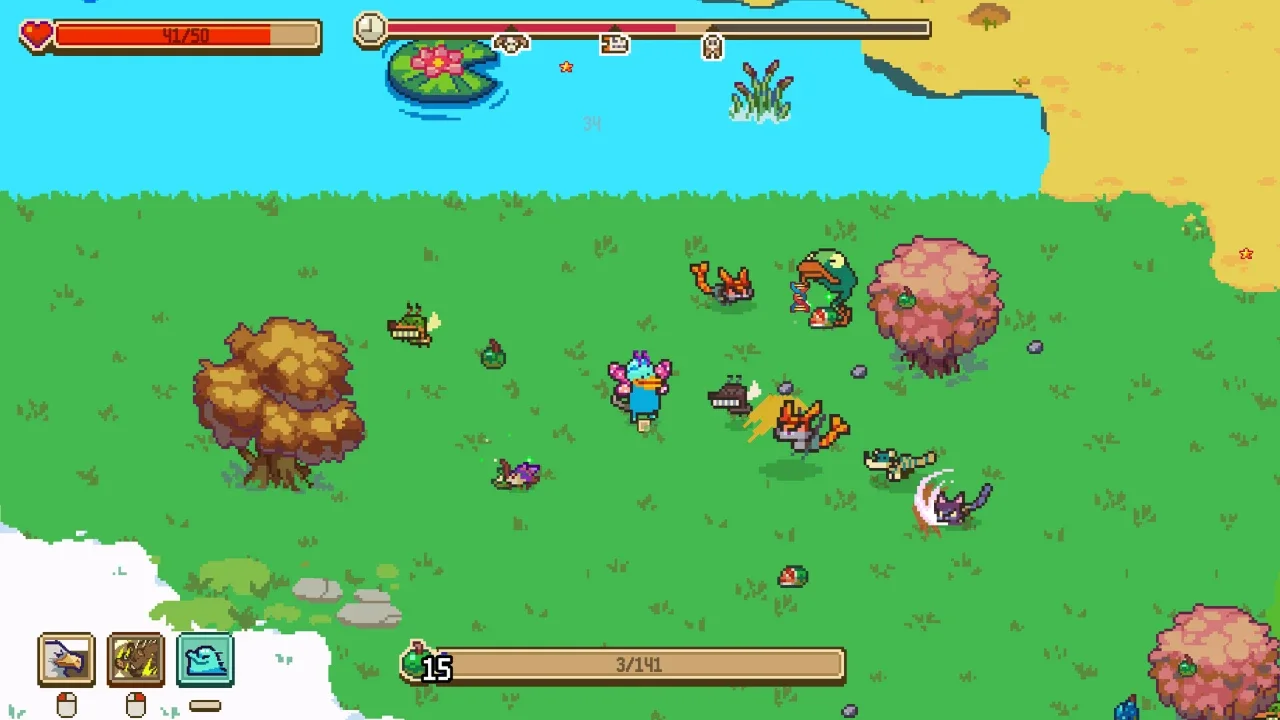
When navigating a zone, you will occasionally see a path branch off into a skull icon. This is the Hard Route. Yes, the enemies hit harder, but you absolutely need to take these paths if your team is healthy. They offer an extra fight, which means extra experience for leveling up, and they are the primary source of high-tier furniture and rare items. You cannot survive Act 2 if you spent Act 1 hiding on the easy path.
4. Basic Attacks Can Grab Loot
This is a game-changer for action economy. If a piece of food, a coin, or an item drops on a tile directly adjacent to your cat, you do not have to waste your movement action to go pick it up. You can simply use your basic, zero-mana melee attack on the tile to grab the loot. This is incredibly useful for snatching a quick heal before an enemy gets to it.
5. Never Show Your Back
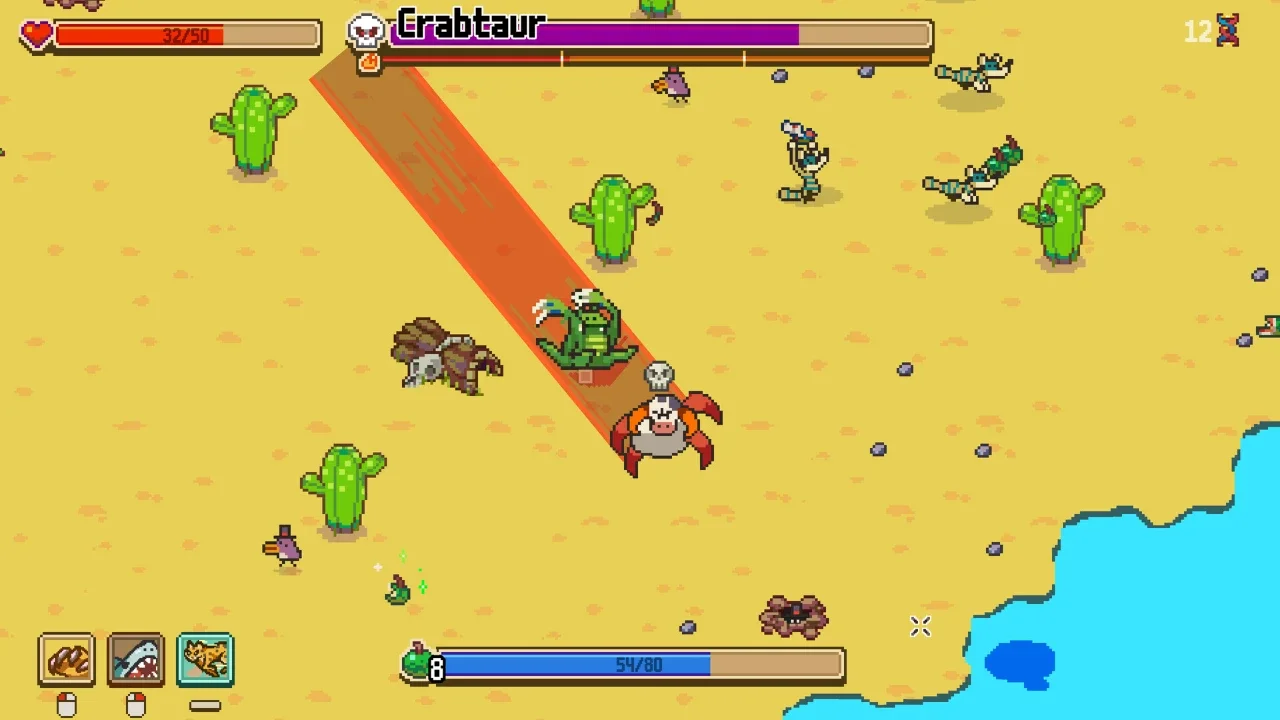
Mewgenics uses directional damage. If you get hit in the back, you take 25% extra damage. Always end your turn facing the biggest threat on the board. You can manually adjust your facing direction without spending an action simply by clicking on an empty tile in the direction you want to look. Do not let a random rat backstab your fragile Mages.
6. The Neverstone is Actually Incredible
Occasionally, you will find an item called the Neverstone. Its description says it prevents a cat from leveling up. This sounds like garbage, but it is actually one of the most strategic items in the game. If you are forced to bring a weak stray cat on a run just to fill an empty slot, equip it with the Neverstone. Experience points are pooled, and the game prioritizes leveling up lower-level characters. By locking the stray at level one, you force all the experience onto your actual, viable carries.
7. Kill the Birds
During fights, you will sometimes see random birds (pigeons, chickens) wandering around the map. They are marked with grey icons in Tactical View, meaning they are neutral. Do not ignore them. If you take the time to kill a bird before it flies away, the cat that lands the killing blow gets a massive "All Stats Up" buff for the remainder of the battle, and the bird usually drops a free item.
8. Manage Your Mana Economy
Intelligence dictates how much mana you regenerate at the end of a turn. Charisma dictates your starting mana pool, and your maximum mana is always your Charisma multiplied by three. If you build a Mage with a devastating spell that costs 5 mana, but they only have 2 Intelligence, they are going to spend half the fight doing absolutely nothing. Always align your spell choices with your actual stat distribution.
9. Rain Ruins Bombs
Weather effects drastically alter combat, but the game rarely tells you exactly how. The most important interaction to memorize involves the Radical Rat boss in Act 1. He throws massive explosives. If it happens to be raining during that fight, the rain instantly douses the fuses on his bombs, rendering his primary attack completely useless. Always check the weather icon before entering a boss room. If you are struggling with specific encounters, read our Complete Boss Strategy Guide.
10. The AI Punishment System
The game autosaves constantly, and it expects you to live with your bad dice rolls. However, if you are about to wipe, you can technically hit "Save and Quit" during a battle and reload the game. When you log back in, an NPC named Steven will yell at you.
He gives you one free pass. If you do it a second time, your entire party gets the "Deja Vu" disorder, giving them a 10% chance to just cancel their own actions. If you do it a third time, the AI completely takes over your characters for the next fight and will absolutely get them killed. Do not test Steven.
11. Read the Enemy Intel
Do not just guess what a new enemy does. Hover your cursor over them to see exactly how far they can move and what their attack range is. More importantly, read their passive descriptions. Some enemies enrage when their allies die. Some will explode if you hit them with specific elements. If you do not read the fine print, you are going to accidentally trigger a chain reaction that wipes your squad.
12. You Do Not Need Four Cats
You default to a four-cat party, but you do not actually have to fill every slot. If you run a dungeon with only two or three cats, the total experience pool is split among fewer characters. This means your smaller squad will level up significantly faster. Running a heavily optimized duo is entirely viable, and sometimes preferable, for specific boss hunting quests.
13. Dump the Gays and the Strays
You need specific cats to unlock permanent account upgrades. If you have a house full of gay cats, they cannot produce kittens (unless you pair them with a gender-fluid "Ditto" cat). If you are hitting your population cap, these are the cats you need to donate to the NPCs. To figure out exactly who wants what, check our Retired Cats and NPC Upgrades Guide.
14. Keep Your House Clean
The game is uncomfortably obsessed with poop. Your cats will constantly defecate on your floors. If you do not manually click on the turds to clean them up, the "Comfort" and "Health" stats of the room will plummet. Low comfort means your cats will start violently fighting each other instead of breeding, leading to permanent injuries and death. Use the Furniture Placement menu to easily spot and clean up the mess without clicking on your wandering cats. For a deeper breakdown on how to manage your layout, check our Furniture and House Stats Guide.
15. Retreating is Better Than Dying
If your team is in bad shape after a boss fight, do not push into the next zone just to see what happens. When your cats die in the field, their bodies explode and they are gone forever. If you manually choose to "Go Home" after a boss, your cats survive. They retire, but they return to your house with all their loot, their high stats, and their genetic potential fully intact. A living, retired veteran is infinitely more valuable for your breeding program than a dead hero.