MIO: Memories in Orbit Beginner Guide: How to Not Suck at the Nacre Economy
The Vessel is a godforsaken graveyard of broken robots and even more broken dreams, and if you don't learn the rules of the Nacre economy quickly, you're going to have a very bad time.
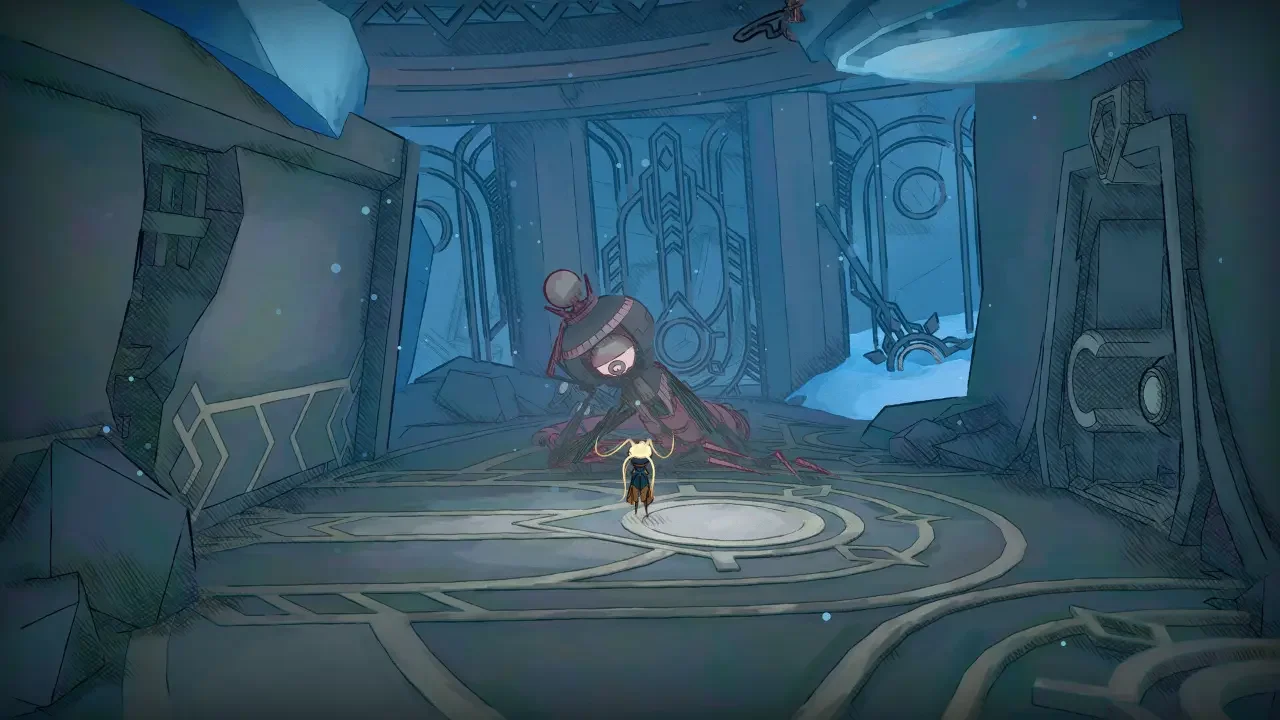
I’ve played enough Metroidvanias to know when a game is trying to be a dick on purpose. MIO: Memories in Orbit doesn't just want you to explore; it wants you to feel small, lost, and constantly underfunded. It’s an atmospheric masterpiece, sure, but it’s also a game that will happily let you wander for three hours without a map because you didn't pay the local robot overseer enough space-dust. If you want to actually see the credits instead of just staring at a "Not Connected to the Spine" error message, you need to understand how to manipulate the systems before they manipulate you.
The Brutal Reality of the Nacre Economy
In MIO, Nacre is the lifeblood of everything, acting as your currency for both upgrades and literal world-building. The game uses a "liquid" and "crystallized" system that is designed to punish the greedy and reward the cautious.
Every enemy you dismantle drops liquid Nacre. This stuff is about as stable as a house of cards in a hurricane. If you die, that Nacre stays with your corpse. If you die again before grabbing it, congratulations, you’ve just wasted twenty minutes of your life. The solution is finding processing units (look for the hexagon icons on your map) to "crystallize" your stash. Once it’s crystallized, it’s permanent. You can’t lose it. I’ve made it a personal rule to never enter a new biome or a boss arena without visiting a processor first.
Funding the Nexus and Your Map
Your hub area, the Nexus, starts off as a dark, useless pit. You have to feed Nacre to Shii, the overseer robot, just to get basic functionality back. Until you dump enough Nacre into the pool, you can’t even look at your map unless you’re physically standing in the Nexus. It’s an annoying hurdle, but pay it early. Getting the lights on and the map connected to the "Spine" (the game's network) is the difference between a calculated exploration and aimless wandering.
Mastering the Allocation Matrix
The most unique, and potentially frustrating, part of MIO is the Allocation Matrix. You don't just "equip" skills; you manage memory slots. Every mod you find takes up space, and your total capacity is strictly limited.
This creates a constant internal debate: do you want to be a glass cannon with massive damage, or do you want to actually see your health bar? The game starts you with a mod called Self-Awareness, which displays your health and energy. It’s a basic UI element in 99% of games, but here, it’s a luxury that costs memory. If you’re struggling with a boss, sometimes the best move is to unequip your own health bar just to squeeze in one more combat modifier. It’s stressful as hell, but it’s the only way to survive.
Choosing Your Early Game Mods
You’ll eventually find Modifier Extensions to grow your matrix, but early on, you have to be picky. You can buy some from Mel the merchant (who sets up shop in the west of the Nexus), while others are hidden in the decaying corners of the Vessel.
Movement, Hazards, and the "Hidden" Mechanics
The platforming in MIO is surprisingly deep, but it relies on a mechanic the game only subtly hints at: the jump reset. You have a double-jump by default, but you can effectively jump forever if you’re aggressive.
The Art of the Aerial Reset
Hitting anything in the air, an enemy, a lavender bulb, or even a weird purple growth, completely refreshes your double-jump. I’ve found that the best way to cross massive gaps isn't to look for a platform, but to look for a victim. Smacking a flying enemy into scrap metal gives you the boost you need to reach that out-of-the-way ledge. If you’re struggling with height, stop looking for floor and start looking for something to hit.
Assist Modes and Environmental Dangers
If the combat is feeling a bit too "Souls-like" for your taste, don't be a hero. The assist modes in MIO are actually well-integrated. "Ground Healing" is a favorite of mine, giving you a shield node if you just stay on the floor for a few seconds. It’s balanced because it forces you to stop jumping like a caffeinated flea, which is usually when you get hit the most anyway.
And for the love of everything, watch out for the elevators. When you hit a terminal to call one down, stand back. These things have zero safety features and will flatten you instantly. I’ve survived god-like guardians only to be ended by a cargo lift because I was checking my map like an idiot.
Got a hot take on this? I know you do. Head over to r/neonlightsmedia to discuss it.
