Pokemon Pokopia Beginner's Guide: How to Stop Wasting Time and Actually Build an Island
Pokemon Pokopia drops you onto an island as a squishy little Ditto and trusts you to figure out the rest, so here's the game plan that got mine running smoothly.
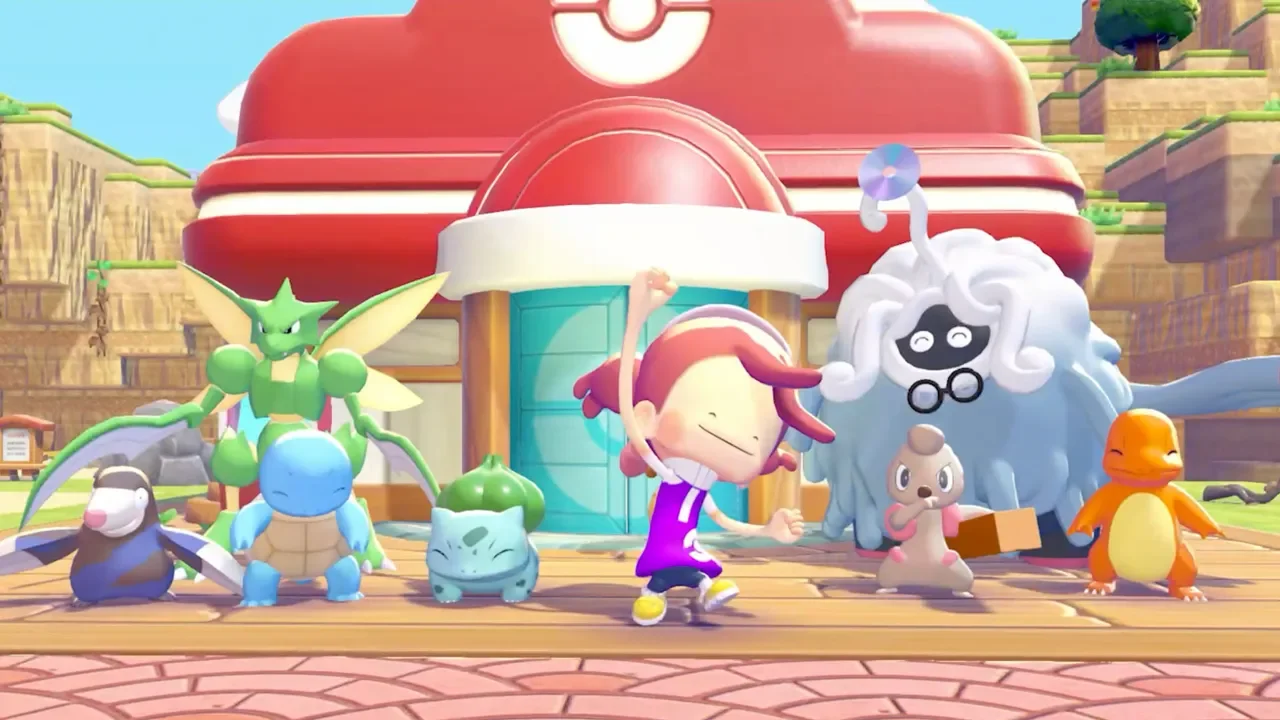
© 2026 Pokémon. TM, ® Nintendo.
I love a good cozy life simulator. There's something deeply satisfying about turning a barren patch of dirt into a thriving little community for magical creatures. Pokopia doesn't spell everything out for you though. It hands you a few gentle hints and lets you piece the rest together yourself. You don't have to stumble through that early stretch blind. I've pulled together the mechanics that actually matter so you can go from a helpless blob in the sand to a confident island builder without the usual growing pains.
Sort Out Your Inventory First
The very first thing you'll notice in Pokopia is just how small your pockets are. Fixing that needs to be your top priority before you start hauling lumber all over the beach.
Unlocking the PC and Expanding Your Space
You'll need to unlock the shop before you can upgrade anything, and that means finding the Pokemon Center PC and clearing your first Challenge to get it up and running. If you want the exact steps for that part, I walked through the whole process in my guide on rebuilding the Pokemon Center.
Once the shop opens, take your first 100 Life Coins straight to "Packing Tips: Rookie." Skip the furniture and the cute decorations for now. Carrying more items means fewer trips back to base, which gets your whole island moving a lot faster.
The Inhale Trick
When you're out gathering materials, there's no need to walk up to every single stick and tap a button. Hold down Y to activate Ditto's inhale ability, and you'll scoop up every loose item in front of you in just a few seconds. It's a lovely little shortcut once you know it's there.
Keeping Your PP Topped Up
Every time you copy a move from another Pokemon, it costs PP. That blue bar in the bottom right of your screen is basically your energy meter, and letting it run dry makes building and clearing terrain a much slower, more tiring process.
Foraging for Berries
Berries are the easiest way to keep your PP topped up, and Leppa Berries are the ones I always keep stocked. Just press A to headbutt Berry trees and they'll drop right down for you. Headbutting costs zero PP, so it's always worth shaking down a tree when you pass one.
If you spot a tree that looks dried out, don't walk past it. Transform and use Water Gun to revive it, and you've just given yourself a brand new food source. I go into a lot more detail on stamina management in my PP recovery guide if you want the full breakdown.
The Best Early Shop Upgrade
Once your Environment Level hits 3, head back to the shop for the "PP Up" item. A bigger stamina pool means you can chain together heavier construction tasks without needing a snack break every few minutes.
Crafting the Smart Way
Building is the heart of Pokopia, and a little planning goes a long way toward keeping the whole process relaxing instead of tedious.
The Golden Storage Rule
Here's the tip that saves the most headaches: place a Storage Box right next to your Workbench. When the two are touching, the Workbench pulls materials straight from the box automatically, so your tiny personal inventory never gets cluttered with wood and stone just to make a chair. My crafting and building guide covers even more setups like this if you want to go deeper.
Early Game Shopping List
A few things are worth prioritizing before anything else:
Packing Tips: Rookie - costs 100 Life Coins and expands your small starting bag space, so you spend less time running back and forth.
Storage Box - crafted from Lumber and placed next to your Workbench, it feeds materials in automatically while you build.
PP Up - unlocks at Environment Level 3 and keeps you from getting fatigued during long building sessions.
To turn a build into an official structure the game recognizes, enclose it with at least four walls and make it a minimum of two blocks high. Once the shell's up, drop in three pieces of furniture and it upgrades into a proper "Home," which means you can finally assign a Pokemon to live there.
Keeping Your Residents Happy
You're essentially a landlord in Pokopia, and your tenants have some pretty specific wishes. Meeting them is what raises your island's overall Environment Level.
Reading Comfort Levels and Climate
Walk up to any Pokemon and ask how their comfort level is doing. They'll tell you plainly what's missing, usually a particular piece of furniture or a change in the local climate. If you're not sure what a specific species is looking for, my habitat guide can help you figure out what will make them feel right at home.
Weather matters too. Some residents love a bit of dampness while others get miserable if it rains too often, so it's worth keeping an eye on the forecast as you plan where everyone settles in.
A Couple of Time and Evolution Quirks
Pokopia syncs to your Switch 2 system clock, and some Pokemon only show up during the day. If your schedule makes daytime play tricky, you can always adjust your console's clock. No judgment here.
One more thing worth knowing early: evolution doesn't exist in Pokopia. Since there's only one unique NPC for each species, evolutionary lines are treated as completely separate characters. That means attracting a wild Ampharos takes building a specific, high tier habitat of its own, rather than raising a Mareep up to it. It's an unusual choice, but once you know it going in, planning your island's districts gets a lot simpler.
Claiming a Home of Your Own
After spending hours crafting gorgeous homes for picky electric types, it's easy to realize Ditto is still curled up in the dirt. Happily, that's an easy fix.
Earning the Ditto Flag
Working through the early quests, Professor Tangrowth will eventually challenge you to build your own house. Completing that quest rewards you with the recipe for a Ditto Flag, which needs a Sturdy Stick, some Twine, and a Leppa Berry.
Craft the flag and place it on any building on the island to make it officially yours. Beyond just having a roof over your head, your flagged house becomes a fast travel point, which turns into a real time saver once your island expands and the walk from the beach to the highlands starts eating up several minutes. You can even plant your flag on a house that's already occupied by another Pokemon if you'd rather have a roommate than live alone.
Pokopia turns into a genuinely lovely little sandbox once you get past that first bit of friction. Keep your pockets light, your berries stocked, and your workbench set up smartly, and your island will be thriving before you know it.