Pokemon Pokopia Guide: Surviving The Endless Grind Of The Team Initiation Challenge
You spend your entire playthrough rebuilding civilization from the ground up just to become an unpaid delivery driver for a talking tower.
Early in your adventure through the Withered Wasteland, you will stumble across a strange building buried in the sand near the beach. Examining this structure triggers the Team Initiation Challenge. It presents itself as a quirky little side project. You hand over some basic berries, and the tower spits out a legally distinct gym badge as a reward.
Do not let the easy introduction fool you. This questline is actually the final gatekeeper of the main story campaign. What starts as a simple grocery run rapidly escalates into a brutal industrial supply chain nightmare. You cannot even finish the final steps until you have completely mastered the crafting and building mechanics across the entire map.
I spent hours running between biomes trying to satisfy the demands of this ridiculous building. I am going to break down every single phase of the challenge so you know exactly what resources to hoard.
The Early Fetch Quests
The first three phases of the challenge are designed to lull you into a false sense of security. The tower asks for raw agricultural goods and basic processed materials.
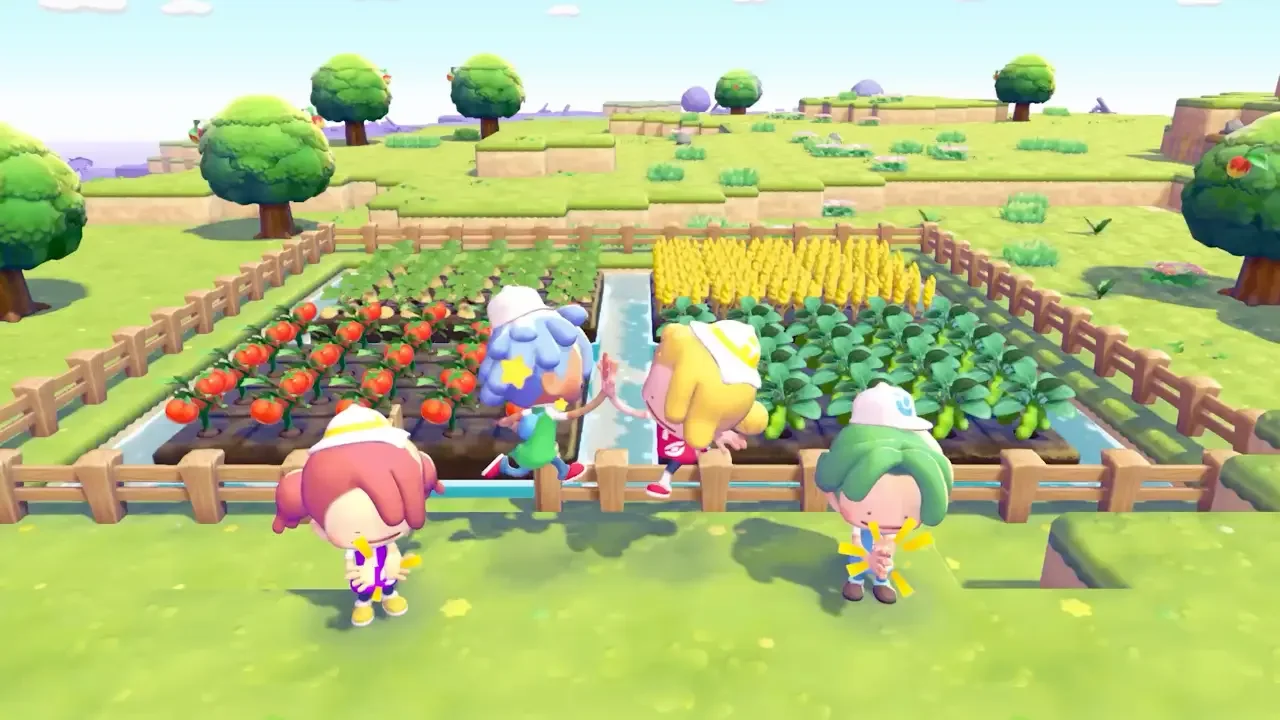
You start by handing over a small stack of Leppa Berries. The tower then immediately demands a diverse harvest consisting of Beans, Tomatoes, and Wheat. You cannot grow all of these in one place. You have to travel back to the Withered Wasteland for the Beans, hit Bleak Beach for the Tomatoes, and scour the Rocky Ridges for the Wheat.
Phase three forces you to actually utilize your captured workers. You need to deliver 20 Lumber, 5 Fluff, and 10 Paper. You have to assign a Pokemon with the Chop specialty to generate the wood. You need a Litter specialty creature like Mareep for the Fluff. Finally, you have to find a Trubbish with the Recycle specialty to process your wastepaper into clean sheets.
The Industrial Nightmare
Phase four is where the difficulty spikes violently. The tower stops asking for agricultural products and demands heavy construction materials.
You are required to deliver 40 Bricks, 20 Gold Ingots, and 50 Concrete. Earning the Bricks requires feeding Squishy Clay to a Pokemon with the Burn specialty. The Gold Ingots force you to mine gold ore deep in the Rocky Ridges and smelt it in a furnace. The Concrete is the worst offender. You have to reach the Sparkling Skylands, acquire a Concrete Mixer, and force a Pokemon with the Crush specialty to pulverize Limestone.
The Grid And The Gear
Phase five tasks you with delivering 50 Electricity, 10 Crystal Fragments, and 5 Tinkagears.
Getting the electricity requires you to actually build a power grid right next to the tower. You need to construct a Waterwheel in the nearby pool and place a fully fueled Furnace next to it. Connect them directly to the red light on the tower using Utility Poles. It is exactly like the process required to wake up Mosslax.
The Tinkagears require a very specific interaction. You have to track down the Tinkmaster NPC and physically trade items with them. Hand over your hard earned Iron Ingots, and they will forge the gears you need.
The Environment Level Wall
Phases six and seven are where most players completely stall out. The tower stops asking for raw materials and demands fully constructed furniture and luxury appliances.
You need to craft four Industrial Beds, four Resort Lights, and four Office Desks. You cannot just guess these recipes. You have to physically find the blueprints hidden in abandoned buildings across the map. The Industrial Bed recipe is sitting in the ruined restaurant in the Rocky Ridges. The Resort Light blueprint is stashed inside Meowth's shack on Bleak Beach. You will find the Office Desk plans just outside the spot where you rebuild the Pokemon Center in the Sparkling Skylands.
The final appliances are even worse. The Washing Machine, Refrigerator, and Game Boy System are not crafted from wild blueprints. They are exclusive reward items given to you only when you raise the Environment Level of Bleak Beach, Rocky Ridges, and Sparkling Skylands to a perfect rank 5. You have to completely master the humidity and environment ecosystem to force these areas into pristine condition.
The Final Celebration
Once you hand over the heavy appliances, the tower gives you one final, bizarre request. It wants a Cherished Photo and two Party Poppers.
You just need to open your camera tool and snap a photo to fulfill the first half. The Party Poppers require you to push the Withered Wasteland to Environment Level 5. You get the recipe as a reward, which requires basic Paper and Vine Rope to craft.
Deliver the poppers, and the agonizing fetch quest is finally over. The screen fades, a cutscene plays, and the credits roll on the main campaign. More importantly, finishing this absolute marathon of manual labor grants you access to Team Rocket's secret hideout and the true post game experience. Grab your best gear and prepare to farm more Rare Pokemetal because the grind never truly stops.