Ready or Not: No Good Deed Walkthrough - How to Stop the Blackwood Pier Massacre
If you play this mission like a standard hostage barricade, you are going to be bagging up a lot of innocent bodies.
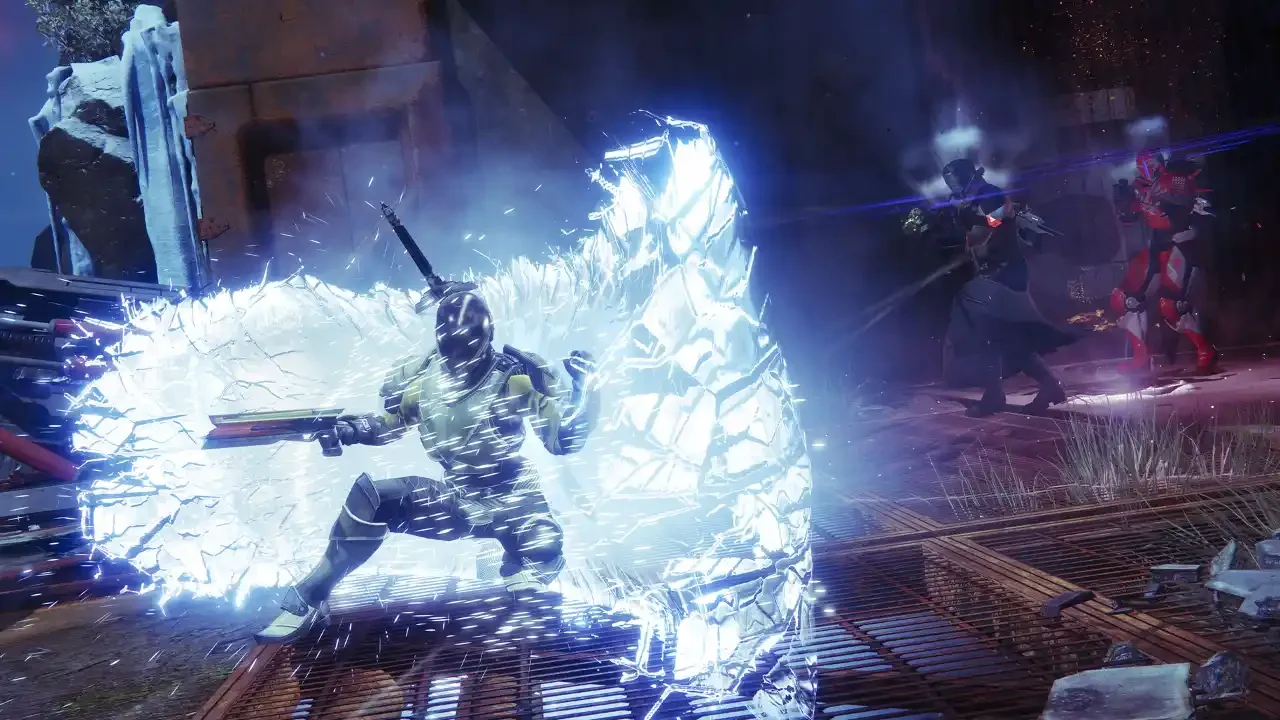
The Boiling Point expansion drops you right into the deep end with an absolute nightmare of a scenario. A local fundraiser on Blackwood Pier organized by community leader Lucia Torres has been violently hijacked. The suspects here are fast, lethal, and completely unhinged. When I first booted up No Good Deed, I spent three hours bagging innocent bodies because my AI teammates and I were getting bogged down in the complex geometry of the amusement park. You crack a door, you make entry, and suddenly the room turns into a chaotic meat grinder where terrified civilians decide the safest place to run is directly between your muzzle and a suspect.
The harsh reality of No Good Deed is that you are not walking into a standoff. You are walking into an active shooter event. The suspects heavily outgun the local security, and if you take your sweet time clearing angles like you are on a training course, those gunmen will actively start executing hostages.
You need to abandon the slow, methodical approach and prioritize extreme violence of action. Ignore the civilians until the guns stop firing. Your only job is to put the suspects in the dirt or in cuffs before they can pull the trigger on anyone else.
The Right Gear for the Wrong Place
You cannot bring standard patrol gear to this fight. The gunmen on the pier are wearing body armor and carrying high caliber weapons. If you roll in with basic Kevlar and hollow points, you are going to get chewed to pieces the second you step out of the spawn area. Furthermore, the map is littered with gas traps rigged to doors. You do not have the time to sit there and disarm them with a multi tool. You need to push through the chemical clouds and keep your momentum going.
Tactical Execution on Blackwood Pier
The layout of the pier is a miserable mix of wide open kill zones and claustrophobic interiors. My most reliable runs always utilize a clockwise spiral clear. This route allows you to sweep the map aggressively without leaving suspects behind you. If you miss a shooter and they double back into an area you already cleared, they will start executing the exact civilians you just left unsecured.
Pushing from the Docks
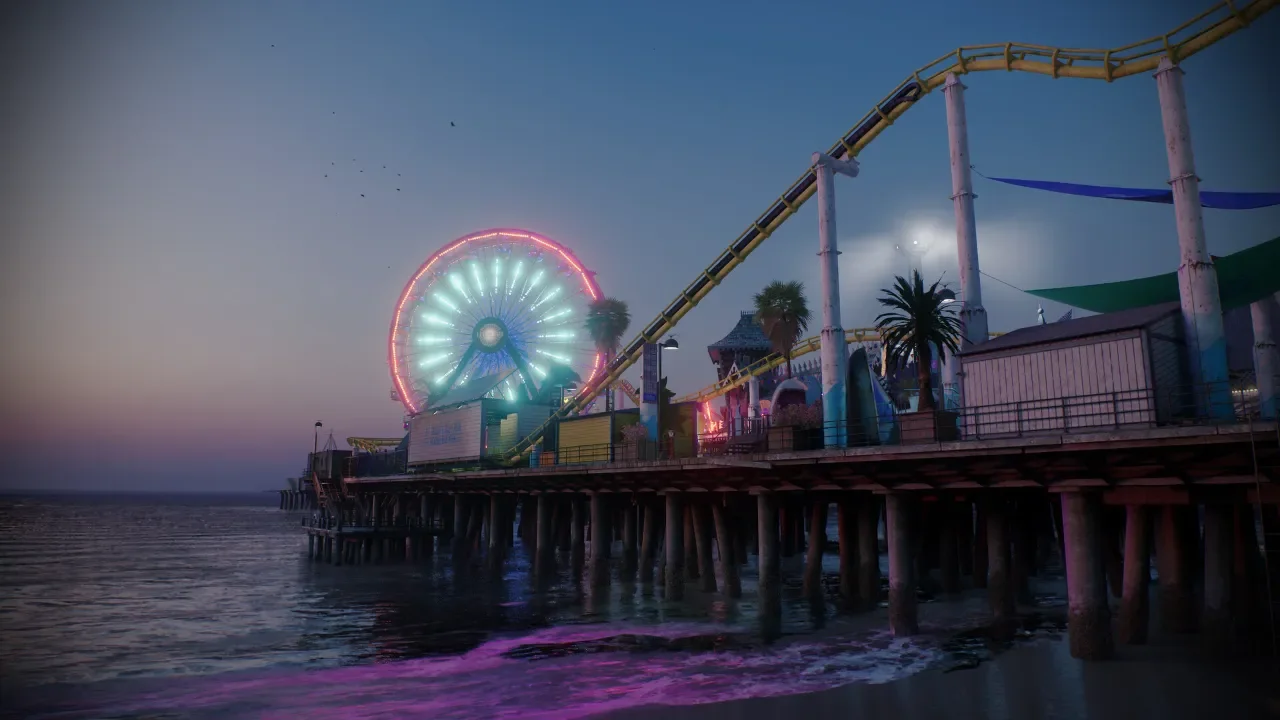
You start at the bottom of the docks near the mysterious ship that triggered this whole mess. The moment you climb the stairs to the main pier, the clock starts ticking. The area is littered with bodies in police uniforms, proving that the local cops were completely outmatched before D Platoon even arrived.
You need to hit the upper platform hard. Have one element of your team post up near the ferris wheel. This gives them a massive field of view over the central plaza to catch any roaming patrols trying to flank your position. Take your other element and immediately push left into the bumper car arena.
Sweeping the Bumper Cars and Diner
The bumper car area is a nightmare of broken sightlines. Suspects love to crouch behind the ruined cars, and the neon lighting makes target identification a massive pain in the ass. Clear your corners aggressively. Once you push through the arena, step out onto the outer edge of the boardwalk.
You will be looking down a long, exposed corridor with a diner at the far end. This is where your variable optic pays off. Scan the windows of the ice cream parlor and the diner before you advance. The AI in Ready or Not is incredibly sharp, and they will absolutely shoot you through the glass if they spot your laser dancing across the wall. Move up the right side, checking every window and door. If you encounter gas from a trap, push right through it and trust your mask. Stopping in the fatal funnel is how you get your squad wiped.
Clearing the Haunted House
After you secure the diner, wrap around to the Haunted House. I strongly advise against sending your AI teammates in first here. The pathing in the Haunted House is convoluted, and the AI SWAT members have a terrible habit of getting stuck on the spooky props while getting shot from the shadows.
Take point on this breach. Use your flashlight or night vision if you brought it, though the strobing haunted house lights might blind you temporarily. Suspects in here rarely take hostages, so if you see a silhouette holding a rifle, put them down quickly.
Breaching Funtime Arcade
The Funtime Arcade is usually where runs go to die. This is the largest interior space on the map and it is packed with arcade cabinets that provide excellent cover for the suspects. It is also where you are most likely to find clustered groups of civilians cowering in fear.
Do not throw frag grenades or stingers in here blindly. The risk of killing a civilian with shrapnel or concussive force is entirely too high. Instead, rely heavily on CS gas. Since your team is masked up, you can flood the main arcade floor with tear gas and push in while the suspects are choking and unable to return accurate fire. Secure the long angles first. I usually find one or two heavily armed shooters entrenched behind the prize counter at the very back of the room. Keep your fire controlled and watch your backdrop.
If you manage to clear this mission and think the difficulty curve is insane, just know that the campaign only gets more punishing from here. When you are ready to tackle the later stages of this DLC, you should definitely consult my Ready or Not New America Guide to avoid getting completely stomped by the enemy tactical teams waiting for you.
Securing the Soft Objectives
You cannot leave the pier just yet. The No Good Deed mission requires you to locate several weapon caches hidden throughout the map. Thankfully, you do not have to wander aimlessly across the entire boardwalk searching every trash can to find them.
All three of the soft objectives are located inside the Funtime Arcade. I highly recommend waiting to collect these until after you have neutralized every single suspect on the map. Stopping to bag evidence while an active shooter is hunting civilians is a rookie mistake that will cost you your grade.
Once the primary threat is eliminated and the "Bring Order to Chaos" objective is complete, head back into the arcade and check these specific spots:
First, walk behind the main prize counter. You will find a stash of chemical weapons sitting right out in the open. Securing this is vital for your final mission rating.
Next, look for the staff doors located right behind that same counter. There is a small backroom office attached to the main floor. Breach it, and you will find a second stash of heavy weapons piled up in the corner.
Finally, walk back out to the main arcade floor. Search the area populated with the multiplayer games. You will find the last weapon cache resting directly on top of an air hockey table.
Once you bag that final cache and tie up any remaining civilians who are still screaming in the corners, you can finally hit the extraction prompt. Blackwood Pier is secure, but the conspiracy involving that ship and those chemical weapons is just getting started.