Resident Evil Requiem Combat Guide: Breaking Bones and Boss Fights
Coming face to face with a bioweapon when your magazine only clicks empty is a miserable experience.
Capcom built a combat system here that severely punishes you for panic firing into the dark. If you walk into this game expecting a standard shooter experience you will be completely defenseless when a real threat finally corners you. Combat shifts drastically depending on whether you are controlling Grace or Leon. Grace is fragile and relies on desperate survival tactics while Leon operates like a heavily armed tactical unit.
The core rules remain the same across both campaigns. You need to be methodical. You need to understand how the enemy AI reacts to damage, you need to manage your economy to buy the right gun attachments, and you need to know exactly how to handle the massive boss encounters waiting for you in the back half of the game. If you are still struggling with basic navigation before you even pull a trigger, take a step back and read my Resident Evil Requiem beginners guide.
The Anatomy of a Gunfight and Ammo Conservation
Aiming for the chest is a rookie mistake. The infected absorb body shots like sponges and you simply do not have the inventory space to carry enough ammunition to put them down that way.
Precision Over Volume
When you raise your weapon do not immediately pull the trigger. Wait a full second. You will notice the crosshairs slowly shrink and focus. Firing while the reticle is fully compressed significantly increases your damage output and your chance to land a critical hit. This requires nerves of steel when a mutant is lunging at your throat but you have to stand your ground.
You should always be aiming for two specific targets. Shoot for the head or shoot for the knees. A focused shot to the head has a high chance of an instant decapitation with high caliber weapons. If you are using a standard pistol shoot them in the kneecaps. Taking out a leg forces the enemy to the ground. This instantly removes them as an immediate threat and buys you precious time to reload, reposition, or run past them entirely.
Maximizing Your Arsenal
You need to make every single shot count, especially in the early hours with Grace. Do yourself a favor and track down the S&S Pistol early. It is hiding behind the bar on the second floor of the West Wing in the Bar and Lounge. A Singer zombie and two regular infected guard it. I highly recommend luring the Singer into the hallway, taking her out quietly with a knife, and sneaking back in for the gun. It holds more rounds and hits harder than your starter pistol.
If you do run dry you can turn blood into bullets. Once you grab the blood collector in the East Wing you can craft ammunition using infected blood and scrap. You can also recycle your shrapnel. It takes two scrap to craft a makeshift knife, but you can break that knife back down into a single piece of scrap even if it only has one durability hit left. Pair that recycled scrap with infected blood and you just turned a broken knife into a fresh magazine. If you need more details on maximizing your inventory, consult my Resident Evil Requiem crafting guide.
Let Sleeping Zombies Lie
Eventually you will notice that enemies in this game have a nasty habit of getting back up. Some corpses only reanimate if you physically walk too close to them. If you see a body slouched in a hallway that you absolutely do not need to interact with, give it a wide berth. Bypassing a fight entirely is the ultimate form of ammo conservation.
Upgrades and the Supply Box Economy
Finding guns is only half the battle. You need to upgrade them if you want to survive the late game encounters.
The Parlor Priority
When playing as Grace you will eventually unlock the Parlor using the Red Jewel. You spend Antique Coins here for permanent upgrades. Buy the Stabilizer immediately. The Stabilizer improves your firearm stability and flat out increases your damage output. You will miss fewer shots and kill targets faster. I found the health injectors to be largely underwhelming in my experience, so I strongly suggest prioritizing damage over health early on.
Leon's Tactical Economy
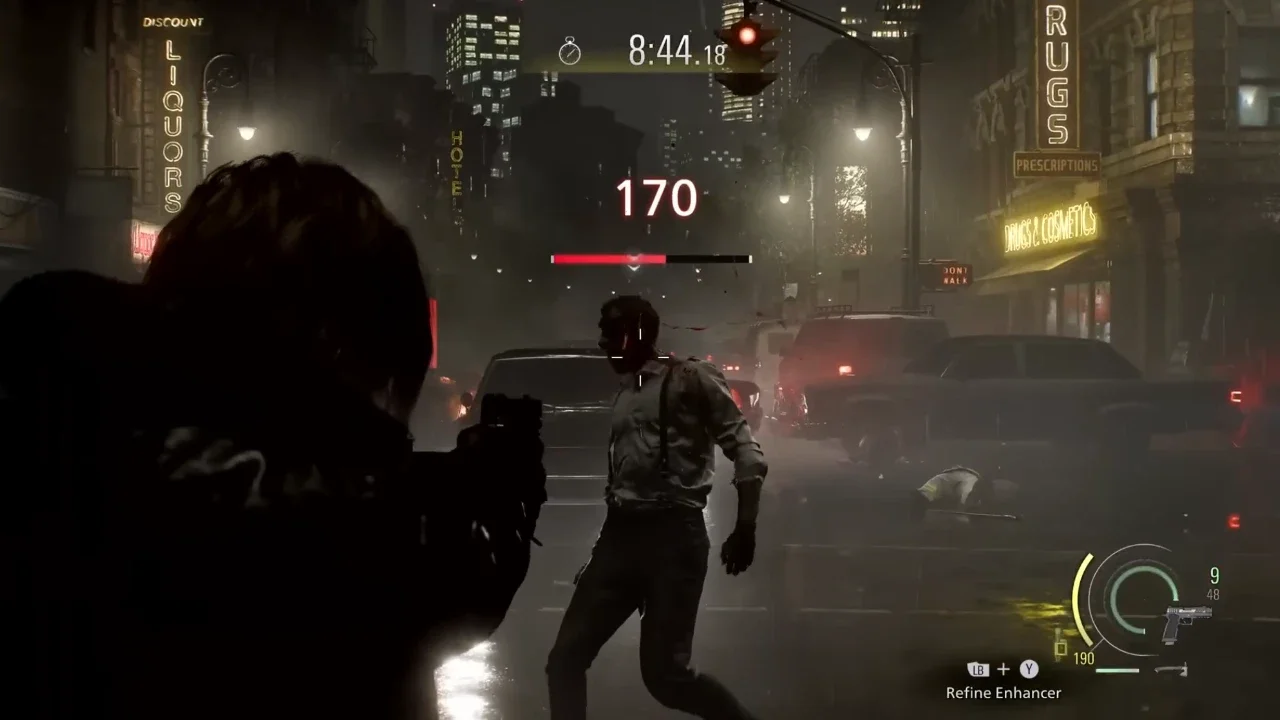
During Leon's Raccoon City segment the game introduces a fully functioning economy. You earn credits by killing enemies and spend them at Supply Boxes. Because of this economy I highly recommend you stop running past the random zombies roaming the streets. Every kill puts money in your pocket.
Do not hoard obsolete gear. Sell your starter shotgun the second you can afford an upgrade. Your very first major purchase needs to be the 990-TAC shotgun. It holds eight rounds, hits like a freight train, and is the only reliable way to put down heavy threats before they close the distance.
Managing Mutations and Close Quarters
Leaving a corpse intact is a massive mistake. If you kill a standard zombie and leave its head attached, the virus will eventually mutate the body into a Blister Head.
Dealing With Blister Heads
These bulbous mutations are wildly aggressive and absorb a sickening amount of damage. You want to avoid wasting bullets on them entirely if you can. If you are backed into a corner, use Grace's Requiem revolver. It has piercing capabilities and can usually pop a Blister Head in a single shot.
Grace can also prevent these mutations proactively. You can craft Hemolytic Injectors using scrap and infected blood. Plunge one of these syringes into a downed zombie and the body violently dissolves. It completely prevents the mutation, but the resources to craft these are rare, so use them strictly on bodies blocking high traffic hallways.
The Power of the Hatchet
Leon handles the problem with brute force. He carries a tactical hatchet that completely changes the rhythm of the game. You can actively parry incoming attacks to negate damage. More importantly, when Leon staggers an enemy, he can run in for a brutal execution finisher. This usually severs the head entirely, preventing the zombie from mutating later.
The hatchet does degrade, but it never permanently breaks. You can resharpen it at any time by holding the parry button and hitting your interact key. Do this after every single fight.
Apex Predator Threat Assessment
Standard tactics do not work on the apex predators. You have to change your entire strategy when the big freaks show up. I have broken down exactly how to handle every major encounter in the game so you stop dying on the same checkpoints.
Keep your crosshairs tight, manage your blade durability, and spend your credits wisely. The game is absolutely relentless but if you master these combat loops and memorize the boss patterns you might actually walk out of Raccoon City alive.