Resident Evil Requiem Crafting Guide: Bleeding the Care Center Dry
If you do not master the gruesome art of harvesting infected blood, you will not survive the night.
The Care Center is designed to starve you of resources. You will spend the majority of your playthrough agonizing over whether to use your last scrap of metal on a healing injector or a handful of pistol bullets. If you have already read my Beginner's Survival Guide to understand the map layout, and my Advanced Combat and Enemy Tactics Guide to learn how to stagger threats, you are ready for the final piece of the puzzle. You need to understand the economy.
Capcom built two entirely different crafting systems for this game. Grace relies on a complex, science driven approach that forces you to interact with the environment in disturbing ways. Leon sticks to a traditional military supply chain. I am going to break down exactly how both systems work, where to find every single blueprint, and how to stop cluttering your inventory with useless garbage.
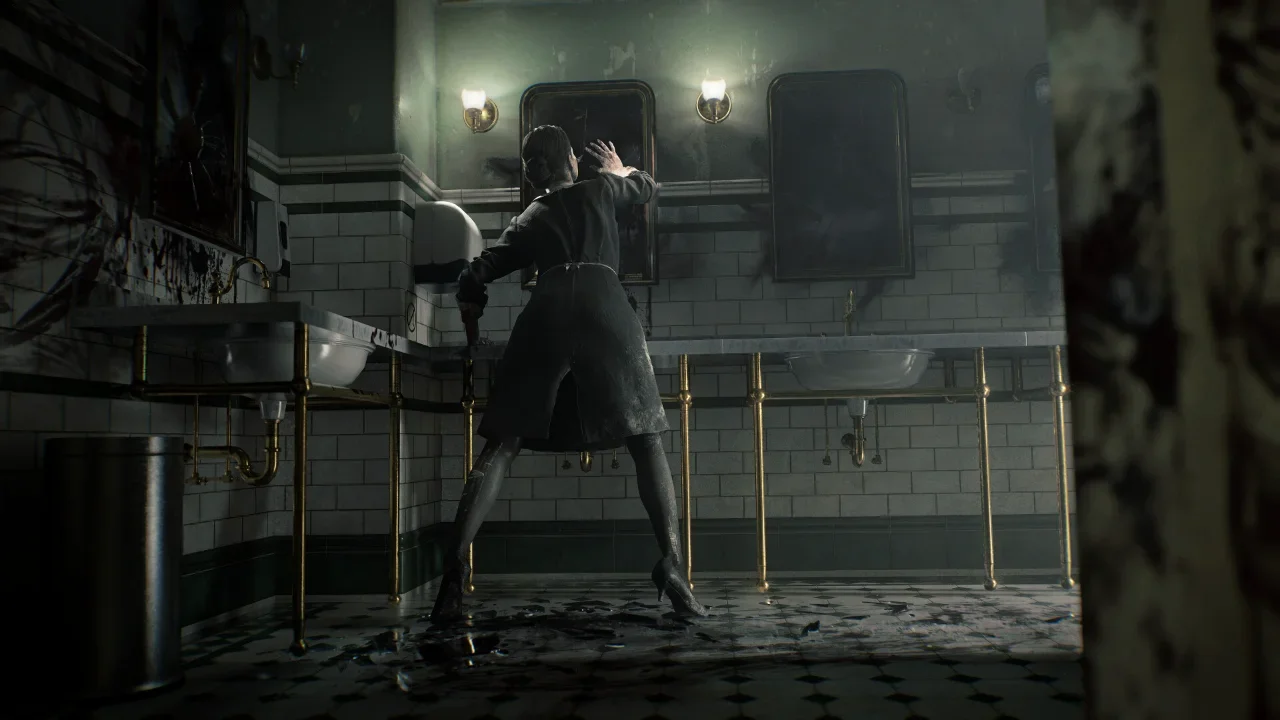
Grace Ashcroft and the Blood Economy
Grace does not just mix herbs and gunpowder. She is an analyst trapped in a medical facility, and her survival hinges on the Blood Collector.
You find this tool early on in the East Wing Blood Lab. Once it is in your inventory, you become a vampire. You have to start extracting infected blood from your surroundings to craft almost everything in her arsenal. There are a few ways to keep the collector full. First, you can find environmental sources. Look for bloodstains on the floor, overflowing bathtubs, and medical buckets left in the hallways.
The most consistent source of blood comes from the monsters themselves. When you drop a zombie, it leaves a bloody spatter you can harvest. I mentioned this in the combat guide, but it bears repeating here: aim for the legs and the head. Killing an infected by destroying its kneecaps or its skull actually yields a significantly larger pool of blood than shooting it in the chest.
You also need to hunt for Transfusion Bags. These are rare consumable items that instantly refill your Blood Collector. You can find them hidden in locked drawers, but the best way to get them is by hunting the blind IV stand infected. Those specific enemies drop a Transfusion Bag every single time they die.
Upgrading the Blood Collector Limit
The basic Blood Collector caps out at a pathetic 100 units. A single Steroid injection costs 120 units, meaning you literally cannot craft high tier items without upgrading your equipment first.
You have two options for expanding your capacity. The first is the Matsuoka Override Manual. You can buy this from the Parlor located in the West Wing. It costs six Antique Coins, which you have to scavenge from dark corners of the map. Reading this manual bumps your limit up by 50 points. The massive catch is that you lose this upgrade when you start a new playthrough.
If you want a permanent fix, you need the Matsuoka Master Manual. This is locked behind the Special Content menu and costs 1,000 Challenge Points. Buy this the second you can afford it. It permanently adds another 50 points to your limit across all future runs, fundamentally changing how you approach Grace's early game.
Laser Microscopes and Specimen Puzzles
Collecting the blood is only half the battle. Grace has to learn how to synthesize it, and that requires solving puzzles on laser microscopes.
When you find a Blood Specimen in a syringe, you must take it to a microscope. There is one in the Blood Lab and another in the second floor Office. The analysis process is a node puzzle. You click a node, and it changes the surrounding nodes into either red orbs or grey boxes. Your objective is to turn the entire screen into red orbs. It completely shatters the pacing of the horror, but it is mandatory for your survival.
Where to Find Every Specimen
Do not miss these vials. If you skip a room, you miss out on critical ammunition types for the rest of the game.
Blood Specimen 1 (Denatured): Sitting right out in the open in the Blood Lab. Solve the puzzle to unlock basic Handgun Ammo and the Hemolytic Injectors you need to stop Blister Head mutations.
Blood Specimen 2 (Reversible): Locked in the storage room right next to the Blood Lab. You need to grab the Level 1 ID Wristband from the second floor to get inside. This unlocks Steroids to permanently boost your maximum health and Stabilizers to reduce weapon recoil.
Blood Specimen 3 (Converged): Hidden in the closet adjacent to the Waiting Room. You also need the Level 1 ID for this door. This is arguably the most important specimen in the game. It unlocks Med Injectors and the 12.7x55mm high caliber rounds for the Requiem handgun. Note that crafting Requiem ammo requires Rare Metals, which you can only get by using lockpicks on desk drawers.
Grace also finds two traditional documents later in the game that teach recipes without the node puzzles. Check the Bunkroom in the Care Center Basement for the Molotov Cocktail recipe. Later on, when you reach the Monitor Control Room in the ARK facility, check the locked safe area to find the recipe for Acid Bottles.
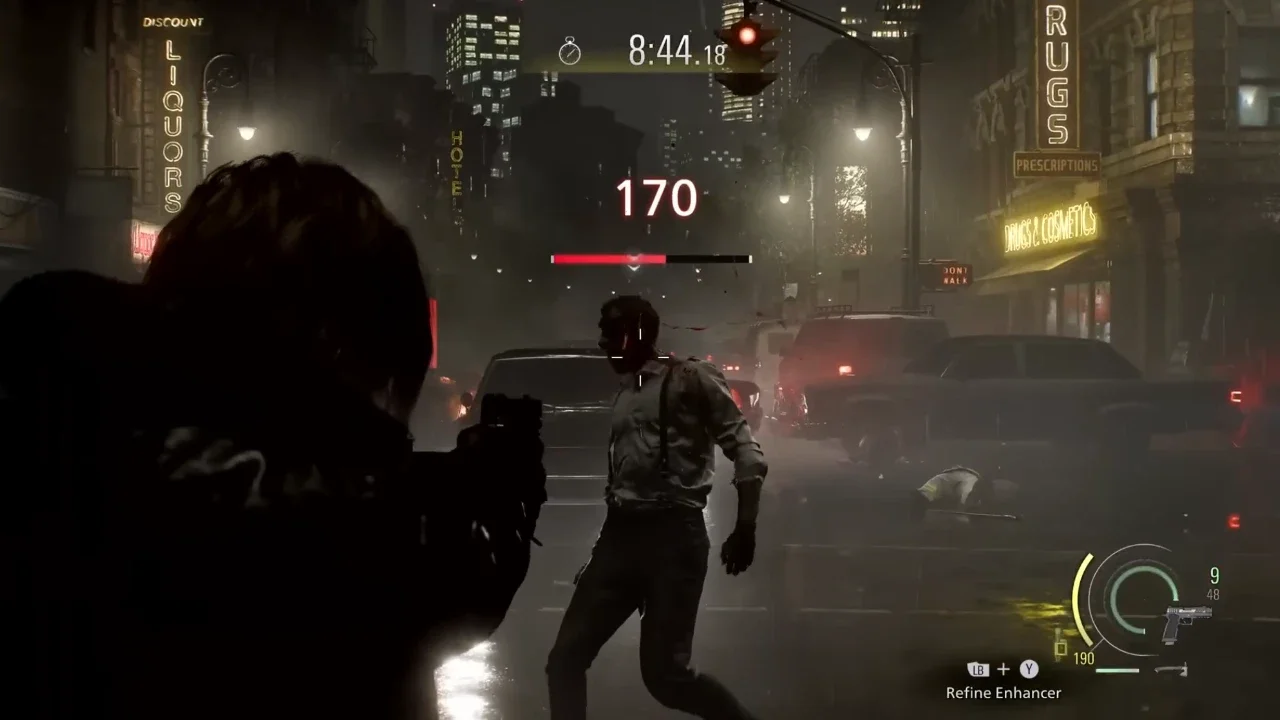
Leon Kennedy's Tactical Supply Chain
Playing Leon feels like a vacation after dealing with Grace's laboratory chores. Leon does not use the Blood Collector. He just tapes Gunpowder and Scrap together to make bullets.
However, Capcom throws a massive wrench into Leon's inventory management. Grace gets traditional magical storage crates that share items across safe rooms. Leon does not get a storage crate at all. You carry what you own. If your attache case gets full, you are forced to make hard choices.
Leon relies entirely on automated supply boxes scattered around the map. You earn credits by killing enemies and collecting Tracking Modules. You spend those credits at the supply boxes to buy body armor, weapon upgrades, and a single, vital inventory slot expansion.
Because you have no storage crate, the supply box acts as your pawn shop. If you need inventory space, you have to sell your weapons to the box. It feels terrible to sell a customized shotgun just to pick up a key item, but the game tracks your sold inventory. You can always buy your gear back later when you have more room. To avoid this headache, always craft your Gunpowder into ammunition immediately. Do not let raw materials sit in your inventory taking up valuable squares.
The Complete Recipe Codex
I have compiled the exact material cost for every craftable item in the game. Memorize what you need so you stop picking up junk you cannot use.
Scraping the environment clean is the only way you make it out of Raccoon City alive. Pick up every loose Antique Coin, check every drawer for Rare Metals, and never leave a blood pool unharvested. Good luck in the dark.