Resident Evil Requiem Quartz Puzzle Box Guide: Escaping The Care Center
Capcom decided that surviving a bioweapon outbreak was not stressful enough, so they locked your only exit behind three convoluted puzzle boxes.

Playing as Grace Ashcroft in the Rhodes Hill Care Center is a brutal introduction to the survival mechanics of Resident Evil Requiem. Your primary goal in this massive facility is to open the Central Door located in the Main Hall so you can escape into the Courtyard. Doing this requires you to track down three specific gems: the Moon Quartz, the Sun Quartz, and the Star Quartz. Naturally, these gems are locked inside intricate puzzle boxes scattered across the East and West wings.
If you are trying to unlock every PC achievement or earn that platinum console trophy for 100% completion, you have to get through this section efficiently. Wasting time wandering the halls looking for clues will drain your limited resources. If you are already struggling with your inventory and health before you even reach these boxes, take a quick detour and read my Resident Evil Requiem beginners guide.
I have tracked down every box, decoded every clue, and mapped out exactly what you need to do to secure all three Quartz gems without losing your mind.
The Chairman's Office Puzzle Box (Moon Quartz)
Your first target is located on the second floor of the West Wing inside the Chairman's Office. This is arguably the easiest box to access, but it still requires a tiny bit of environmental awareness.
Revealing The Code
When you enter the lounge area of the office, you will spot the puzzle box waiting for you. The game expects you to walk over to the desk at the back of the room and pick up a pencil. You then take that pencil and rub it over the blank notepad resting on the lounge table. The graphite reveals the hidden code left behind by the previous owner.
The combination is Moon, Sun, Star, and Moon. Spin the dials on the box to match this exact sequence, and it will pop open to reward you with the Moon Quartz.
While you are in the Chairman's Office, make sure you also grab the Unicorn Trinket Box. This item holds a Red Jewel that grants you access to the Parlor later on, which is where you spend those Antique Coins you have been hoarding.
The Lead Researcher's Office Puzzle Box (Sun Quartz)
The second box is located on the second floor of the East Wing inside the Lead Researcher's Office. This one demands a lot more effort than simply rubbing a pencil on paper.
Finding The Corrosive
When you locate the box, you will immediately notice a heavy padlock sealing the dials. You cannot input a code until you melt that lock off. This forces you into a highly dangerous fetch quest.
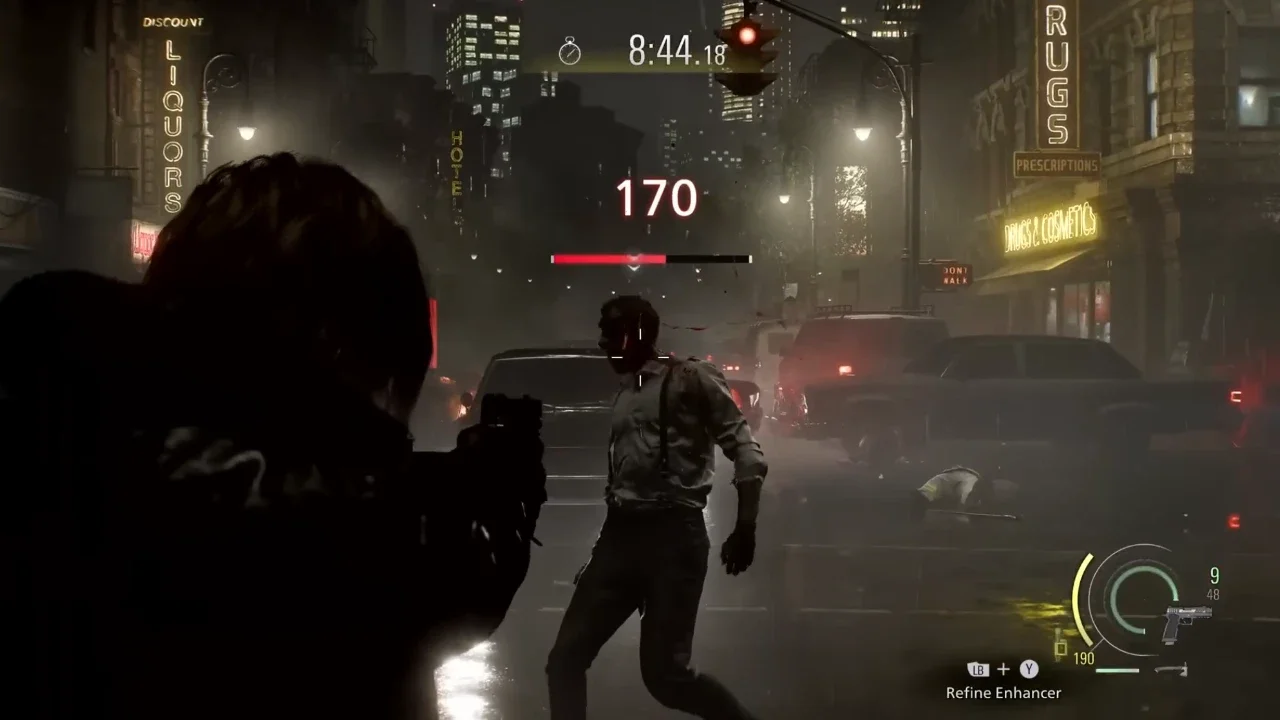
You need to navigate the corridors and head toward the Conference Room. Along the way, the game throws a massive Chunk enemy at you right near the spot where you pick up the Level 1 ID Wristband. Once you dodge the Chunk and slip into the Conference Room, you have to deal with a room full of infected led by a Singer zombie. These enemies will shred your health if you are careless. If your aim is sloppy or you are burning through ammo too fast, read my Resident Evil Requiem combat guide to learn how to manage these specific threats.
Kill the Singer, clear the room, and grab the bottle of Corrosive sitting on the table.
Unlocking The Box
Haul the Corrosive back to the Lead Researcher's Office and use it on the padlock. With the dials exposed, you can finally input the solution. The intended method is to look at the scattered photographs around the room and piece the background symbols together.
Skip the busywork. The code is Star, Sun, Moon, and Sun.
Opening this box gives you the Sun Quartz and a Leatherbound Notebook. Do not ignore the notebook. It contains the solution you need to open the organ transport box later in the stage.
The Security Manager's Office Puzzle Box (Star Quartz)
The final box is a masterclass in psychological torture. You will find it in the Security Manager's Office on the first floor of the East Wing. You need a Level 2 ID Wristband just to get through the door.
The Braille Problem
Once inside, you will find a notebook resting on the desk. Unfolding the top right corner reveals the code for the third box: Star, Star, Moon, and Sun.
You walk over to the box, ready to claim your final prize, only to realize the symbols on the dials are completely worn away. There are no pictures. There is only Braille. Grace Ashcroft cannot read Braille.
This is where the game rips the rug out from under you. You cannot just guess the inputs. You need someone who can read the bumps on the dials. Pick up the Level 3 ID Wristband sitting on the manager's desk. You have to fight your way to the Medication Room and use that wristband to free Emily, the blind girl trapped inside her cell.
The Basement Gauntlet
Freeing Emily does not magically solve your problem. It triggers a massive, grueling escort sequence that drags you straight into the Care Center Basement. You have to keep her alive while fighting off waves of infected in tight, dark corridors. You will bleed through your supplies down here. I highly recommend checking my Resident Evil Requiem crafting guide before grabbing Emily so you know exactly how to mix your gunpowder and herbs for maximum efficiency.
Only after you survive the entire basement segment and rescue Emily from the ensuing chaos will she finally read the dials and hand over the Star Quartz. You earn this gem with blood and inventory management.
Escaping The Care Center
With the Moon Quartz, Sun Quartz, and Star Quartz finally sitting in your inventory, you can head back to the Main Hall.
Approach the massive Central Door and slot all three gems into their respective places. The locking mechanism will disengage, revealing the path to the Courtyard.
A quick word of warning before you step through that door. Leaving the Care Center interior is a hard point of no return. You cannot come back here to grab things you missed. Before you insert those gems, double check your map. Make sure you opened every locked container in the facility. If you are missing resources, cross reference your map with my Resident Evil Requiem all safe codes locations guide to sweep up any leftover Antique Coins or weapon upgrades.
Grab your gear, reload your revolver, and walk through the Central Door. The real nightmare is just starting.