Tomodachi Life: Living The Dream - How To Share Screenshots And Videos
Sharing the absolute madness your digital clones get up to is half the fun, but the devs decided to make exporting those moments unnecessarily complicated.
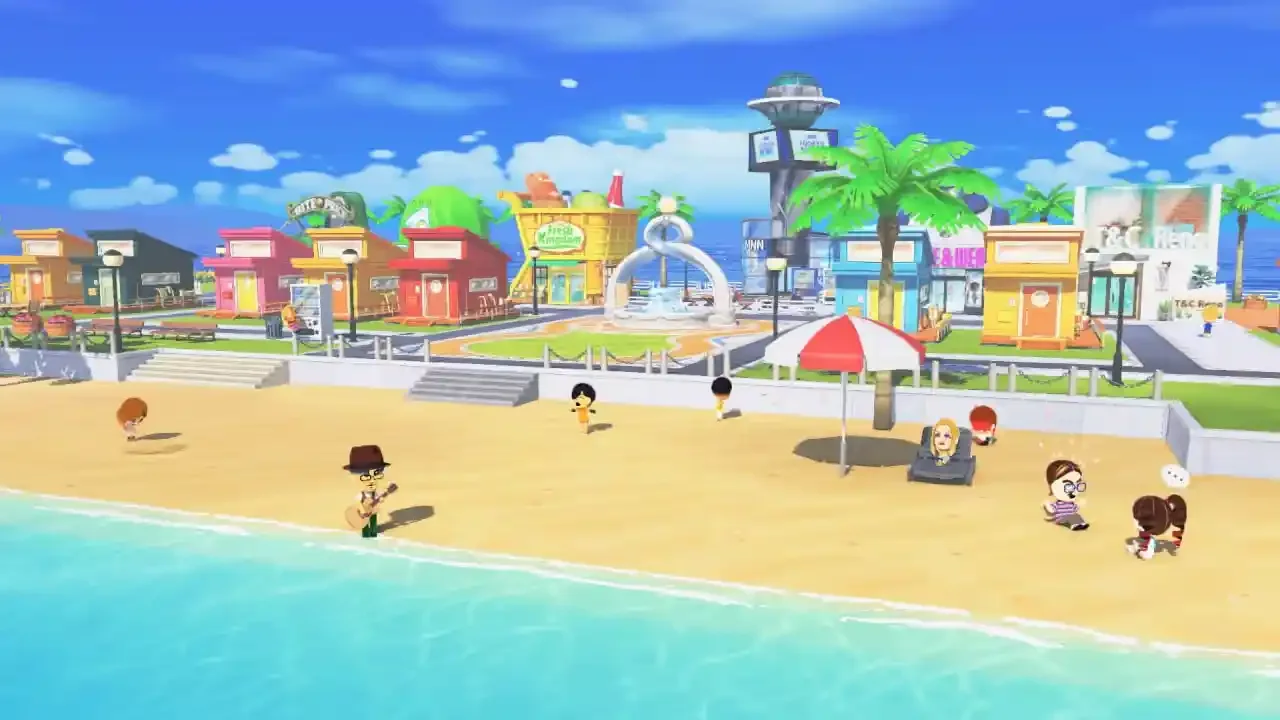
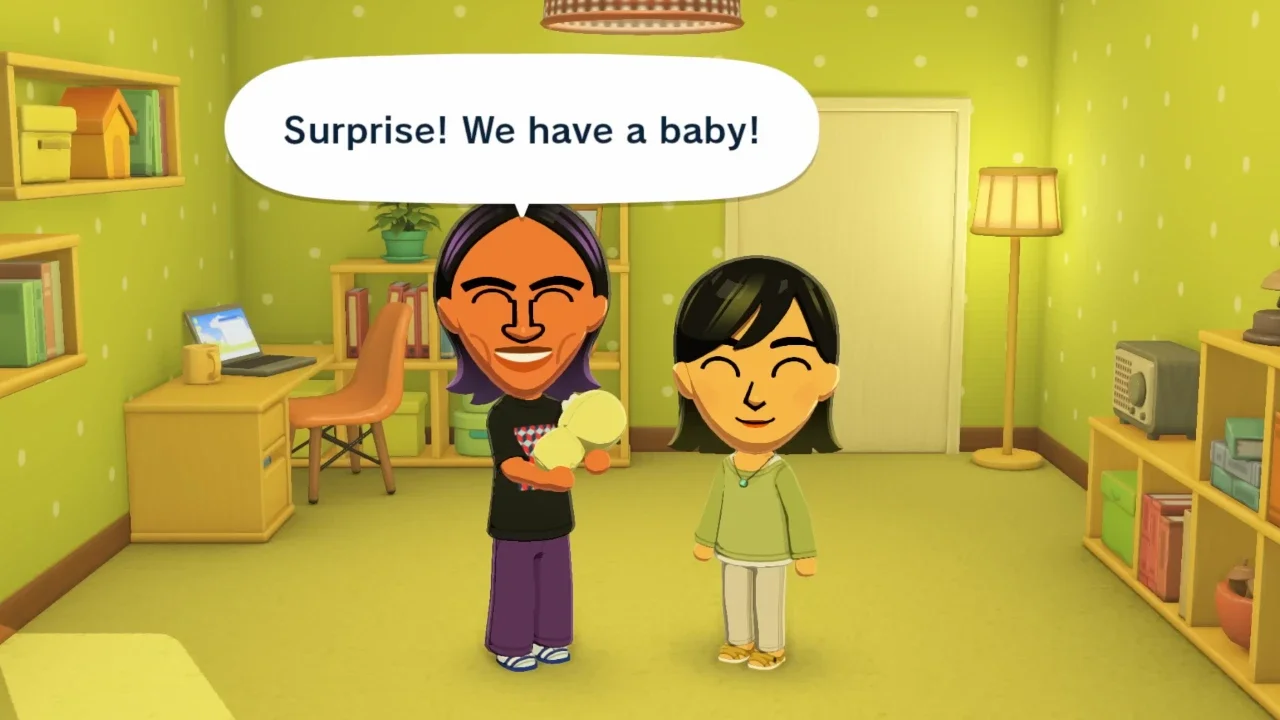
The entire appeal of this simulation is watching your carefully crafted residents completely lose their minds. You spend hours matching personalities and resolving arguments, and suddenly you catch your terrible former boss doing a rap battle in a hotdog suit on the beach. You instinctively hold down the capture button to save the last thirty seconds of gameplay. You want to drop that clip into your group chat immediately. In almost any other modern release, you would just open the smartphone app and hit download. For some completely baffling reason, Nintendo disabled the ability to upload media from this specific title to their mobile app. Now before you waste your afternoon taking blurry, cursed photos of your television screen with your phone, let me walk you through the actual methods to rip these high quality files off your Switch 2.
If you are looking for more ways to control the chaos before you start snapping photos, be sure to browse my full list of guides over on the Tomodachi Life hub.
Preparing Your Media
Before you start unplugging cables and ripping out memory cards, do yourself a massive favor and edit your clips on the console first. Holding the capture button saves a raw thirty second video file. You probably only need about five seconds of that footage to land the joke.
Open up the built in album viewer on your console dashboard. The software allows you to trim the start and end points of any video clip. Cut out the dead air now. It saves you the headache of having to drop the files into a video editing program on your computer later, and it makes the physical file sizes significantly smaller for the transfer process. If you notice a typo in a character's name while reviewing your footage, you cannot fix it in the album. You have to go back into the game and follow my steps on how to edit, delete, or change Mii names before you set up your next photoshoot.
The USB Cable Extraction
The most straightforward way to bypass the smartphone block is to physically tether your console to a computer. You need a standard data capable cable for this. If you are using a modern laptop, a USB Type C to Type C cord works perfectly. If you are on an older desktop, you might need a Type C to Type A cable.
Plug the cable into the charging port on the bottom of the console and connect the other end to your PC. Do not just look at your computer monitor expecting a folder to magically pop up. You have to tell the console to open the gates.
Navigate to the System Settings by clicking the cog icon on the home screen. Scroll down the left sidebar until you hit Data Management. Inside that menu, click on Manage Screenshots and Videos. Scroll down one more time and you will finally see the option labeled Copy to PC via USB Connection.
Clicking that button triggers a prompt on your console screen confirming the connection. Do not touch your console after this screen appears. If you press a button or try to back out of the menu, the connection instantly drops and you have to start the whole process over. It is a very archaic system. Look at your computer, open your file explorer, and you will see the console listed as an external drive. Click through the folders until you find the one dedicated to Tomodachi Life: Living The Dream. Copy whatever you need, paste it to your desktop, and then hit the disconnect option on your console screen.
The Resolution Downgrade
I need to point out a very frustrating technical quirk here. The developers proudly claimed this game runs at a crisp 1080p resolution when playing in handheld mode on the new hardware. That is technically true during gameplay. However, every single screenshot you capture is inexplicably locked to 720p. It does not matter if you are playing docked to a massive television or holding it in your hands. The output files are compressed. Keep your expectations in check when you open these files on a large 4K monitor.
The MicroSD Express Route
If you do not have a compatible data cable lying around, or if your PC simply refuses to recognize the console, you have to do things the old fashioned way. You have to physically pull the storage drive out.
Do not just yank the card out while the system is running. That is a fantastic way to corrupt your entire save file and force you to restart your beginner's daily routine from scratch. Hold down the physical power button on the top edge of the console until the power options menu appears, and turn the system completely off.
Flip the kickstand up on the back of the device and pop out the MicroSD Express card. You will need a dedicated SD card reader to plug this into your computer.
Navigating The Folder Maze
When you open the memory card on your PC, you are not going to find a nicely labeled folder with the game's title on it. The file structure is a chronological nightmare.
You have to open the Nintendo folder, then the Album folder. From there, your media is divided up into folders by Year, then by Month, and finally by the specific Date you pressed the capture button. If you took photos over the course of an entire week while trying to document how to get married, your images are going to be scattered across seven different folders. You just have to click through them manually, grab your files, and move them to your hard drive. Once you are done, properly eject the card reader from your operating system before pulling it out to prevent any data corruption.
The Last Resort
If you genuinely cannot use either of these methods because you lack the hardware, you are stuck with the worst option available. You have to pull out your phone and take a picture of your screen.
Honestly, given the chaotic nature of this specific simulation, a slightly blown out, low quality phone picture of a digital clone crying on the floor actually fits the aesthetic perfectly. It is not ideal for archival purposes, but if you just need to show your friends how unhinged your island has become, it gets the job done without diving into system menus.