Tomodachi Life: Living The Dream - The Complete Guide To Food, Appetites, And Preferences
Keeping a whole island of Miis fed sounds simple until you realize every single one of them has opinions about dinner.
Tomodachi Life: Living The Dream packs in 465 distinct food items, and figuring out who likes what turns into one of the more satisfying long term projects on the island.
Every Mii Has Opinions
Each resident generates a hidden set of preferences the moment they're created. Two All Time Favorites, two Least Favorites, and three foods they simply like. None of this is visible upfront, so figuring it out takes some trial and error.
The game does track your progress though. Anything you've already fed a Mii gets a small red stamp over its icon in the menu, so you're never stuck guessing whether you've tried something already. Land on one of their two Favorites and you'll see a unique little celebration animation along with a big happiness boost, usually enough to push them a full level on the spot.
The flip side stings a bit. Feed a Mii one of their Least Favorites and they'll gag on screen while their entire happiness bar drains right back to empty. I learned this one the hard way after feeding a resident what turned out to be their least favorite dish right before I was hoping to level them up, and watched a good chunk of progress disappear in about two seconds. Worth paying attention to those reactions.
Stomach Gauges and Capacity
Every Mii has a visible stomach gauge, and different foods fill it at wildly different rates. Something hearty like Paella or Steak can fill it by around 90 percent in one go, while a light snack or a piece of Celery barely moves the needle at 10 to 25 percent. Once the gauge is full, a Mii will just shake their head and hand the food back, and they won't eat the same dish twice in a row either, so variety isn't optional.
There's a way to influence this directly. Quirks assigned at level up can shift a Mii's stomach capacity, with one expanding it to 125 percent for feeding more food per session, and another shrinking it down to 75 percent, which is rougher for leveling but noticeably easier on your wallet.
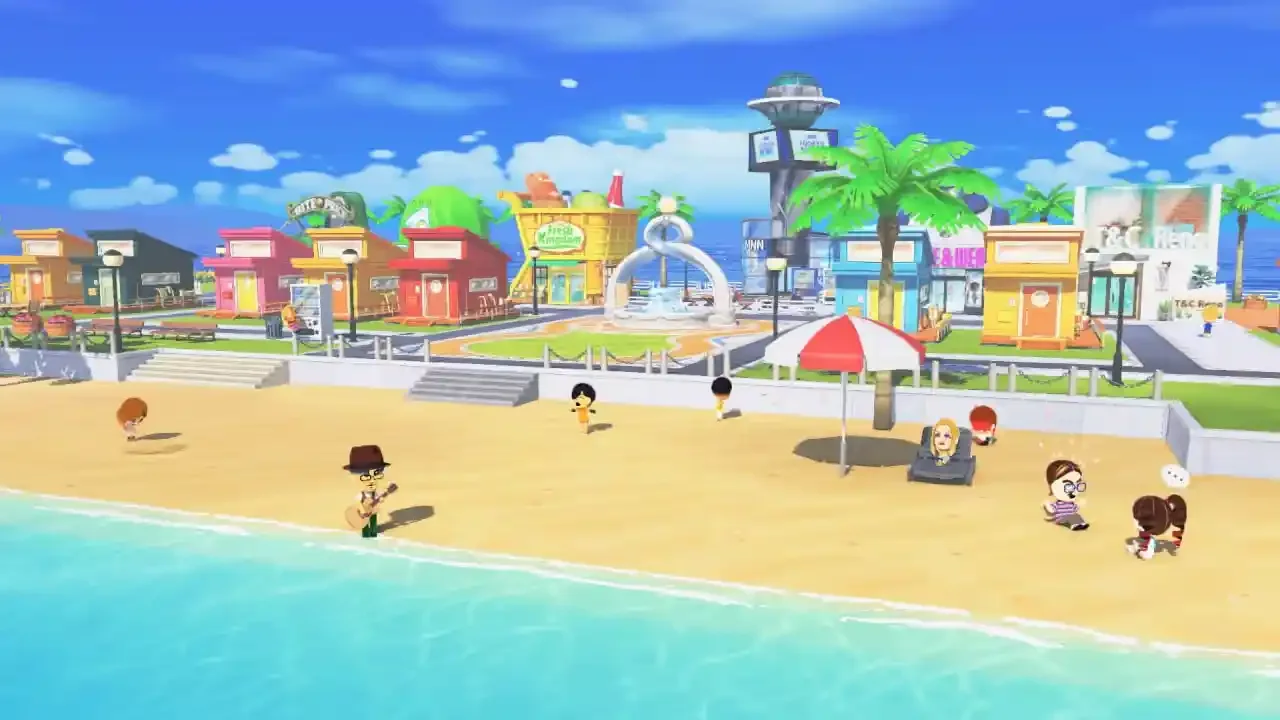
Where the Food Actually Comes From
The Fresh Kingdom food mart handles most of your day to day shopping, but you won't have the full catalog unlocked right away. The store rotates in four Daily Specials every 24 hours, and buying one permanently unlocks it for unlimited future purchases.
Here's the part that's easy to miss entirely. Those Daily Specials are tied to your real world region early on. Playing in the United States tends to surface a lot of hot dogs and carnival style food, while other regions see their own local dishes instead. It's not a bug, just a slow rollout, and the restriction loosens naturally as your island levels up and your catalog fills in.
If waiting on the daily rotation feels too slow, there are a couple of shortcuts. Marketplace Mystery Bags occasionally contain random food items, and a Mii's fever dream can manifest a free serving of whatever they were dreaming about, which unlocks it in your shop for good.
Drawing Your Own Meals
Once the Palette House Workshop is unlocked, you're free to design food from scratch instead of waiting on the shop rotation. Draw whatever you like, save it, and it shows up in a dedicated Custom tab at Fresh Kingdom for about five dollars a serving.
One thing worth knowing going in. The game treats these drawings as legitimate items in every sense, which means your custom creation will also show up as a blurry silhouette during the Zoom and Pixel minigames. Squinting at your own artwork trying to guess what you drew is a strange kind of fun.
What to Stock Up On
With 465 items in play, it helps to think in terms of satiety rather than trying to memorize everything individually.
For filling an empty gauge fast, lean on heavier meals. Proteins like Bacon, Steak, Lobster, and Peking Duck do the heavy lifting, alongside carb heavy dishes like Pizza, Paella, and Tacos, plus seafood options like Sushi, Crab, and Salmon Meuniere.
Once a Mii's gauge is roughly half full, desserts strike a nicer balance. Baked goods like Cheesecake, Cinnamon Rolls, and Apple Pie work well here, as do frozen treats like Ice Cream Cones or Shaved Ice, and simple candies like Chocolate or Pretzels.
When a Mii's nearly full and you just need to top them off without triggering a refusal, fruits, vegetables, and drinks are the safest bet. Things like Watermelon, Broccoli, Bubble Tea, or a simple glass of Orange Juice can squeeze out a little extra progress without overdoing it.