Tomodachi Life: Living The Dream - The Complete Customization And Wishing Fountain Guide
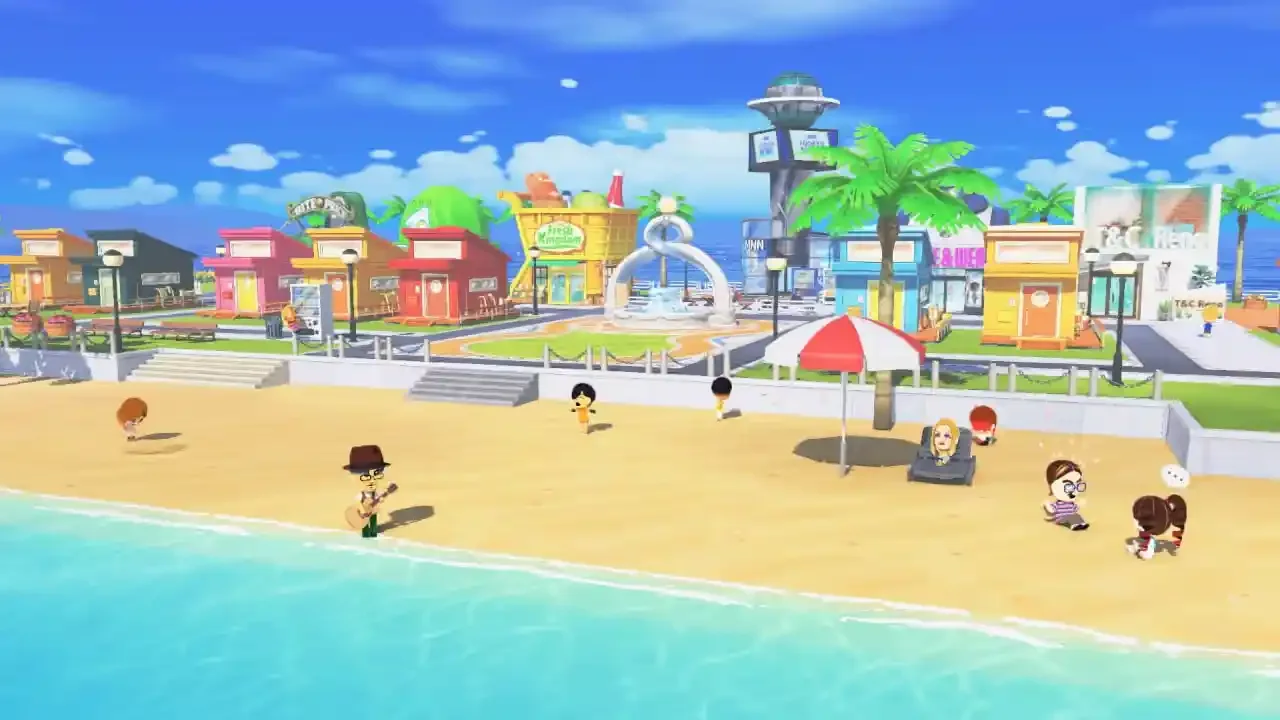
Running a custom island full of your own ridiculous designs is the endgame dream, but the developers locked all the good paintbrushes behind a massive progression wall.
When you first land on your island, everything looks painfully generic. Your residents wear boring shirts, they eat standard food, and their apartments look like cheap motel rooms. The game teases you with the promise of total creative control, but it refuses to just hand over the tools. You have to earn them by grinding a very specific currency system. If you spend this currency blindly, you will end up with an island full of useless junk while the actual customization tools remain locked away. Now before you waste your initial resources on terrible upgrades, I am going to walk you through exactly how the Wishing Fountain economy operates and which upgrades you actually need to prioritize.
If you are struggling to keep your residents alive long enough to even worry about decorations, you should pause here and read my beginner's guide and daily routine first.
The Wishing Fountain Economy
You cannot buy custom designs or island upgrades with standard cash. Your wallet is strictly for shops. The real progression in Tomodachi Life: Living The Dream runs on an emotional currency called Warm Fuzzies.
You earn Warm Fuzzies by actively caring for your Miis. Every time you feed them their favorite meal or solve a problem indicated by a thought bubble over their head, they generate this currency. These points automatically funnel into the Wishing Fountain sitting in the center of your town. Once the fountain fills up to the top, your island rank increases, and you are granted a single Wish.
You spend these wishes to unlock new features, new items, and new customization hubs. Because you only get one Wish per rank, choosing the wrong upgrade severely bottlenecks your progress. If you are having trouble keeping the Warm Fuzzies flowing because your residents are constantly angry, refer to my walkthrough on fixing friendship fights and depression to get your economy back on track.
The Best Wishes To Prioritize
The game presents you with a list of options every time you rank up the fountain. Do not just pick the first thing you see. You need to be strategic about building the foundation of your digital ant farm.
Securing Goods And Little Quirks
Your absolute first priority should be unlocking Goods and Little Quirks. Goods are physical items you can hand to your residents, like a skateboard or a book, which they will then use in their daily routines. Little Quirks are behavioral modifiers that completely change how a Mii acts, walks, or eats. These two categories are mandatory if you want your clones to have any actual personality. Giving them these items also generates a massive amount of Warm Fuzzies, which accelerates your next fountain rank up.
Unlocking T&C Reno Home Supply
Once you have the basic behavioral tools secured, you need to invest your wishes into unlocking the T&C Reno Home Supply. This is the facility that allows you to completely overhaul the depressing starting apartments.
You cannot unlock this on day one. The game requires you to hit a minor social milestone first. You need to have at least four Miis living on your island, and two of them must successfully become friends. If you need help expanding your population quickly, I broke down the easiest methods in my guide on making money and expanding your island size. Once those conditions are met, dump a wish into the Home Supply and start buying decent furniture.
Accessing The Palette House Workshop
The ultimate goal of the Wishing Fountain is unlocking the Palette House Workshop. This facility is the creative core of the entire game. It allows you to draw, paint, and design almost every single asset you interact with.
You cannot force this building to open just by hoarding wishes. It is tied to a random event. You have to maintain your daily check ins until you spot a Mii with a specific Yellow Pondering bubble over their head. Normal problems are black squiggles, and romance is pink, but yellow means they want to be creative. When you click the yellow bubble, the resident will directly ask you to make something custom for them. Fulfilling this simple request immediately unlocks the Palette House Workshop and adds it to your map.
Mastering Custom Designs
Once the doors to the workshop are open, the sheer volume of things you can alter is staggering. You are no longer relying on the daily shop rotations to find interesting items. You can just make them yourself.
However, the game does not give you infinite server space to store your creations. There are hard limits coded into the software, and if you hit the cap, you have to start deleting your old designs to make room for new ones.
Managing Your Digital Wardrobe
The clothing category is the only one that gets a massive 300 slot limit, and for good reason. Clothing is the primary way your residents express themselves, and having a diverse wardrobe is critical if you want to take good screenshots. The customization tools are surprisingly robust. You can draw directly onto blank templates, adjusting the colors and patterns to create everything from highly detailed formal wear to absolute garbage bag aesthetics.
Whenever you finish a design, you can distribute it to your Miis immediately or place it around the island as a static object. If you accidentally create something incredibly offensive or just plain ugly and give it to a resident you hate, you might want to rethink that strategy. They will wear it constantly in the background of your game. If a design becomes too much of an eyesore, you will have to either overwrite it in the Palette House or scrub the resident entirely using my steps on how to edit and delete Miis.
With the Palette House unlocked and your wishes spent correctly, you effectively have total control over the visual identity of your island. You just need to supply the creativity.