Tomodachi Life: Living The Dream: The Complete Guide To Fast Money, Island Upgrades, And Shop Unlocks
A happy island prints its own money, and an unhappy one leaves residents standing around a fountain with nothing to show for it.
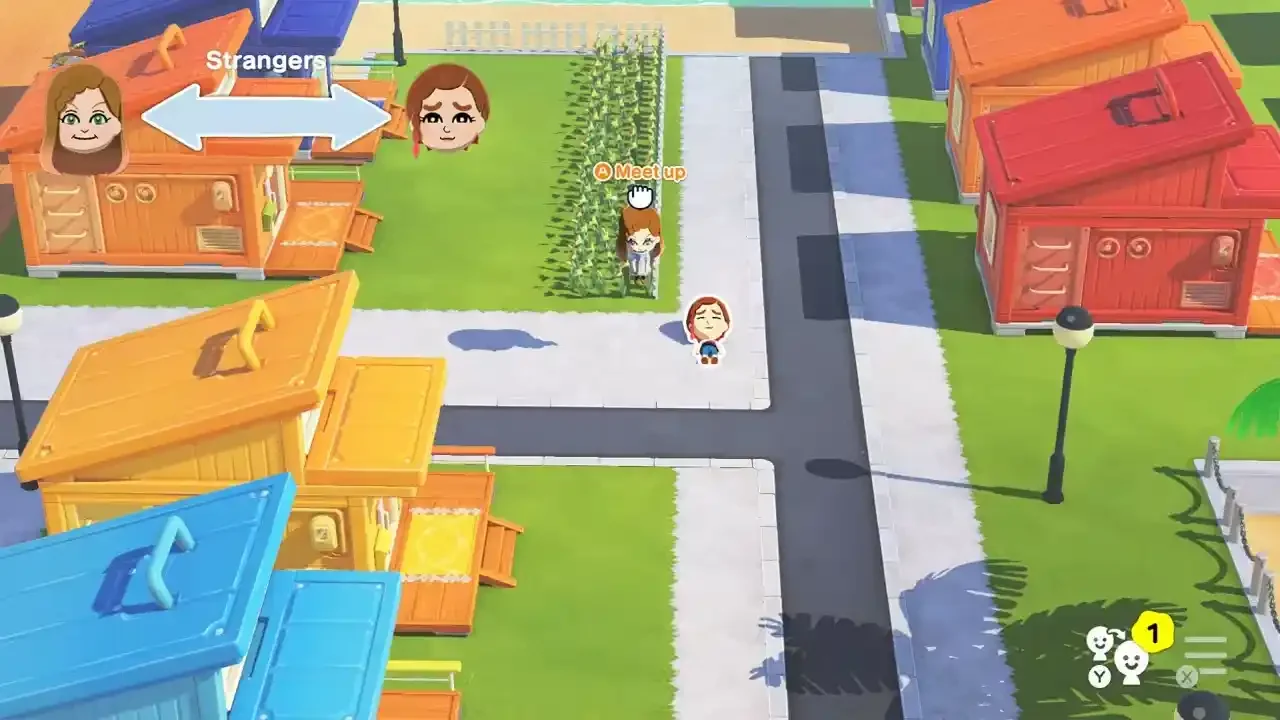
Cash disappears fast once residents start asking for outfits, treats, and eventually a trip to outer space. Understanding where the money actually comes from, and where it doesn't, makes the difference between a comfortable island and one running on fumes.
Where The Real Income Comes From
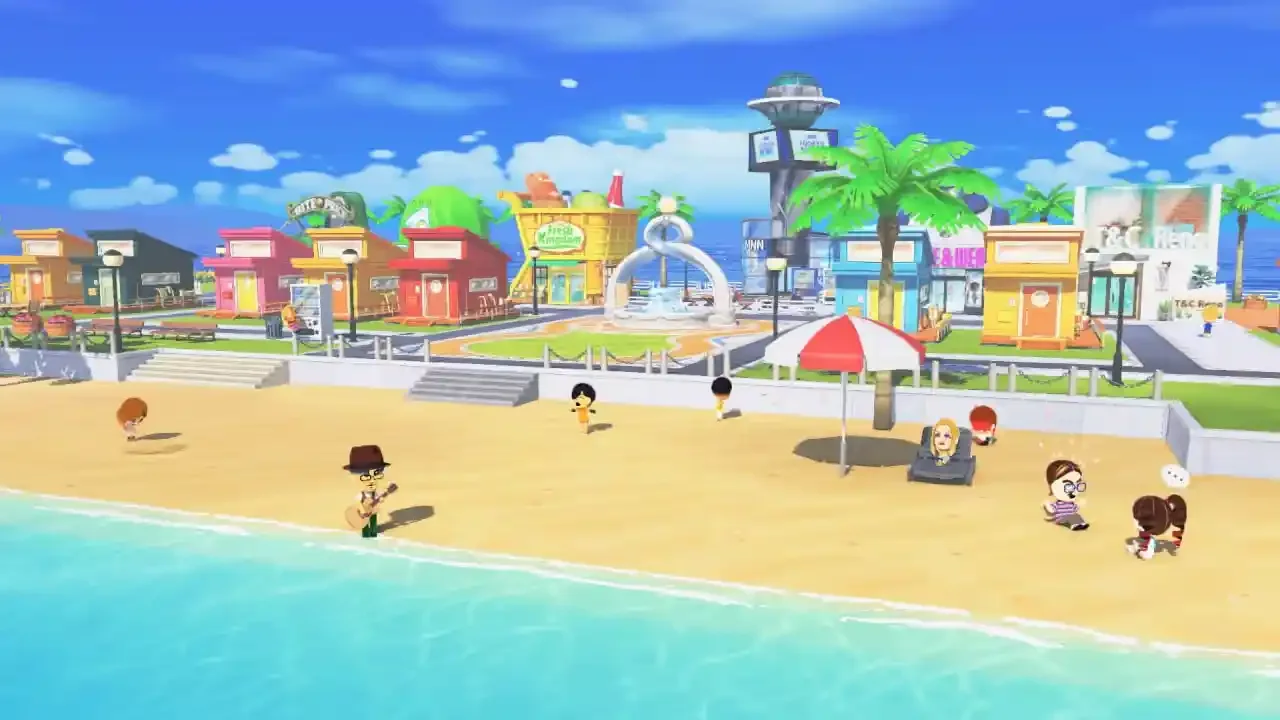
The fountain sitting in the middle of town does most of the heavy lifting. Residents gather there daily and toss money in, but the payout scales directly with how happy the island is overall. A handful of miserable Miis dragging down the average mood shows up immediately as a smaller deposit the next morning. Sorting out arguments and bad moods quickly, the kind covered in the friendship fights and depression guide, pays off here in a very literal sense.
Active income runs through the minigames instead. A green bubble in a window means a treasure is up for grabs, and that treasure has exactly one purpose once it's won. It gets sold. Holding onto gold bars or diamond rings for some imagined future use just clutters up the inventory, so a trip to the Pawn Shop right after winning is always worth it.
The Pocket Money Trap
Leveling up a Mii through their favorite foods opens up a reward choice, and pocket money sits right there as an option. It's tempting, but that cash goes straight into the Mii's own savings rather than the shared wallet, and they'll eventually blow it on a solo trip to space. Choosing a song or a room interior instead is almost always the better call, unless triggering that space event is actually the goal.
Growing The Apartment Building
The starting apartment block looks more like a budget motel than a home base, and upgrading it has nothing to do with savings. Population is the only thing that matters here. Filling up the initial 24 rooms triggers an automatic upgrade to a 50 room building, and continuing to add residents eventually caps things out at a full 100 room tower.
Building out a varied cast of personalities fills those rooms faster and keeps the social dynamics interesting rather than repetitive, which the beginner's daily routine touches on as part of the regular grind.
Getting The Shops Unlocked
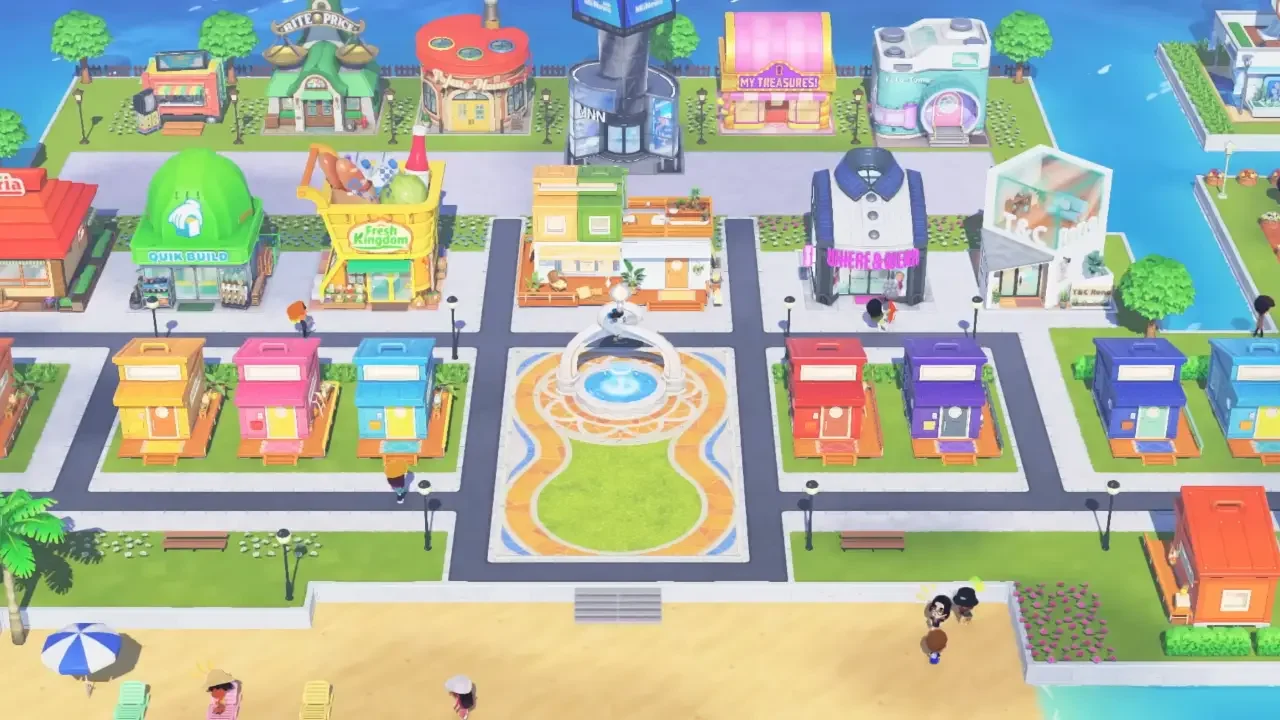
Progress unlocks most of the map naturally, but knowing the specific triggers speeds things along:
The Pawn Shop opens as soon as the first treasure gets won from a minigame
The Hat Shop needs two male and two female Miis on the island along with 10 solved problems
The Interior Store unlocks once the shared wallet crosses 200 dollars
Mii Homes requires one successful marriage, the full process for which lives in the marriage guide
The Photo Studio needs two Miis leveled up to 10 or higher
The purely social spots, the Cafe, the Amusement Park, the Observation Tower, tend to open up on their own as the population grows and everyday problems get solved. None of them sell anything, but they're where most of the actual chaos and charm of the game plays out.
Documenting The Chaos
Once the Photo Studio is up and running, it becomes possible to grab genuinely sharp images of whatever's unfolding at the Cafe or the Tower instead of settling for a blurry phone photo of the screen.
Hitting a full 100 room building and unlocking every shop on the map feels like the finish line, but it isn't quite the end. For anyone chasing everything this game has to offer, the rarest items and final milestones are covered in our guide to trophies, the ending, and travel tickets, which is worth bookmarking once the economy stops being a struggle.