Windrose Crafting Stations: The Complete Infrastructure Guide
Building a pirate empire requires serious logistics. You cannot conquer the ocean by simply banging two rocks together on a beach, and you cannot forge a musket in your bare hands.

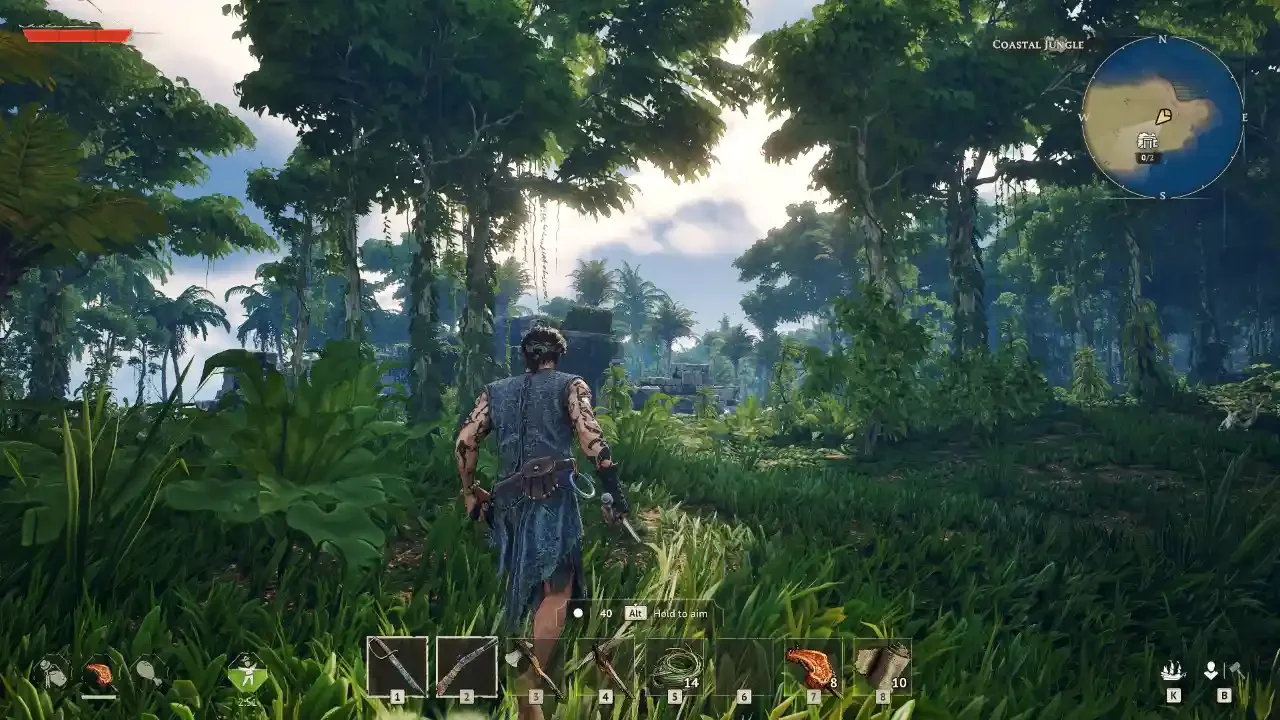
The transition from a desperate castaway to a fully armed pirate captain is entirely dictated by your base infrastructure. Windrose features a massive web of crafting stations, refineries, and specialized workbenches.
Now before you waste hours wandering the menus trying to figure out why you cannot craft a simple backpack, you need to understand the game's unique upgrade mechanic. You do not click a button in a UI to upgrade a station. Instead, you construct completely separate, physical furniture pieces (like a Sawhorse or an Anvil) and place them directly next to the primary station to permanently increase its tier.
Here is the complete catalog of exactly what every single structure produces, the raw materials required to trigger their blueprints, and the proximity upgrades required to reach the endgame. If you are entirely lost on how to actually place these walls or how the Bonfire radius works, you absolutely need to read my base building and demolition guide before you start moving furniture.
The Foundational Refineries
Your raw ores, bloody hides, and chopped wood must all pass through these specific utility stations before they become usable components. These structures do not feature proximity upgrades, but their architectural blueprints are strictly locked behind harvesting specific materials in the wild.
The Workbench
This is your foundational crafting station. It is the very first table you build, and it unlocks the rest of the game's architectural tree. You rely on the Workbench to produce intermediate materials, basic tools, and your inventory backpacks. If you are desperate for pocket space, review my inventory and storage guide.
The Armory and Gear Forges
Once you have a chest full of processed leather and refined metal, you need to turn it into actual combat gear.
Weaponsmith & Shipwright's Workshop (Shared Upgrades)
The Weaponsmith is the central forge for crafting Sabres, Rapiers, and Muskets. The Shipwright's Workshop handles your cannons and hull bracings. Crucially, these two stations share the exact same proximity upgrades. Placing an Anvil between them buffs both stations simultaneously.
Armor and Clothing Workshop
The dedicated station for stitching together all wearable defensive gear. I highly recommend reading my weapons and armor crafting guide to understand exactly which sets you should be building here.
Jewellery Table
This specialized workbench is dedicated exclusively to producing rings and amulets utilizing your hoarded Gold and Silver.
Sustenance & Alchemy
A pirate with a shiny sword is useless if they bleed out from a minor scratch or pass out from hunger. Your biological needs are managed at these two specific stations.
The Cooking Fire
This culinary station dictates your maximum health pool and stamina buffs. Check my complete cooking guide for the exact stat breakdowns of these meals.
The Alchemy Table
The primary station for magical and restorative brewing. Do not wander into a late-game dungeon without visiting this table first. If you keep dying in combat, you need to utilize this station alongside my complete healing guide.
Build your stations, keep your kilns burning, and check our Windrose Hub for more ways to dominate the archipelago.