Windrose Naval Combat Guide: Tactics, Boarding, and Ship Recovery
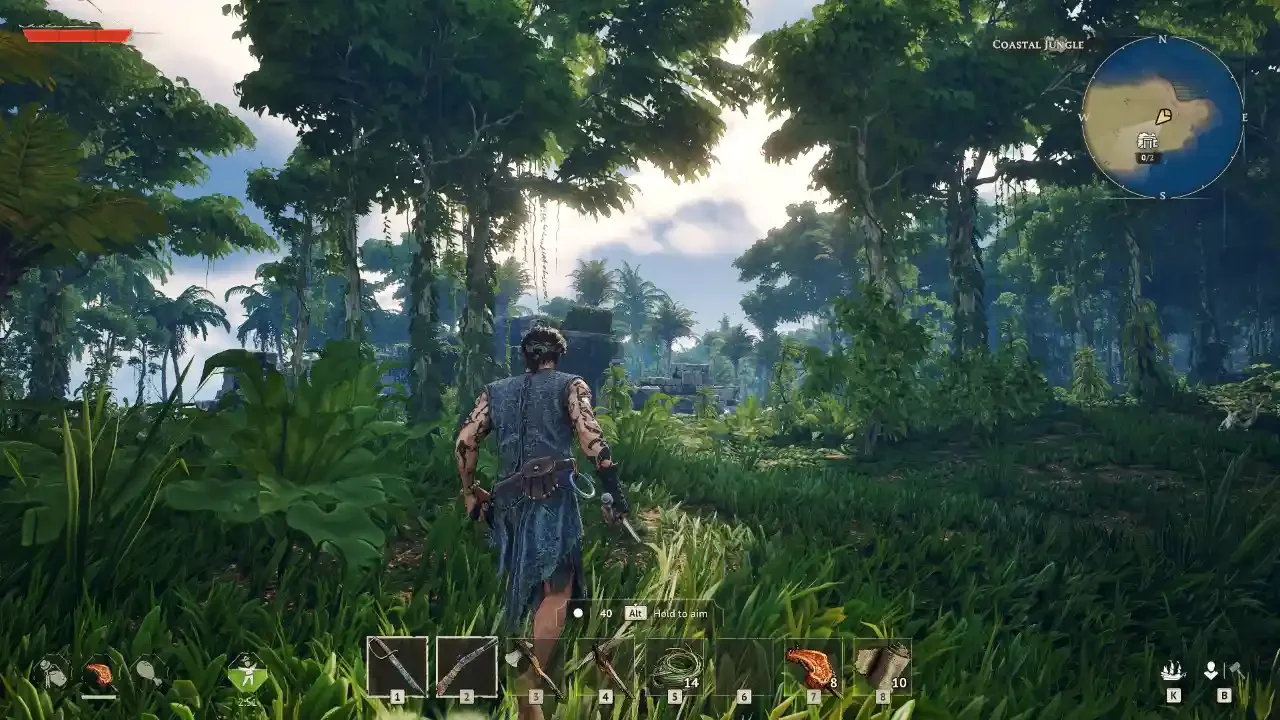
Navigating the ocean in Windrose is incredibly peaceful right up until a pirate galleon tears a hole in your hull.
Getting your first ship is a massive milestone, but it also paints a giant target on your back. The waters surrounding the starter islands are heavily contested, and the moment you cross paths with a Blackbeard patrol or a high tier faction vessel, the game expects you to know how to actually fight. Naval combat is slow, methodical, and incredibly punishing if you make a positional mistake.
I have watched my flagship sink to the bottom of the ocean more times than I care to admit. You cannot just ram the enemy and mash the fire button. You have to manage your speed, calculate your cannon arcs, and know exactly when to run away. If you have not even acquired your first vessel yet or figured out how to strap guns to it, you need to step back and read my ship procurement and upgrade guide first.
The Art of Naval Warfare
Ship combat in this game revolves entirely around three core pillars: positioning, speed management, and reload timing. If you fail at any of these, you will be swimming home.
Speed Control and Positioning
You never want to be surrounded. If you pull aggro from two ships at once, you need to immediately maneuver so both enemies are positioned on the exact same side of your vessel. Taking crossfire from both port and starboard will shred your hull bracing in seconds.
Your throttle is your best defensive tool. You do not want to hold full speed during a dogfight. When you need to make a sharp turn to line up a broadside attack, drop your speed to three quarters. The ship turns significantly faster at this velocity.
Only use maximum speed when you are actively trying to close a massive gap or flee a losing battle. Conversely, dropping your speed down to a quarter is only useful when you are trying to carefully slide behind an enemy. Ships in Windrose rarely have rear facing cannons. If you can lock yourself directly behind an enemy's stern, you can pepper them with your front guns with absolute impunity.
Aiming Through the Elements
Cannons take an agonizing 11 seconds to reload. If you miss a volley, you are completely defenseless while those white meter bars slowly fill back up.
Always aim lower than you think you need to. The cannonballs have a tendency to arc high, completely whiffing the enemy hull if you aim directly at the center of mass. Furthermore, the ocean itself is actively fighting you. Massive waves physically block incoming and outgoing projectiles. Do not waste a volley if a massive swell is rising between you and your target.
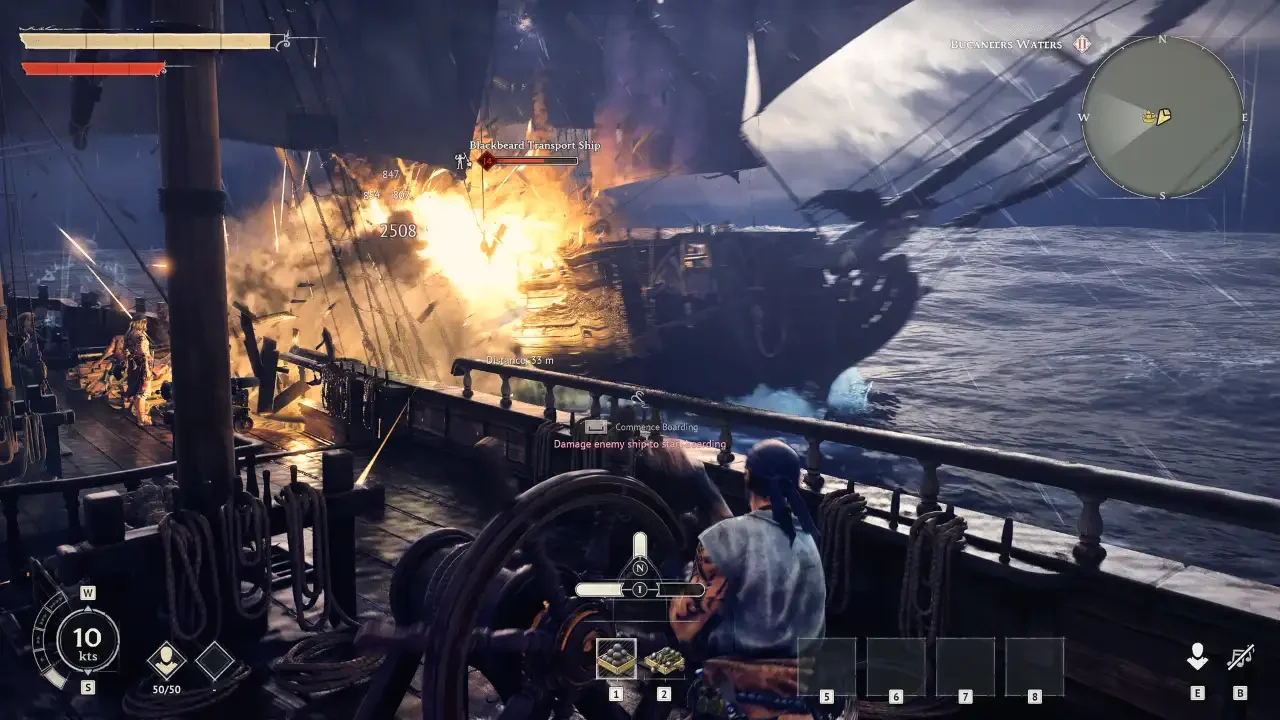
Executing Boarding Actions
Sinking a ship is great, but boarding it yields significantly better loot. To pull this off, you absolutely must have Boarding Gear equipped at your Wharf.
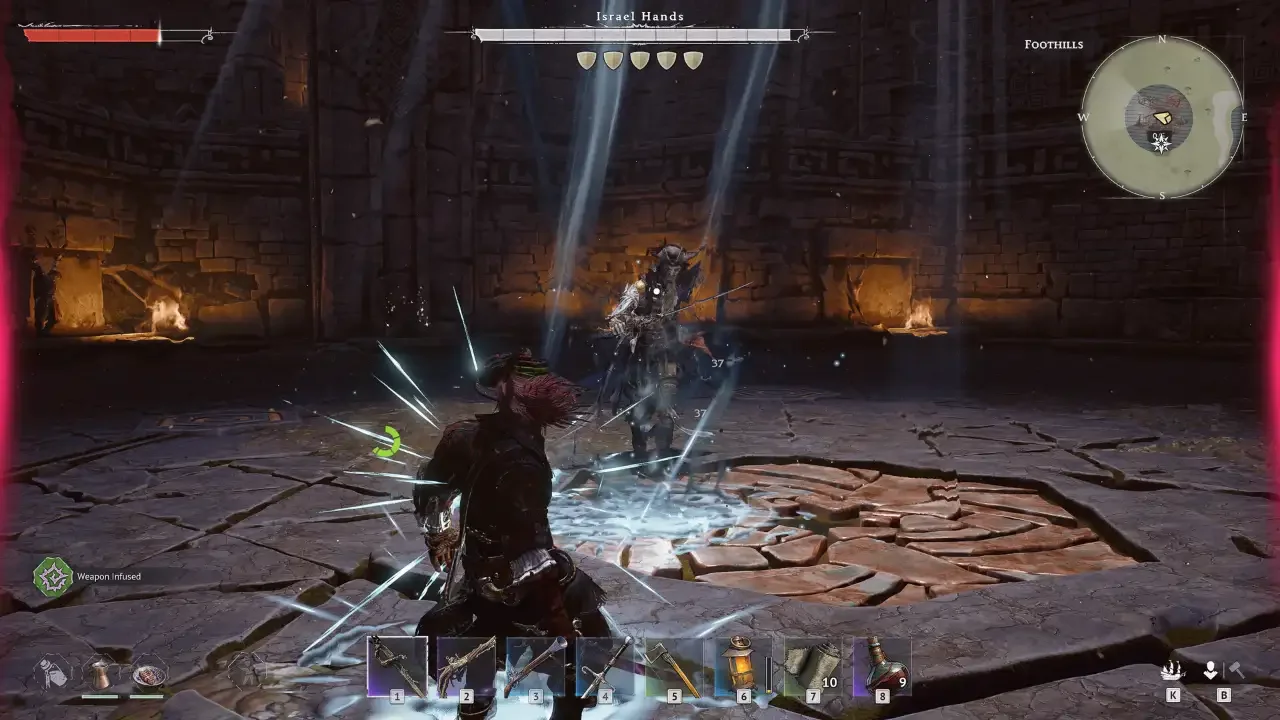
When you hammer an enemy ship down to a critical health state, it becomes "disabled." It stops moving and completely ceases fire. This is your window. Latch onto the disabled vessel and trigger the boarding action.
You and your crew will physically jump over to the enemy deck. This initiates a brutal close quarters brawl. If you are boarding a small Ketch, the lack of deck space makes dodging almost impossible. I highly recommend equipping a Blunderbuss or a Musket before you jump over. Stand near the railing and let your AI crew tank the damage while you pick off the enemy pirates from a safe distance. If you need a refresher on the best guns to craft for this, check out my weapons and armor guide. Once you kill the required number of sailors, you win the encounter and claim the ship's cargo.
The Sinking Protocol
Sometimes you just get outplayed. You turn the wrong way, catch a broadside of 24-pounders, and your ship goes down. Do not panic, but do not stick around either.
When your flagship sinks, you are dumped into the water. Immediately press your hotkey to summon your backup sailboat and flee the scene. If the enemy ship is still hostile and manages to blow up your tiny rowboat, your character dies. Dying means dropping your entire personal inventory at the bottom of the ocean, forcing a miserable corpse run.
Ship Recovery at the Wharf
The silver lining here is that losing your ship does not mean losing your cargo.
Once you limp back to your main base, approach your Wharf. You can access a ship recovery menu to pull your sunken flagship back from the depths. This process requires a hefty chunk of raw materials, with the cost scaling based on the size of the vessel. The moment the ship is restored, all the hoarded loot you had stashed inside its cargo hold is safely returned to you.
Expanding Your Fleet
Eventually, you will outgrow the starter Ketch. Your Wharf is not just a repair station; it is a full fledged Shipyard.
If you open the Wharf menu and navigate to the Shipyard tab, you will find the interface for building entirely new vessels. You do not unlock these advanced ships through standard crafting. You have to buy the blueprints from the major factions. The Brethren of the Coast, located in Tortuga, are the premier shipwrights. If you grind your reputation high enough, they will sell you the designs for massive Brigantines and endgame Frigates in exchange for Guineas. If you are broke and need to know how to earn that specific currency, read my Windrose economy and currency guide.
The Wharf also features a Customization tab where you can change your sail colors, equip faction specific flags, and rename your vessel.