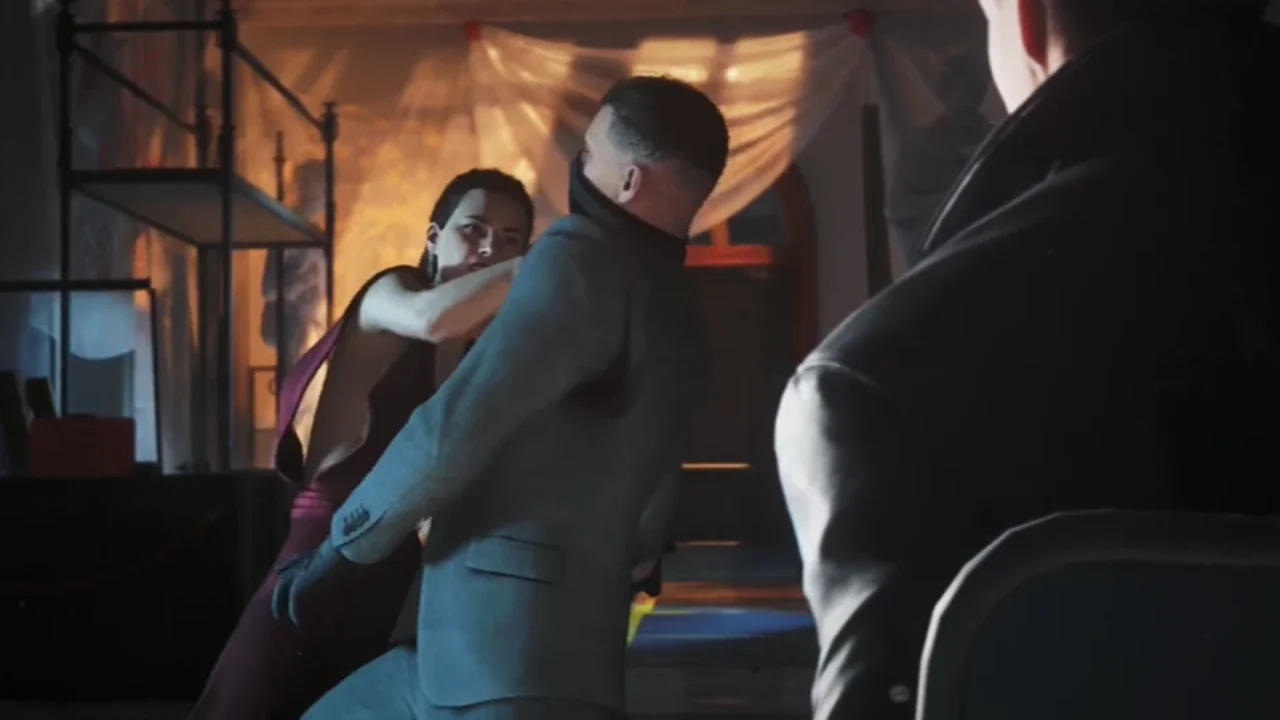
007 First Light Guide: How to Complete All Time to Die Challenges
Unlocking the Resort Casual Outfit requires you to master completely opposing playstyles across a massive luxury resort.
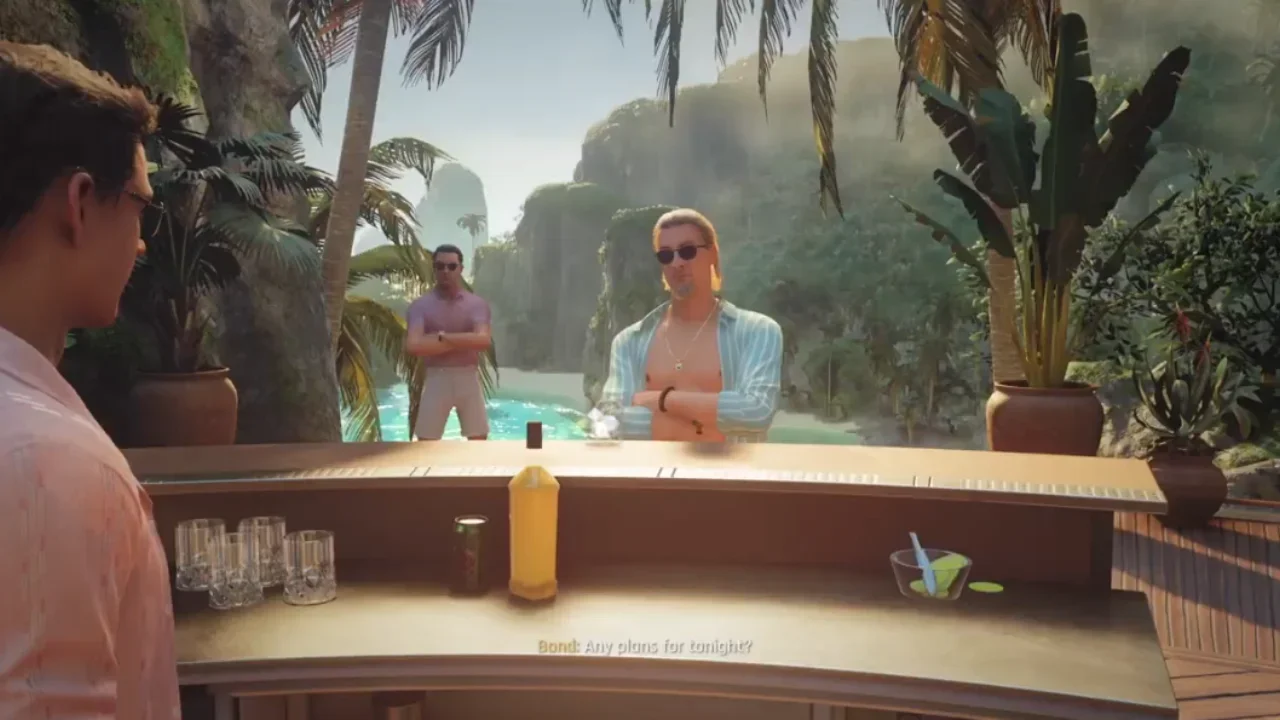
Time to Die drops you into a sprawling vacation destination with a ridiculous amount of ground to cover. If you want to unlock that Resort Casual Outfit, you need to clear 24 distinct challenges that range from completely silent infiltration to chaotic sniper shootouts in a rock quarry. Because several of these objectives openly conflict with each other, you will absolutely need to run this mission a few times to grab everything. If you want to know exactly how much time you are signing up for, check out my 007 First Light How Long to Beat Chapter List to help plan your schedule.
The Full Time to Die Challenge List
Before you start worrying about specific routes, here is the complete breakdown of every challenge the game expects you to clear in this chapter.
Infiltrating the Villas
The opening sections of the resort demand creativity. You cannot just walk through the front doors of these luxury suites.
Serenity and Tranquility
For Pool Inspector, skip the main entrance to Serenity Space completely. Instead, head to the pool below it and climb the wall to hang directly on the upper ledge.
If you want the Yogi challenge, you need to steal a disguise. Head into Tranquility Cave, hit the yoga instructor with a Phone Dart to steal his key, read the yellow note on the wall, and grab Ramon's blue mat from the storage room. While you are inside that storage closet, interact with the laptop to blast some rock music and secure the Zen No More challenge.
Ramon's Hung Villa
If you prefer a pure stealth run for The Quiet Man, ignore the yoga mat entirely. Scale the cliffs to the left of the guarded entrance and use your Q-Scan to dodge the guards patrolling the small alcove. Climb the next set of cliffs to reach the villa roof. Hack open the bathroom skylight and drop down on the guard for an instant aerial takedown to clear Bathroom Bomb simultaneously.
Mingling at the Party
Before you move into the heavier combat zones, you have a few social stealth objectives to knock out.
Faking Invites and Tending Bar
When you realize Ellis' party is strictly invitation only, hang around the entrance guards until two women walk out. Toss a gadget to distract them, then steal their flyers to walk right in for Party Crasher. Over at the Velvet Lantern bar, read the menu, talk to the bartender, and pick literally any dialogue option to chase him off and grab Blanc the Brut.
Once the bartender leaves, sneak into the back storage room. Crouch behind the red toolbox and turn on the hose. The noise distracts the guards long enough for you to grab the Ocean view bar key unseen for Key Master.
When you get the frantic radio call about Lorca's vitals failing, do absolutely nothing. Stay sitting on your resort chair and sip your drink for a solid minute to earn Give Me a Minute.
Emperor Villa and the Cellar
This is where the stealth gets significantly more punishing. You have to navigate dense guard patrols and make very specific combat choices.
Rooftops and Leg Shots
To get the Panther challenge, you must reach the roof of the Emperor Villa undetected. You are allowed to kill guards here, making it the perfect time to grab Silent Night. Use your silenced pistol to land five stealth headshots (make sure you use your Laser Strap on helmeted enemies first). Stick to the right wall of the villa, move under the stairs, and hack the air conditioner to create a smoke screen so you can sprint up to the roof.
Before you drop down from the roof into the wine cellar, you need a plan for Phantom. Drop through the window when the guard turns away. Open the left door, hack the ceiling fan to distract the central guards, vault into the grass, and take the ladder down to the basement.
You will find two Webb mercenaries beating up Ellis. To clear Unlicensed to Kill, you have to save him without actually killing the guards. Just shoot them both in the legs twice with your pistol to knock them out safely. If you want a refresher on who these guys actually work for, read my 007 First Light Villains Explained breakdown.
The Lorca Rescue
Before you spend hours getting caught during the Wraith challenge, know that this specific stealth sequence is absolutely brutal. You have to reach Lorca completely undetected. I highly suggest dropping the difficulty to Novice just for this section. You absolutely need Smoke Pods equipped. Toss a pod at the first group of enemies and walk past. Wait behind cover for the patrolling guard to turn around, then sneak up the stairs for a silent takedown. Toss a pod at the guard on the right, instantly throw another at the final group of three, and sprint directly to the objective marker.
The Quarry Shootout
The final stretch throws stealth out the window entirely. You have a massive sniper overwatch sequence to exploit.
Snipers and Falling Marble
Greenway will provide sniper cover while you push through the quarry. Use your Q-Lens to highlight the hanging crane above the enemies. Greenway will shoot it, dropping it on multiple guys to clear Two Birds, One Stone. For the Thief challenge, watch the enemies for a green crosshair indicating Greenway is aiming at them. Trigger your Focus and headshot three of those targets before he pulls the trigger.
As you push forward, look up and shoot the yellow winches holding massive marble slabs. Drop these slabs on five different mercenaries to clear Marble Madness. When you climb the ladder to reach the large mining truck, do not shoot the guy waiting at the top. Hold your charge trigger to physically throw him off the ledge for You Talk Too Much.
Finally, when you take control of the sniper rifle yourself, look way off into the distance at the light towers. Shoot the yellow power boxes on every tower to plunge the quarry into darkness and clear Lights Out.