007 First Light Guide: How to Conquer the Wave of the Future Challenges
Surviving the penultimate mission means breaking out every trick in your spy arsenal to overcome some incredibly stubborn level design.
Wave of the Future is the second to last mission in 007 First Light, and it does not pull any punches. You have 24 distinct challenges to clear that bounce wildly between total pacifist stealth and chaotic robot destruction. Because many of these objectives openly conflict with each other, you will absolutely need to run this facility multiple times to cross everything off your list. If you want to map out exactly how much of your weekend this will consume, check out my 007 First Light How Long to Beat Chapter List to help plan your schedule.
The Complete Challenge Breakdown
Before you start worrying about specific patrol routes or glitchy loadouts, here is the full list of what the game actually expects you to accomplish.
The Loadout Nightmare
Before you waste an hour staring at menus trying to complete the Deadly Delivery challenge, you need to understand a massive oversight in how this game handles checkpoint loadouts.
You have to kill an enemy by sticking a proximity mine to a robot vacuum cleaner in the Utility room. However, you cannot just replay the mission from the checkpoint and expect the flash mine to magically be in your inventory. You are rigidly bound to whatever gadgets you picked up during actual story progression.
To fix this, you have to back out to the main menu and use chapter select. Go to the previous mission and load the fifth checkpoint called "An unexpected call". When you load into the Q lab, physically pick up the flash mine from the bench. From there, you have to play the game normally for about fifteen minutes until you reach the Utility room in your current chapter. Toss the mine onto the vacuum cleaner and grab your kill. It is an incredibly frustrating hurdle, but knowing this workaround saves you a ton of useless troubleshooting.
Ghosting the Corridors
If you want to clear the stealth and pacifist objectives, you need to holster your weapons and rely heavily on your environmental awareness.
Gatehouse and Utility Floor
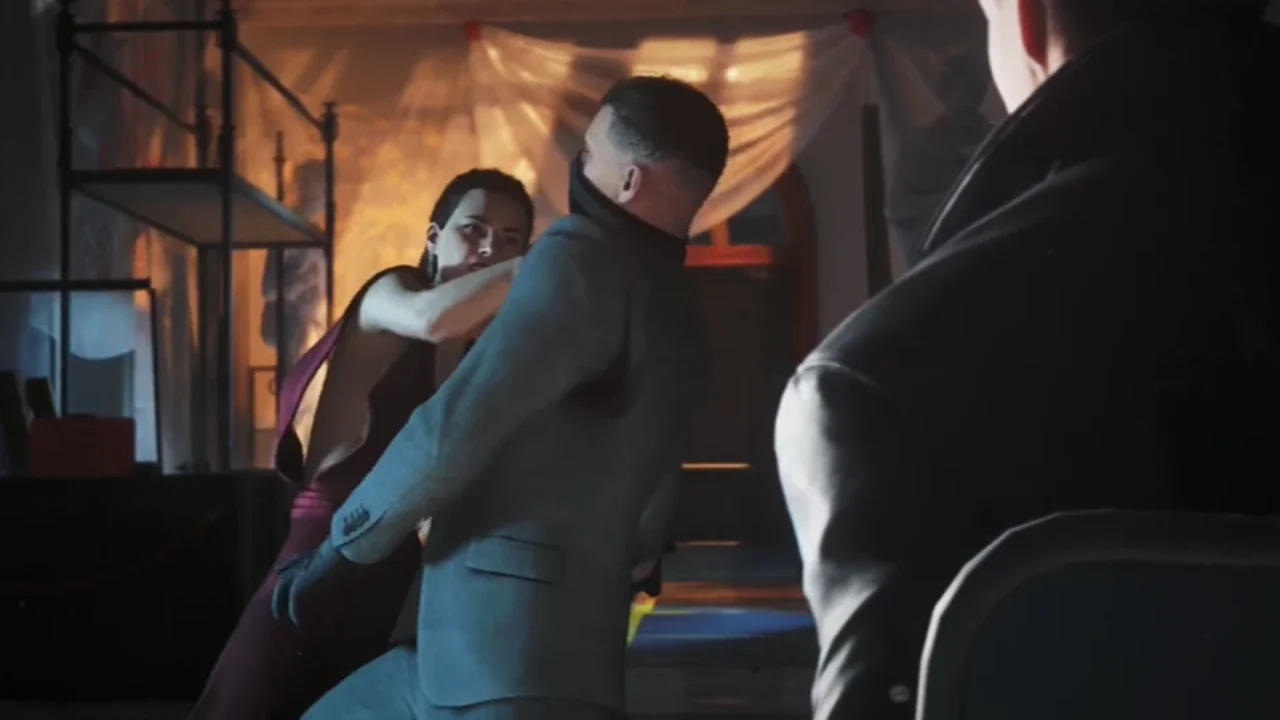
You kick off the Hide and Seek challenge right at the Gatehouse entrance. Coordinate your approach with Isola to drop the two starting guards seamlessly. You grab the guy on the right, she handles the left, and you slip inside completely unseen.
To secure Pacifist Protocols, you must navigate both the Gantries and the Utility Floor without firing a single bullet. While you sneak through the Utility space, keep your Q-Lens active to spot climbable ledges above the patrol routes. Use your Lure gadget to bait three different guards directly beneath you and drop down for aerial takedowns to clear Death From Above.
Red Alert Stealth
During the Red Alert section, you can actually drop enemies for the Stay Stealthy challenge, you just cannot alert anyone while doing it. The easiest trick here is to use your Missile Pen on the two explosive servers right when the armored guards walk past them. The explosion takes them out cleanly, leaving you free to headshot the remaining left and right guards with your silenced pistol. If you need a refresher on exactly who these elite mercenaries are working for, check out my 007 First Light Villains Explained breakdown.
Going Loud in the Command Center
The Command Center is where the game finally lets you rip off the silencer and cause some massive structural damage.
Firearms and Exploding Servers
To grab No Time to Reload, you need to secure kills with five completely different firearms during this single chaotic encounter. Sprint around the room, pick up whatever dropped shotguns or rifles you can find, land a kill, and immediately swap to a new weapon. While you do this, make sure you land exactly ten headshots to finish off Expert Marksman.
Keep your Q-Lens active during the firefight to spot highlighted server modules. Hit one of these with a Missile Pen or your Laser Strap right as a Webb guard walks past it to blow him up and claim Server Breakdown. You also need to hack five floor panels with your Q-Watch to secure Proxy Agent. Once the dust settles and you activate the freight lift, enemies will attempt to fistfight you as the elevator descends. Just hit your charge trigger to hurl every single one of them over the railing for Going Down.
Office Politics and Robotics
The rest of the mission throws a bunch of highly specific environmental puzzles and vehicle segments at you that are incredibly easy to miss.
Also check out: 007 First Light All Collectibles Hub
Keycards and Puzzles
While you fetch keycards early on, you will spot David Somerset in a restroom. Talk to him, exit the conversation, and physically smash the door in to knock him out for Knock Knock. Down on the lower floor office, you will find a safe tucked under a desk. Distract the two NPCs inside and crack it for Attention to Detail. You can find the math puzzle clue you need for Snoop Around inside a locker upstairs.
When you need to upgrade your ID badge, look for an office on the left side of the lower floor. Distract the three people inside, read the memo on the desk, and then simply walk outside and talk to the guard to turn yourself in. This instantly completes the Surrender challenge. Do not forget to hit your interact button to intervene when Lindsey recognizes Isola later on for the Special Intelligence Task Force challenge.
The Robotics Lab
When you hit the robotics labs, you have a massive opportunity to farm kills. For First Day at Work, you need to clear two opportunities. On the left side, activate the shooting range, hack the wall behind the android, and shoot the secondary android with a barrel. On the right side, hit the woman with a Phone Dart to make her leave, then punch the glass while the robot mimics your movements.
To clear Terminated, use your Q-Watch to lower a server, lure the rogue android under it, and activate the server again to crush him flat. Later, during the Wreckie encounters, shoot the two generators to force more androids to spawn. Train them into a massive line until you have at least ten grouped up, then send Wreckie rolling straight through the mob to instantly clear Perfect Strike.
The Boat Chase
Finally, during the climactic boat chase after Isola, stick hard to the left side of the water. Right after you hit the first mandatory ramp, you will spot a massive iceberg. Hit it at full speed to launch your boat and secure Icecap-Tain. Just make sure you dodge the floating mines so you do not fail the sequence, which guarantees you the Running Man challenge right as the mission ends.