Crimson Desert Comrade Guide: Recruiting And Leveling Your Mercenaries
I love the combat in this game, but managing a mercenary company sometimes feels like playing an incredibly violent spreadsheet.

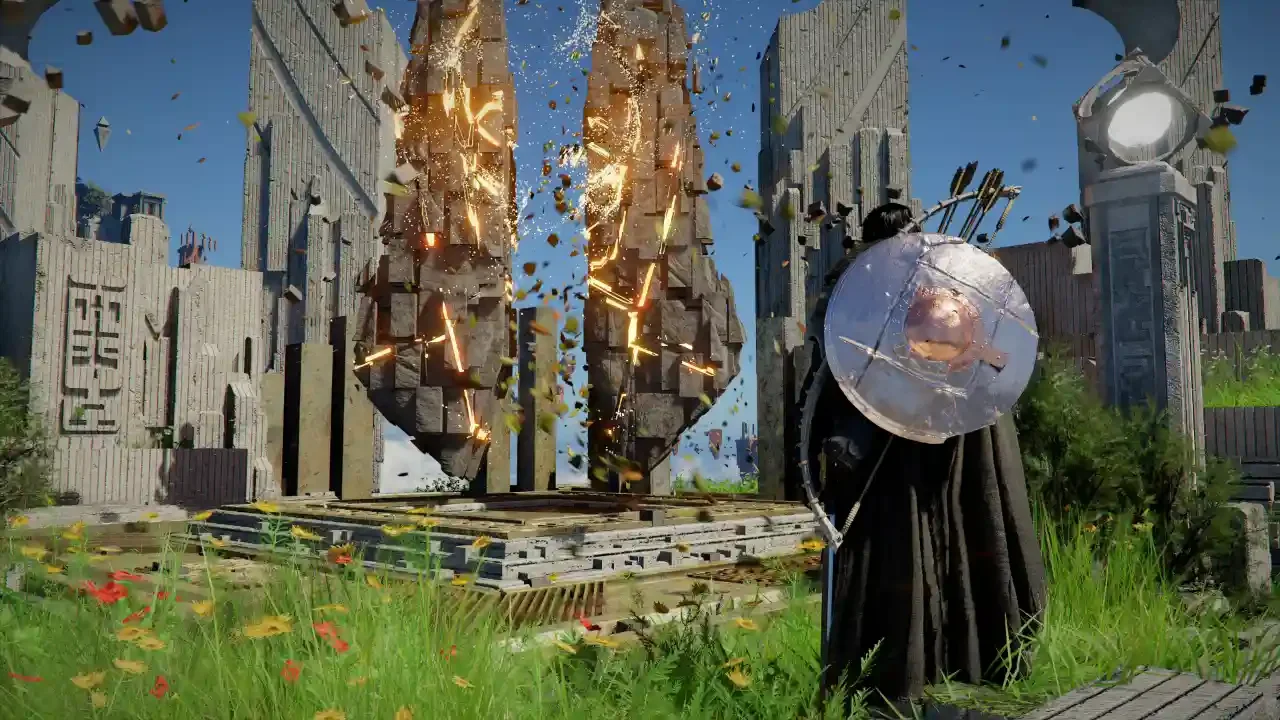
Once you finally establish a base of operations at Howling Hill, you are immediately hit with a glaring problem. You have a camp, but you have absolutely nobody to run it. You will see dozens of random freeswords wandering around the open world, and your first instinct will be to walk up and hire them. Do not bother. You cannot recruit random mercenaries off the street.
You are strictly limited to recruiting surviving members of the Greymane clan. Finding them requires you to navigate a very specific set of menus and track down obscure rumors. Furthermore, once you actually get them into your camp, the game does a terrible job of explaining how to make them stronger.
I spent hours untangling this system. If you are entirely lost on how the base building infrastructure actually functions, you need to pause and read my Crimson Desert Camp Management Guide first. If your base is already set up and you just need bodies to fill it, here is exactly how you handle your personnel.
Tracking Down Marinus And His Rumors
Your primary recruitment drive is locked inside your journal. You need to open your menu, navigate to your Factions Quests, select the Greymanes, and open the "Grounds of the Sunrise" tab.
This specific tab tracks your available recruitment missions. You are looking for quests that start with the phrase "A rumor..."
These rumors are fed to you by Marinus. When he gives you a lead, you have to track it down on the map. Following these specific rumor quests is the only way to pull your old comrades out of hiding. Sometimes completing a rumor drops a massive influx of personnel into your lap. For example, finishing the "A rumor in Goldleaf Trading Post" quest instantly sends six people to your camp.
The Progression Drought
A lot of people hit a massive roadblock around Chapter 8. You might find yourself stuck with exactly nine comrades, which is not enough manpower to finish the Pailune restoration quest or build your wagon. You will check your journal and see that Marinus has completely run out of rumors.
This is not a bug. If Marinus goes quiet, you have hit a progression wall. You have to push your Camp Upgrades further or advance the main story to trigger the next batch of rumors.
The Confusing Comrade Leveling System
This is the mechanic that drives me absolutely crazy. Your comrades have unique sets of skills, but you will notice that several of their skills are grayed out and locked. Your immediate gamer instinct is to grind.
Do not waste your time trying to grind individual XP. Comrades do not have personal experience bars. You cannot level them up by sending them on endless Dispatch Missions, and you cannot level them up by dumping a mountain of supplies into Carl's donation bin.
It is a cyclical system. You find comrades, which allows you to upgrade the camp. Upgrading the camp unlocks your comrades' hidden skills and simultaneously triggers Marinus to give you more rumors so you can find more comrades.
Managing The Dispatch Board
Once you have a healthy roster of recruits, you need to put them to work. You handle all of your personnel assignments by talking to Ross. Look for the helmet icon on your camp map to find him.
Talking to Ross opens the Mission Dispatch menu. This is where you send your teams out to gather food, mine stone, or secure strongholds. The missions run automatically and will simply restart themselves on a loop when they finish. If you want a team to switch from mining to logging, you have to manually cancel their current orders. I highly recommend reading my Crimson Desert Resource Gathering Guide to figure out which materials you should be prioritizing early on.
Skill Matching And The Comrade Buff
Every single Dispatch Mission features a skill marker. You cannot just throw random bodies at a task and expect maximum efficiency.
Some missions have hard locks. If you want to construct the Pywel Wagon, you are absolutely required to assign at least one comrade who possesses the Engineer skill. If you do not have an Engineer, the mission will not start.
Other tasks are more flexible but reward you for paying attention. You can send anyone out to harvest food, but if you specifically assign a comrade with the Farmer skill, you will trigger a massive boost to your yield. Furthermore, stacking multiple suitable workers onto the same task activates the "Comrade" buff, which multiplies your rewards even further.
When your teams finally return from their automated loops, do not panic if the items are not instantly in your pockets. All of your gathered resources are automatically deposited into the Supply Chest located right behind Carl. This is the exact same chest where the game deposits any loose loot that despawns during camp liberation scenes. Keep your workforce optimized, check your journal for rumors constantly, and stop trying to grind XP for your blacksmith.