Diablo 4 Warlock Minions Guide: Flooding the Screen
Before you waste hours trying to kite elites with a fragile caster setup, you need to realize that throwing an endless wall of disposable demons at your problems is the vastly superior strategy.
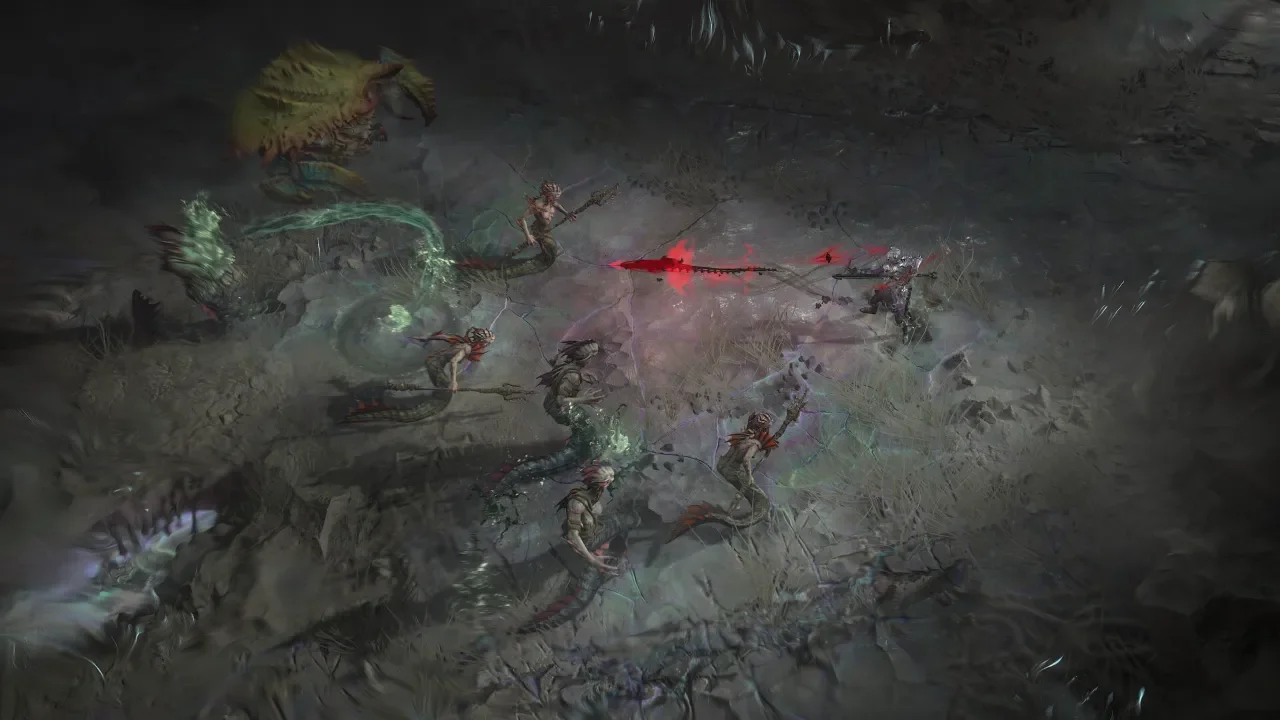
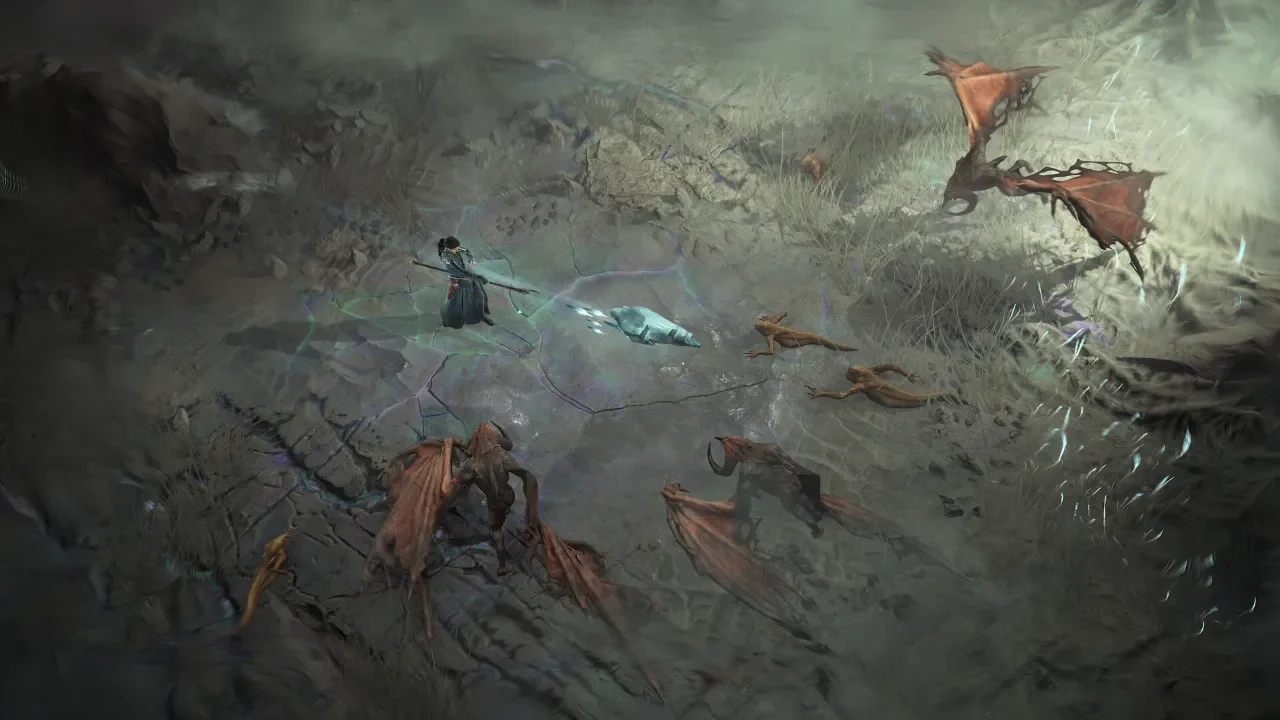
I see plenty of people struggling with the Warlock in the Lord of Hatred expansion because they try to play the class like a traditional spellcaster. They try to harness hellfire directly and end up getting sent back to the lobby by a random dungeon boss. To survive the endgame, you have to realize that the true power of this class lies in playing smarter rather than harder. You want to maintain a massive distance between your character and the enemy while your personal army of Archfiends does the heavy lifting. This guide covers the absolute best minion leveling build available for the Warlock. Your single target DPS might not break server records, but your ability to passively clear entire rooms without taking a scratch is unmatched.
The Playstyle: Chaos and Command
You are playing a summoner. Your primary job is to generate bodies and use them as explosive ammunition.
You want to start every single combat encounter by ensuring your main demon is summoned. Once your frontline is established, you initiate the fight by casting Bombardment. This is your heavy damage dealer. It actively sacrifices a portion of your demonic horde to inflict massive area damage. Losing your minions sounds counterproductive, but this build is specifically designed to immediately replenish them.
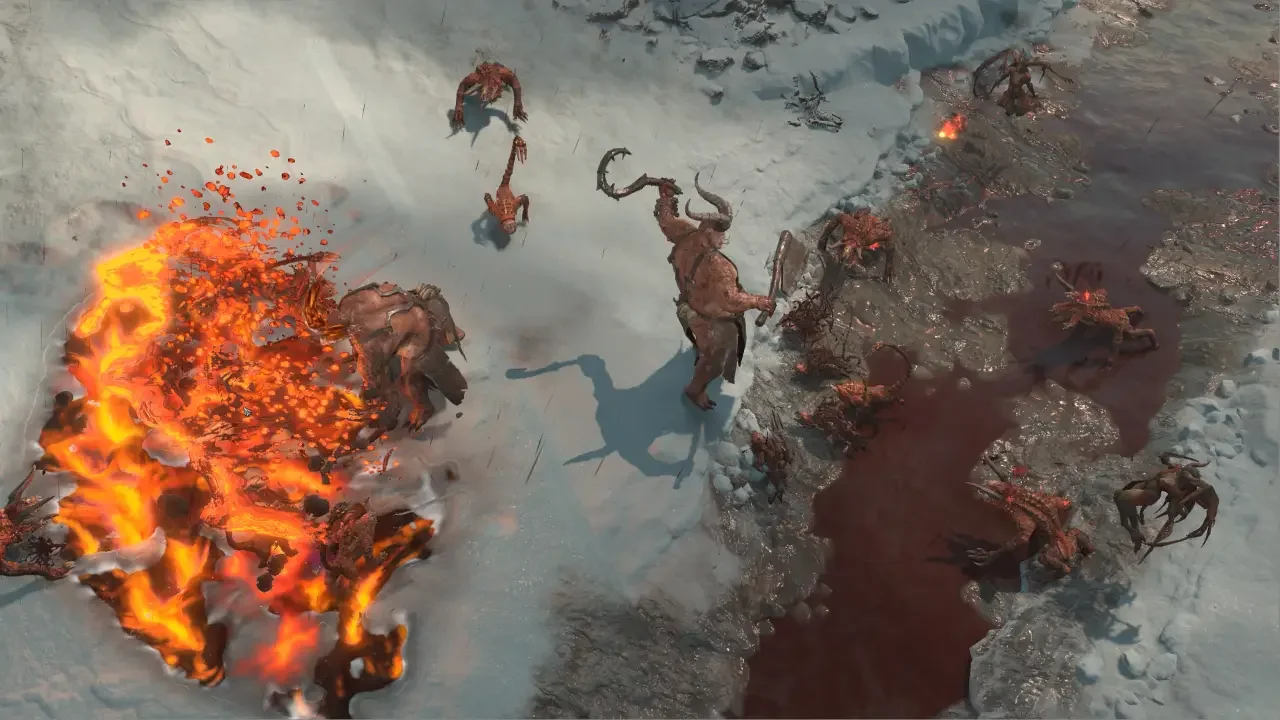
Every time you cast Bombardment, you automatically trigger your Sigil of Summons. You follow this up by holding down the Rampage skill. Rampage consumes your Dominance resource to instantly spawn your strongest units, getting your Greater Demons and Archfiends back on the field. When your resources run dry, you tap Command Fallen to instantly generate Wrath and Dominance while pulling even more minor demons into the fray. When the screen gets entirely too crowded and you need a panic button, you drop Fiend of Abaddon to completely overwhelm the arena.
Skill Point Progression
To make this engine run smoothly, you need to allocate your skill points efficiently as you push through the leveling brackets.
Powering the Horde: Soul Shards and Mercenaries
You cannot rely on your active skills alone to keep your army standing. You need passive generation running constantly in the background.
The Legion Shard Requirement
For this setup to actually work, you must equip the Legion Shard. Casting any Greater Demon skill while this shard is active provides a massive boost to the cast speed of your Lesser Demons while simultaneously slashing their cooldowns.
The real magic here is the Spawn Fragment attached to this specific shard. It passively spawns Vile Child lesser demons every single second. This creates an automated assembly line of disposable troops. When you detonate your frontline with Bombardment, the Spawn Fragment goes right to work rebuilding your numbers without requiring any extra button presses on your end.
Choosing Your Mercenaries
Since your army lacks mobility, you need your Mercenary choices to compensate. Subo is the clear winner for your primary slot. His Opening Fire skill grants you a substantial critical strike damage boost, but you really want him for the movement speed buff he triggers every time you damage an elite enemy. For your secondary slot, you want Varyana. Her Bloodthirst skill provides a flat attack speed buff that feels incredible when applied to a screen full of chaotic minions.
Essential Gear and Rune Crafting
You need very specific legendary aspects to scale this build into the late game. Without the right multipliers, your demons will just tickle the tougher bosses.
Aspect Priorities
You want the Remorseless Aspect on your Gloves to handle consistent damage output. Your defensive layers will come from the Aspect of Might on your Pants and the Aspect of Impetus on your Boots. For your jewelry, the Aspect of Reanimation on your Amulet is completely non-negotiable for a minion build. You also want to hunt down the Aspect of Authority for your Rings. Your absolute top priority for your offhand weapon slot is the Hellbent Commander Aspect. As you push past level 70, keep an eye out for unique items like Ae'Grom's Chism for your chest piece and The Fecund Seal to replace one of your rings.
Solving the Mobility Issue with Runes
The Warlock class is painfully slow. To fix this, you need to slot the Nagu and Jah runes into your gear. This specific combination mutates your standard, clunky evade animation into the Sorcerer's blink ability. This gives you an instant teleport to escape deadly area-of-effect attacks. For your secondary rune word, combine Igni and Vex. This grants a flat +1 rank to all of your active skills, which dramatically inflates your overall damage numbers across the board.
Maximizing the Talisman Grid
Your final layer of optimization comes from the newly introduced Talisman system. This is where the build transforms from decent to completely overpowered.
You want to track down the Seed of Horazon. This specific talisman scales the damage of all your Demonology skills based entirely on how much resource you currently have banked. It also provides passive damage reduction based on your current Dominance stat. Since you are running the Aspect of Authority to boost your Dominance, these two items synergize perfectly.
Your outer charm slots should be dedicated entirely to assembling the Fer of the Nameless set. This charm family is what makes the Warlock so broken. The set bonus dictates that casting your Sigil of Summons automatically triggers the passive benefits of other sigils without forcing you to actually put them on your action bar. You get all the buffs and damage reduction profiles of an overly complex setup simply by pressing your main attack button.
If you want the ultimate limit test for your newly assembled demonic horde, I highly suggest taking this build into the most brutal endgame activities. You can read up on exactly how to survive that meat grinder in my Diablo 4 Echoing Hatred Event Guide to truly see what your minions are capable of. Keep your distance, let your demons take the hits, and enjoy the loot.