Mina the Hollower Beginner's Guide: 12 Tips To Survive Tenebrous Isle
Before you accidentally delete hours of progress by dying without a Spark, you really need to understand how Tenebrous Isle actually works.
Mina the Hollower is aggressively old school, and that means it absolutely refuses to hold your hand. The game drops you into a hostile world with a weapon, a vague objective, and very little instruction on how any of the underlying systems actually operate. It expects you to figure things out through trial and error, which usually translates to dying repeatedly until something clicks.
I spent my first few hours getting absolutely wrecked because I didn't understand the nuance of burrowing, healing, or the economy. If you are just starting out, or if you keep hitting a wall in the first dungeon, I've compiled everything you need to know to survive.
Mastering Movement and Combat
You are a mouse wielding heavy weaponry. You are not a tank. If you try to face-tank damage, you are going to see the game over screen very quickly.
The Nuance Of Burrowing
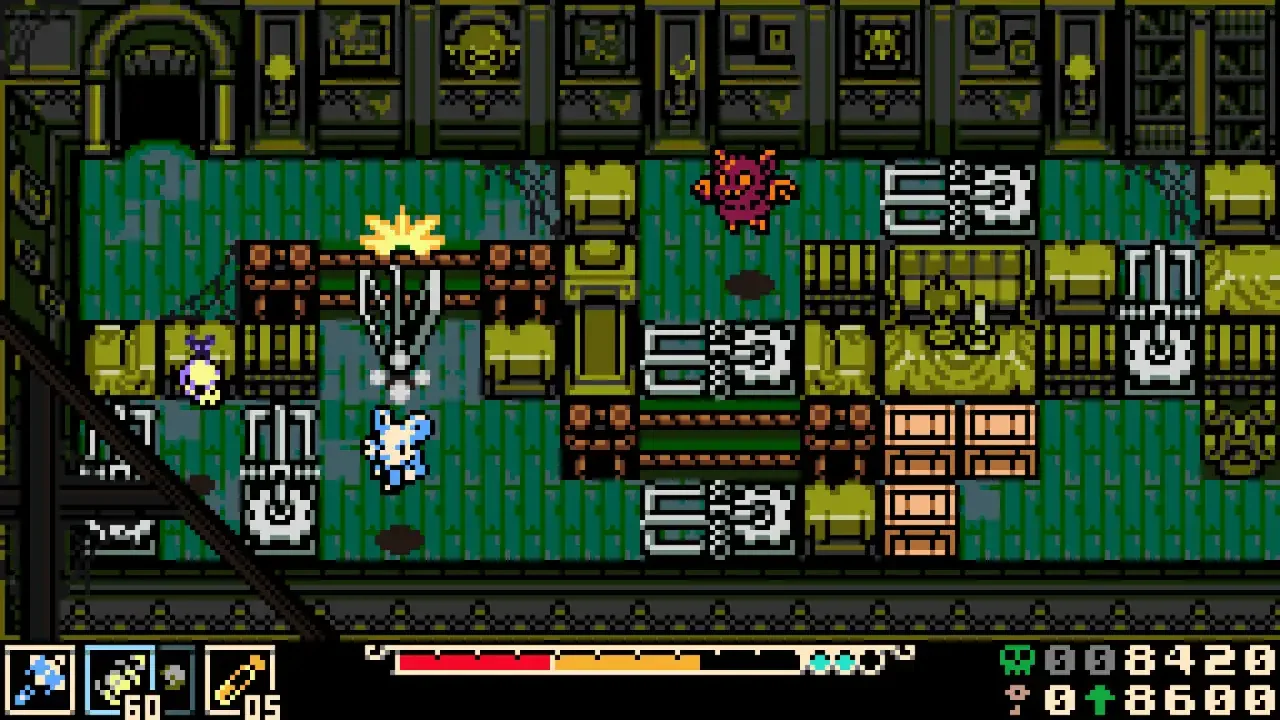
Burrowing is the core mechanic of the game, but it's not just for digging under fences. If you press and hold the jump button, you dive underground. While burrowed, you have total invincibility against most surface attacks. You can use this to break line of sight against shielded enemies, dive under their guard, and pop up right behind them for a free hit.
More importantly, the game doesn't explicitly tell you that you can burrow immediately after taking damage. Normally, you have to jump first to dig, but if you are currently flashing with invincibility frames from an enemy hit, you can just hold the jump button to immediately escape underground.
Judging Jump Distances
It is incredibly easy to misjudge a gap and fall into the abyss (which resets you and chunks your health). Here is the golden rule for movement:
Standard Jump: Clears a 1-tile gap.
Burrow Jump: If you jump while currently underground, you leap forward with much more momentum, easily clearing a 2-tile gap.
Edge Warning: If you walk right to the edge of a bottomless pit, Mina actually changes color and starts sweating. This is the game's built-in warning system telling you that you are perfectly positioned to make a maximum distance jump without falling.
If you are still struggling with traversal, it might be time to change your gear. Take a look at my Mina the Hollower Sidearms guide to find sub-weapons that can launch you across massive pits.
The Plasma System (How Healing Works)
The red bar is your health. The yellow bar underneath it is your Plasma. You generate Plasma by hitting enemies or picking up yellow Plasma Roses in the environment.
Here is the catch: when you use a vial to heal, it only restores health equal to the yellow Plasma you have banked. If you have no Plasma, drinking a vial does absolutely nothing except waste your limited charges. You must engage in combat to earn your healing. Furthermore, the healing animation takes a few seconds and completely roots you in place. If you take a hit while drinking, the heal is canceled, and you lose the vial entirely. Always burrow to a safe corner before trying to heal.
Surviving the Economy
Your currency is your lifeblood. If you mismanage your Bones, you will be too weak to survive the later dungeons.
Bones vs. Bonestones
Bones are the loose cash you drop when you die. Bonestones are hard currency stored in your bank that you never lose upon death. You can spend both at shops simultaneously.
When you rest at a checkpoint, you can choose to "Bone Up" (level up) your Attack, Defense, or Sidearm stats. The game pushes you to level them evenly, but you don't have to. I highly recommend dumping your early points strictly into Attack and Defense. Sidearms are too situational to waste your early levels on. If you are just short of a level up, you can convert your banked Bonestones into raw Bones at the machine in the top right corner of your Underlab.
The Spark System Explained
That little blue bubble on your HUD is your Spark. Think of it like an extra life for your wallet. If you die while holding a Spark, you drop all your Bones at the location of your death, but you respawn normally. You can run back and touch the floating blue orb to get your cash back (or kill the enemy that absorbed it).
If you die without a Spark, you suffer a "Sparkless Demise." You lose your dropped Bones permanently. Always prioritize buying Spark upgrades at the Emporium in Ossex to give yourself a safety net.
If you don't want to risk losing your cash at all, you can actually just tweak the game's rules. Check out my Mina the Hollower difficulty modifiers guide to learn how to turn off the death penalty entirely (though it will disable your achievements).
Navigating Tenebrous Isle
The island is massive and confusing. If you are wandering aimlessly, you are going to end up in an area way above your level.
Get The Map Immediately
The game does not give you a map by default. You actually have to rescue an NPC and buy it. Once you finish the prologue, head south of Ossex to the Rebel Barracks to save Rhene. She will rebuild the Hollower's Guild back in town, allowing you to buy the Isle Map from Drillhardt. I put together a full walkthrough on exactly how to do this in my Mina the Hollower map and Underlab upgrades guide, so do not skip it.
Fund The Train Early
Walking back and forth across the map is exhausting. There is a fast travel train system, but it is broken, and the city expects you to fund the repairs out of your own pocket. It costs a staggering 10,000 Bones to fix.
Start donating your spare Bonestones to the terminal at the Ossex station early on. You absolutely need this train operational before the late game, as one of the final regions is completely inaccessible on foot. If you want to know where every station is located, read my Mina the Hollower fast travel guide.
Read The Newspaper
If you genuinely have no idea where to go, look for the newsstands in Ossex. Reading the Tenebrous Times will explicitly tell you which region is causing the most trouble, which is the game's not-so-subtle way of telling you where the next main dungeon is located. It even reacts dynamically to the order you tackle the bosses.
Recommended Dungeon Order
The game lets you tackle the first four main dungeons in any order, but they are absolutely not balanced equally.
I strongly recommend heading to the Northeast first to tackle Queensbury Crypt. The enemies are manageable, and more importantly, the boss rewards you with the Proto Spark Trinket, which acts as a free revive upon death. Having that in your back pocket makes the rest of the game significantly less punishing. After the Crypt, the developer's intended route is Southwest, Northwest, and then Southeast.
If you are struggling to even survive the trip to the Crypt, it is probably because you picked a weapon that doesn't fit your playstyle. Read up on my Mina the Hollower weapons guide to figure out what you should be swinging instead.