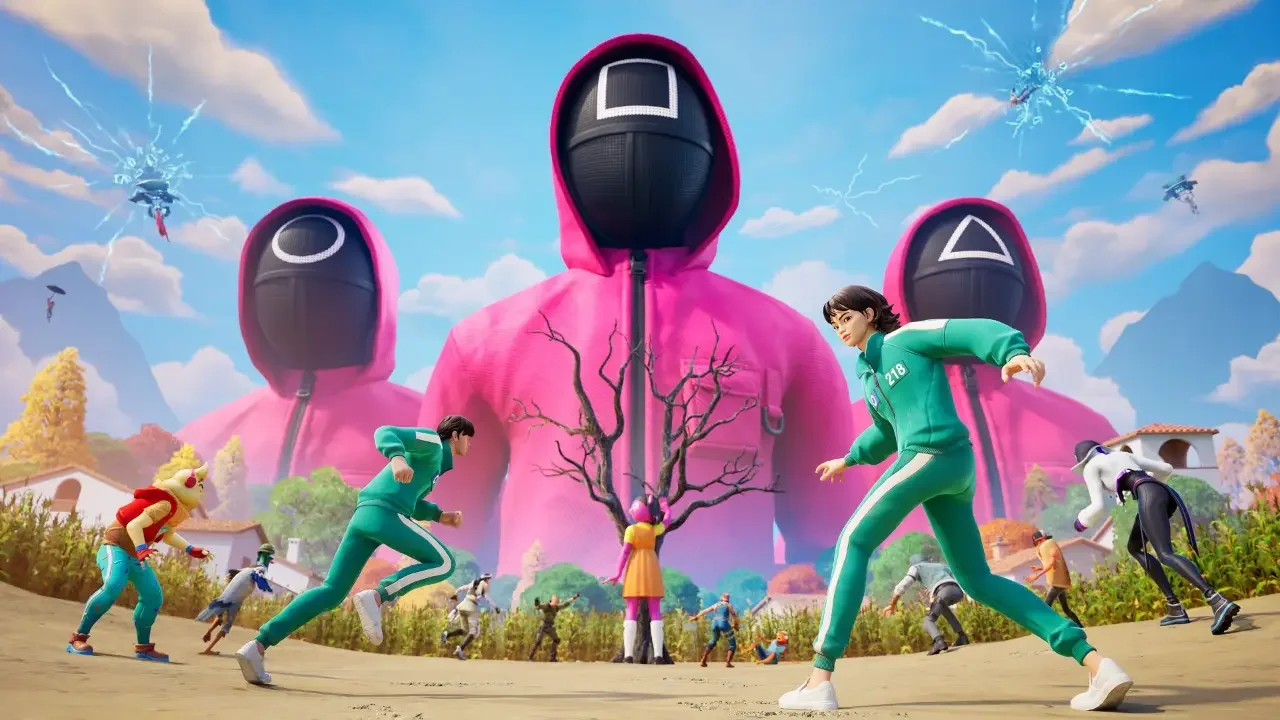
Neverness To Everness Tier List: The Absolute Best Characters Ranked
Before you waste three hours grinding materials for a terrible damage dealer, you need to know exactly which characters are actually worth your time.

I learned the hard way that resources in this game vanish in the blink of an eye. The Character Pixels bottleneck is brutal, and the gacha mechanics are designed to drain your wallet if you make poor investment choices early on. If you dump your hard earned materials into a weak unit, the endgame bosses will simply put you six feet under. You cannot afford to build everyone on your account. You have to be ruthless and prioritize the characters who provide the highest damage numbers and the most reliable survival utility. If you are completely lost and need to understand the core mechanics before worrying about the meta, reading my Neverness To Everness beginner guide is a very smart first step. Once you grasp the basics of the Esper Cycle system, you can start building a roster that actually survives the toughest content.
The Complete Version 1.0 Tier List
Here is my definitive ranking of every launch character based on their damage output, team synergy, and overall long term value to your account.
The S-Tier: Absolute Account Carries
These are the units you want to dump every single resource into without a second thought to guarantee an easy ride through the toughest combat challenges.
Nanally and Daffodill
Nanally is the premier Anima damage dealer. As the first limited S-Class unit on the banner, she drastically outpaces the standard roster in pure damage output. Her follow up attacks are relentless and track enemies perfectly. You just cast her Skill, pop her Ultimate, and mash the basic attack button to melt health bars. She is absolutely vital for Blossom teams alongside Cosmos characters. Daffodill is your dedicated boss breaker. As the sole Chaos element character available at launch, she is mandatory for triggering specific Esper Cycle reactions. Her parry and swap abilities decimate boss white bars faster than anyone else on the roster. Do not enter a major boss fight without her.
Zero and Sakiri
Zero proves that a main character can actually dominate the meta. Their Skill has a 100 Cycle Rate, meaning it instantly activates an Esper Cycle the second you press the button. With a quick 16 second cooldown, Zero ensures your team is always applying massive reaction damage. Sakiri handles your crowd control and buffs. She groups enemies together effortlessly and provides a massive attack boost to Scorch teams. Support units like Sakiri age incredibly well in gacha economies, making her one of the safest long term investments you can make.
Haniel and Fadia
Haniel is the undisputed queen of free A-Class units. She provides a massive team wide attack buff through her Nova Enhancement passive and requires almost zero field time to get her job done. Fadia is your ultimate safety net when a fight goes terribly wrong. She redirects team damage to her own health bar and heals herself with her Ultimate. If you struggle with landing perfect dodges, Fadia will keep your team from being sent back to the lobby when the boss unleashes an unavoidable area of effect attack.
The A-Tier: Strong But Complicated
These characters hit incredibly hard but demand a significant amount of mechanical skill and situational awareness to actually work properly.
Baicang and Chiz
Baicang is an Incantation main DPS who applies the Scorch effect. His damage is genuinely great, but his combo strings are highly specific. You have to hold his basic attack on the third hit for bosses, and the second hit for mobs. Missing a perfect dodge completely ruins his rotation. Chiz is a Cosmos damage dealer you unlock completely for free by playing the Tycoon mode. If you are already working through my Neverness To Everness all side quests guide, knocking out her unlock requirements is a breeze. However, Chiz relies on strict rhythm mechanics and Grain stacks. If you mess up the timing on her Skill inputs, her damage output plummets.
Jiuyuan
Jiuyuan has an incredibly simple kit compared to Baicang. You pull enemies in with her Skill and hold the basic attack button when her UI symbols fill up. She works beautifully in Blossom teams. Her true potential is unfortunately locked behind her first Awakening duplicate. Pulling a second copy magically turns her into a highly effective team healer, vastly increasing her utility.
The B-Tier: Niche Utilities
These units have highly specific uses but fall short of being mandatory for challenging content.
Hathor and Adler
Hathor is a Lakshana burst DPS who summons a motorcycle to run over her enemies. Her charging animations are dangerously slow and leave her totally exposed to incoming attacks. While her combat viability is questionable, her Life Skill grants you extra account resources every single day just for having her. If you love traversing the map in style, check out my Neverness To Everness vehicles guide to see how her bike stacks up against the actual cars you can buy. Adler is a solid free A-Class shielder who passively enhances Scorch damage. He deals practically zero personal damage, but his team wide shield is a great panic button if you refuse to spend money on premium survival units.
The C and D Tiers: Bench Warmers
Do not waste your precious Character Pixels upgrading these underperformers unless you intentionally want to make the game harder for yourself.
Mint, Skia, Aurelia, and Edgar
Mint is the poster child for the game but her damage is laughable compared to the S-Tier roster. Skia suffers from the exact same problem and requires you to unlock all of his Awakenings just to be remotely viable in combat. Aurelia rides a jellyfish into battle, which sounds cool, but she demands way too much field time to output aggressively mediocre damage. Finally, you have Edgar sitting completely alone in the D-Tier. He is a stationary healer who provides absolutely zero offensive buffs. In a game where bosses aggressively chase you across massive arenas, dropping a stationary healing circle is a guaranteed way to get yourself killed. Avoid him entirely and save your materials.