Resident Evil Requiem Boss Guide: Exterminating The Titan Spinner
The NF Building doesn't ease Leon into Raccoon City's ruins. It opens with a massive armored spider and a hallway that's actively falling apart.
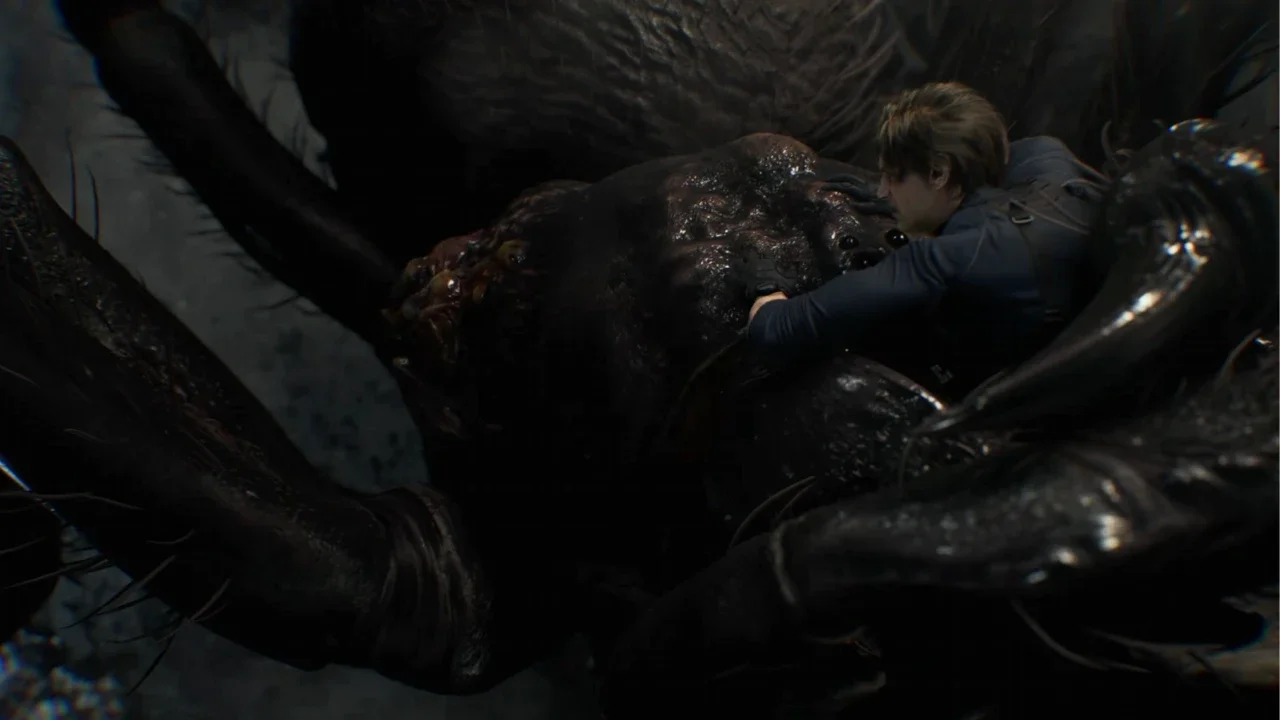
Standing in place and unloading a shotgun into this thing is how the fight goes wrong. The Titan Spinner is built specifically to punish that instinct, and the encounter splits into a chase sequence followed by a tight, vertical arena fight. Anyone walking in with a thin inventory should top off first. The crafting guide covers what's actually worth keeping this deep into the game.
The Chase Comes First
The fight doesn't start the moment the spider shows up. A cutscene ends with Leon staring down a web-choked hallway, and the combat hatchet clears it. The spider scrabbling along the glass outside is just noise, not a threat yet, so there's no reason to stop and watch it.
Eventually it shatters the wall and charges. Killing it here isn't the goal. A round or two from the shotgun to the face forces a recoil, and that's the cue to turn and run. Leon gets hurled through a wall into a bigger space, but the chase keeps going from there. Cut through the next web wall and push for the stairs.
The Spiderling Swarm
The climb up throws smaller spiderlings into the mix. Individually they're nothing, a single bullet or hatchet swipe drops one, but they swarm Leon's face and chip away health while he's blinded. A shotgun blast clears a full cluster at once, which is the efficient answer here. Clear the swarm, push for the fire exit, and stay ready to dodge sideways right at the doorway. The spider gets one last ambush swipe in before the chase ends.
The Arena Fight Actually Starts Now
Reaching the top floor drops Leon into a cramped, multi-level space with a spider that treats the ceiling as just another wall.
Pulling the trigger immediately is the wrong move. The carapace is thick enough that direct fire barely does anything, so the first thirty seconds are better spent just running the layout and grabbing whatever's scattered around. There's ammo and healing tucked into crates throughout, and the arena's tight corners give enough cover to break line of sight when things get close.
Using the Fuel Tanks
Actual damage requires exposing the soft weak point under the armor, and that means using the environment instead of ammo. Two fuel tanks sit in the arena, one on the ground floor and one tucked upstairs. Baiting the spider close to either one and shooting the tank triggers an explosion that staggers it hard, and that stagger is the real damage window.
The ground floor tank is the moment to switch to the sniper rifle, since single target precision does serious work against the exposed bulbs. The upper floor tank favors dumping Requiem ammo directly into the weak point instead, since it hits just as hard without the slow reload eating into the window.
If the Tanks Run Out
Burning through both staggers without finishing the fight makes things considerably harder. The spider gets desperate and starts spitting webs, and getting caught means eating a heavy follow-up hit while immobilized, so healing has to stay ready. Without explosive barrels left to force a stagger, the shotgun becomes the only real option. Keeping distance, using the corners to create space, and waiting for the spider to expose its back while turning through tight corridors is the only path left.
Enough sustained pressure eventually drops it for good, clearing the path deeper into the city. Anyone still shaky on parry timing for the smaller enemies in this zone should run through the combat guide before pushing further in. Loot what's left in the arena and reload before moving on.