Resident Evil Requiem Boss Guide: How To Defeat Mr X
Running into Mr X inside the RPD is a fantastic nostalgia trip right up until he tries to impale you with a helicopter.
Capcom loves to play with our expectations. Just when you think Leon has a moment to breathe after reuniting with Grace Ashcroft, Zeno calls in the iconic towering bioweapon to ruin your day. What follows is a brutal two part sequence that tests your spatial awareness and your inventory management. If you are already struggling with basic survival mechanics before this giant even breaks through the wall, you might want to step back and read my Resident Evil Requiem beginners guide to get your bearings.
The game essentially locks you into a cinematic chase sequence before dumping you into a wide open arena for a fight to the death. I spent my first few attempts getting completely flattened by flying sedans and cheap environmental traps. The timing required to survive this encounter is incredibly strict, and it is entirely normal to feel overwhelmed when an unstoppable force is sprinting down a narrow hallway at you.
I am going to break down the exact pathing you need to survive the police department and the combat tactics required to put the Super Tyrant in the dirt.
Phase 1: Surviving The RPD Chase
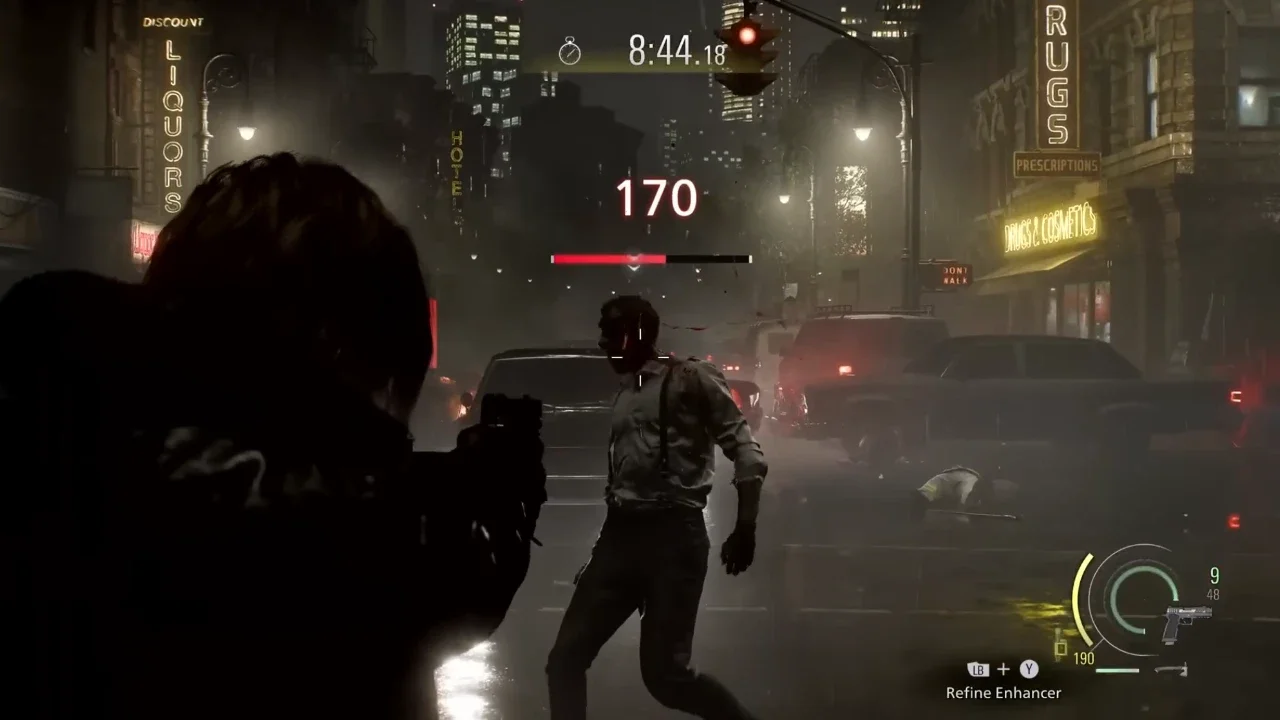
When Mr X shatters the precinct wall, your natural instinct is to raise your weapon and defend yourself. Ignore that instinct completely.
The tyrant absorbs standard gunfire like a sponge during this segment. His punches deal catastrophic damage, and standing your ground will only result in a quick death. You have one singular goal here, and that is to run. If he manages to corner you, a single precision headshot from the Requiem revolver will briefly stun him. Use that two second window to slip past his massive shoulders and keep moving.
The Helicopter Trap
Your path forces you up the stairs and onto the second floor. You will sprint past an office featuring a prominent deer statue. Make a mental note of this room because you are going to need it shortly.
Keep pushing forward until you enter a seemingly empty corridor. This is where the game pulls a remarkably cheap trick. Mr X will violently pierce the wall ahead of you using the severed tail of a crashed helicopter. If you are sprinting blindly forward, this environmental hazard will instantly kill Leon in a uniquely gruesome animation. The moment you see the metal tear through the plaster, immediately reverse your direction.
The Deer Statue Loop
With your forward progress blocked, you have to backtrack. Mr X will drop into the hallway behind you, cutting off your escape. Run directly back into the office containing the deer statue.
The center of this room is piled high with debris and rubble. You need to use this debris to kite the tyrant. Walk him around the circular pile of junk until he commits to a swing, then sprint past his blind side back toward the main lobby. The game places small light sources on the floor to guide you out. Follow the lights, burst through the exit doors, and leave the precinct behind.
The Kendo Gun Shop Intermission
Surviving the chase drops you into the alleyways behind Kendo's Gun Shop. Do not rush through this area. This is a designated safe zone designed specifically to let you prep for the actual boss fight.
Walk through the ruined shop and utilize the stash box. If you are hoarding heavy rifle ammunition, now is the time to put it in your active inventory. You also need to repair Leon's body armor. The upcoming fight features massive area of effect damage, and going in with broken armor is a massive mistake. If your resources are completely depleted from previous encounters, I highly recommend reading my Resident Evil Requiem crafting guide to learn how to stretch your remaining gunpowder.
Before you step into the main arena, check the basketball court situated to the right. It holds several hidden healing items and ammo pickups. If you happen to have the Eye Spy Charm equipped, double check that it is active. It offers a random chance to survive fatal damage, which is a lifesaver when dealing with the Super Tyrant.
Phase 2: The Super Tyrant Duel
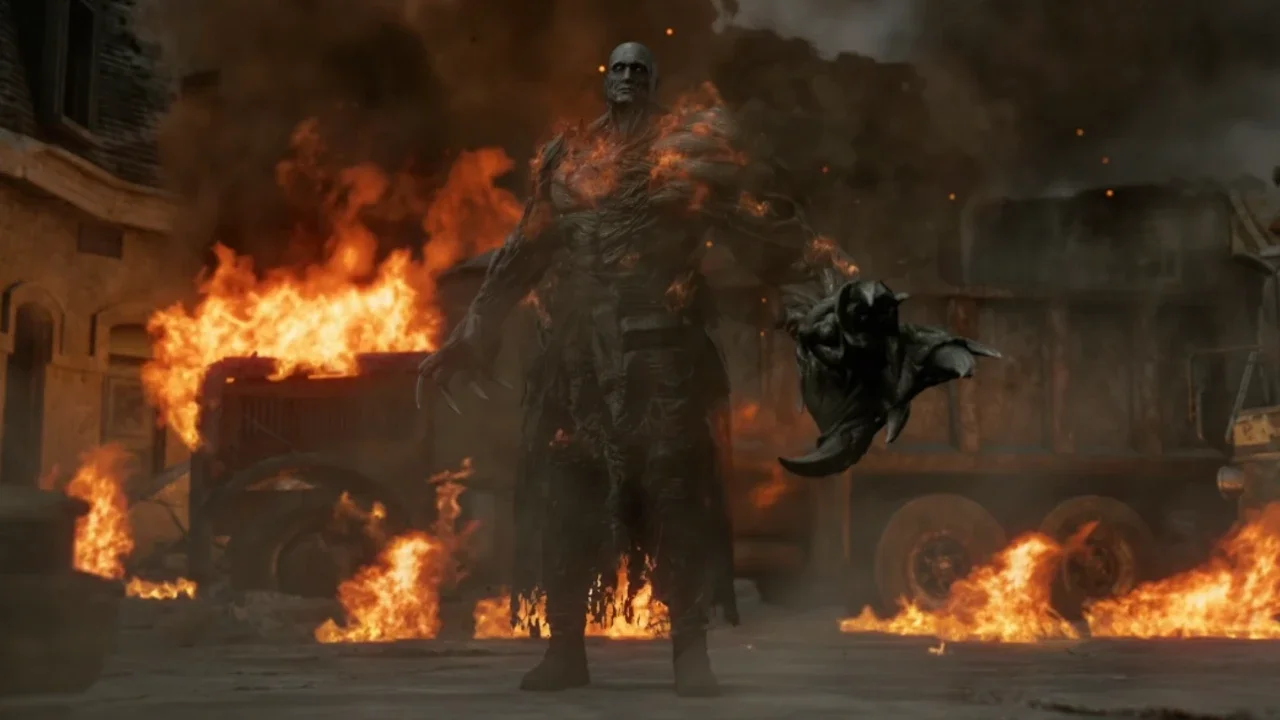
The moment you step into the open lot, Mr X initiates the fight by hurling missiles from a nearby rooftop. The resulting explosions cover the arena in lingering fire. He then leaps down from the roof and sheds his iconic coat, mutating into his final Super Tyrant form.
Parrying The Rush
The Super Tyrant is relentlessly aggressive. His primary method of closing the distance is a brutal charging attack. You can try to step laterally to dodge it, but the tracking on his charge is highly accurate.
Your best defensive option is Leon's combat hatchet. You need to stand your ground and parry his rush. Deflecting the blow negates all the incoming damage and keeps you in the perfect position to counterattack. However, parrying a bioweapon of this size degrades your blade quickly. You must actively sharpen your hatchet during any brief moment of downtime. If you are unfamiliar with the nuances of the melee system, my Resident Evil Requiem combat guide breaks down exactly how the timing works.
Dodging The Cars
Parrying works for his fists, but it will not save you from a flying vehicle. Periodically, the Super Tyrant will leap onto the husks of the ruined cars scattered around the lot. He uses these as platforms to launch devastating diving attacks. Keep moving laterally the second his feet leave the ground.
Worse still, he will actively pick these cars up and hurl them across the arena. If you see him walk behind a vehicle and dig his hands into the metal, drop whatever you are doing and sprint horizontally. If he manages to grab Leon with his standard charge, he will physically throw you into the nearest car, which strips away a massive chunk of your health bar.
Breaking The Heart
You will notice a massive, pulsating heart exposed on the center of his chest. This is his only weak point.
Shooting him in the arms, legs, or face is a complete waste of your limited ammunition. You have to maintain your distance, bait out his attacks, and dump your highest caliber rounds directly into that heart. A scoped rifle is absolutely devastating here if your aim is steady.
Keep applying pressure to the chest cavity while managing your health. Eventually, the sustained damage will force the Super Tyrant to drop to his knees in a stunned state. Sprint directly up to him and hit the prompted interact button. Leon will drive his hatchet straight into the exposed heart, executing the tyrant and ending the nightmare for good.
If you are hunting for 100% completion, beating this boss triggers the "I Remember That, Too" narrative achievement. You can map out the rest of your platinum run using my Resident Evil Requiem trophy achievement guide. Grab whatever loot is left in the arena, sharpen your hatchet one last time, and prepare to push forward.