Star Trek Voyager: Across the Unknown Guide: How to Not Kill Everyone in the Delta Quadrant
I spent the past days repeatedly getting the crew of the U.S.S. Voyager assimilated, exploded, and mutinied against, and now I am passing that trauma onto you.

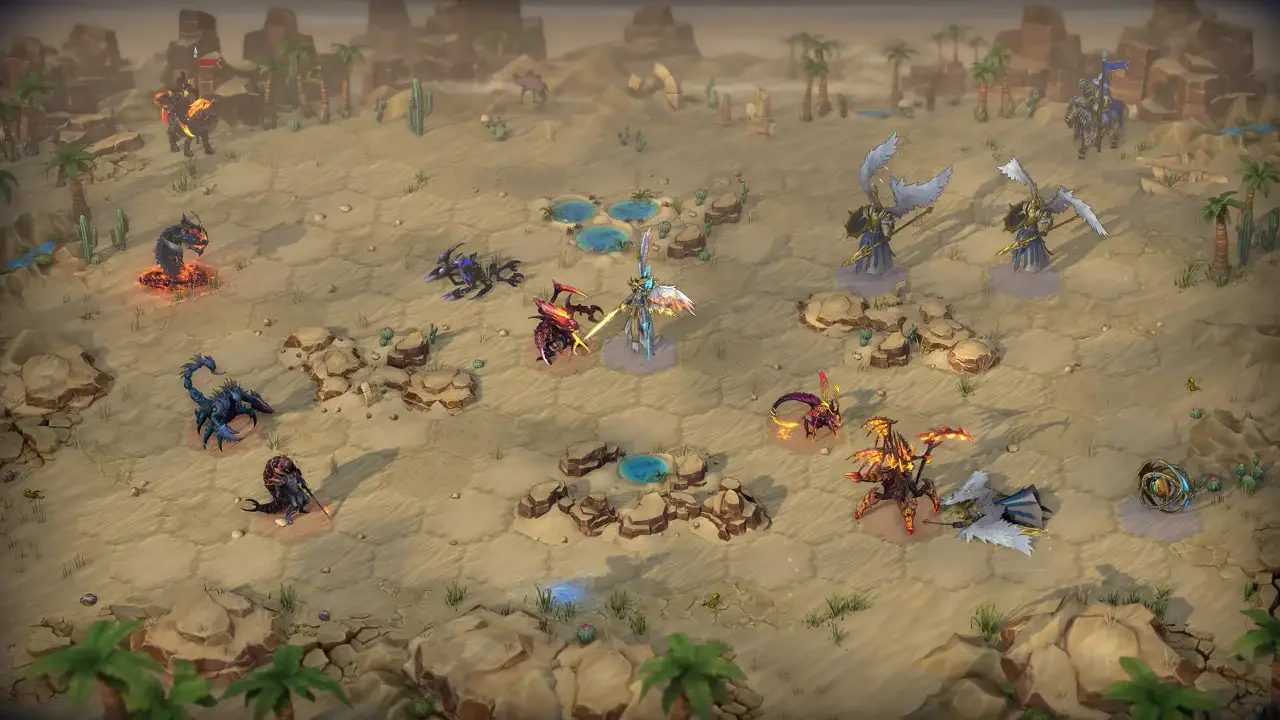
Before you even launch the game, you need to understand what you are actually getting into. This is not an action shooter or a breezy space simulator. It is a deep, story driven survival strategy game. Think of it as a hybrid of FTL, a choose your own adventure novel, and a tabletop roleplaying game where the dice decide your fate. Your overarching goal is simple enough on paper. You take control of Voyager and try to guide your people safely across twelve sectors of the Delta Quadrant.
Getting home requires a ruthless balancing act. Every choice you make relies on chance based dice rolls and strict skill checks. Your success entirely depends on how well you manage four critical pillars of survival. You have your raw resources like deuterium and dilithium, the physical health of your crew, the structural integrity of your hull, and the ever fragile morale of your people. If your hull hits zero, you die in the vacuum of space. If your morale hits zero and stays there, your crew will actively mutiny and end your run. It is a tough assignment, but I have compiled the ultimate survival manual to help you drag this ship back to the Alpha Quadrant.
The Golden Rules of Delta Quadrant Survival
You need to understand the fundamental laws of this uncharted corner of space before you even think about engaging the Borg. Managing a starship requires you to make pragmatic decisions that keep the big picture in focus.
Never Let Your Deuterium Run Out
Deuterium is your fuel, and absolutely everything on your ship burns it. If you run out of deuterium, you are stranded in deep space. You must constantly hoard this resource. Do not make unnecessary detours if your fuel reserves are dipping into the red. You also need to keep a sharp eye on your dilithium. You need dilithium to execute warp jumps, and roughly seventy percent of the pathways in the game are completely closed off to you if you lack the crystals to power the drive.
Manage the Warp Drive Correctly
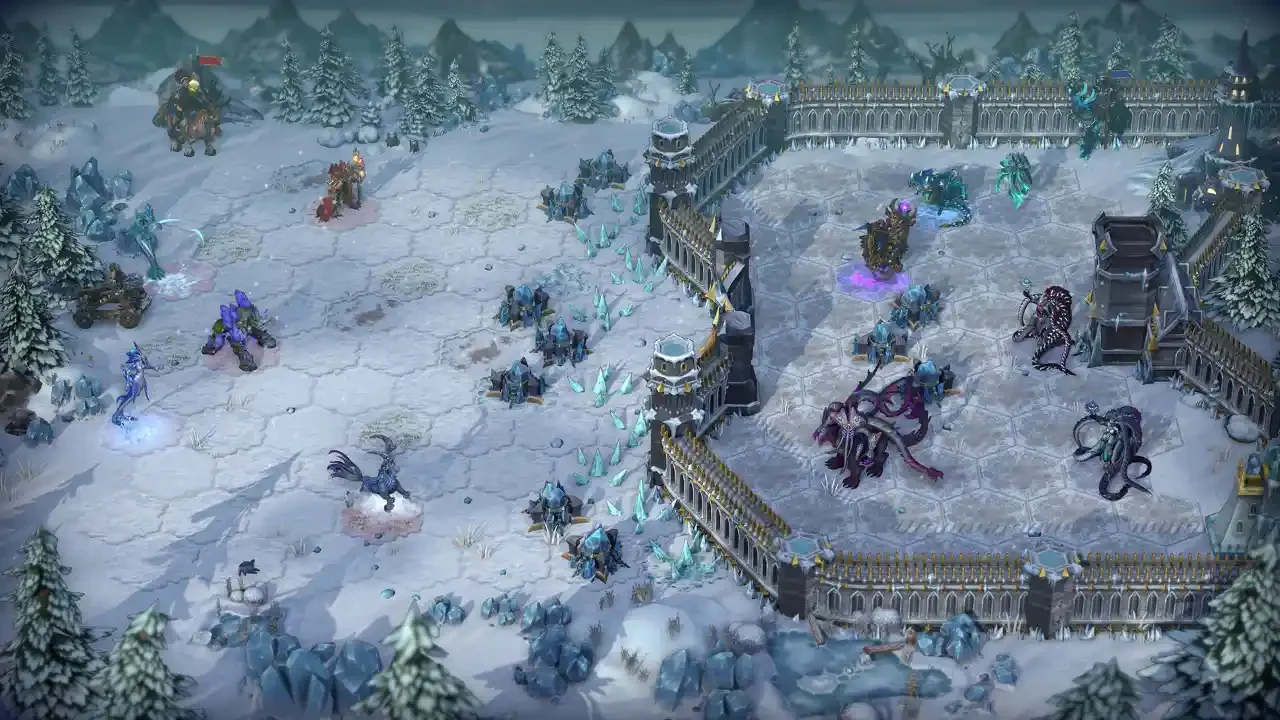
The campaign is split into twelve massive chapters, each representing a distinct sector. Every sector contains three to five star systems. Once you complete the core quest chain in a sector, you unlock the ability to warp to the next chapter. Do not jump between planets carelessly. More importantly, never rush through a sector unless you are running for your life from a superior force.
Sectors three and four are particularly quick to complete, which makes them the absolute best places to milk for resources. Scan every single planet. Harvest everything you can carry. Once you leave a sector, you can never go back without completely restarting your campaign. Whatever state your ship is in when you warp out is exactly how you will start the next chapter. Over prepare while you have the chance.
Rotational Duty for the Away Team
Away missions are high stakes operations. If an officer dies on a landing mission, they are dead forever. Permadeath is very real, and losing a key crew member can permanently cripple your run. You also have to deal with fatigue. Every time you send a character on an away mission, they become exhausted for the next step of the journey. You must rotate your roster constantly to give yourself the best possible odds on those tabletop style dice rolls.
Also, leave Janeway on the bridge. You literally cannot send her on away missions anyway. She is the captain, and that is exactly what Chakotay is for. You can level her up through specific side missions instead of risking her neck in the dirt.
Prioritizing Your Ship Builds and Tech
Let us talk about engineering. The ship building mechanics use a spatial management system that feels very reminiscent of games like Fallout Shelter. The catch is that every single room requires power, and you do not have enough energy to build a luxury cruise liner.
Engine Efficiency is God
When you open up the massive tech tree, ignore the flashy weapons for a moment. Your very first major investment needs to be Engine Efficiency upgrades. This drastically reduces your baseline deuterium consumption, which gives you massive breathing room for exploration. Once your engines are upgraded, focus entirely on Hull Reinforcement, followed by Improved Scanners. You cannot win space battles if your ship tears itself apart after taking a single torpedo.
Balance the Power Grid
You have to build smart. If you try to kit Voyager out as a heavy warship, you will have to sacrifice essential support rooms. That means ignoring crew quarters or the holodeck, which are absolutely vital for combating morale decay. If you do not build hydroponics bays to grow real food, you will be forced to rely on replicator stations that drain massive amounts of ship power.
I highly recommend building multiple science laboratories to generate more skill points. You also need multiple engineering offices to keep your ship repaired during crises.
The Dark Art of Save Scumming
The game does not allow you to freely save and reload whenever you want. It relies on an autosave system that triggers after every significant decision. This is meant to make your choices carry weight, but sometimes a bad dice roll is just mathematically unfair.
Dice Rolls and Save Files
If you fail a critical skill check at a major checkpoint, your best strategy is to immediately quit out of the game. If you close the application before the event completely finishes, you can reload and hope the random number generator shows you some mercy on the reroll.
The developers recently patched the game to save your progress every five points of interest you visit. You will see a small notification pop up when it happens. If you are playing on PC and want to be incredibly paranoid about losing hours of progress, you can manually back up your save files by digging into your AppData folder.
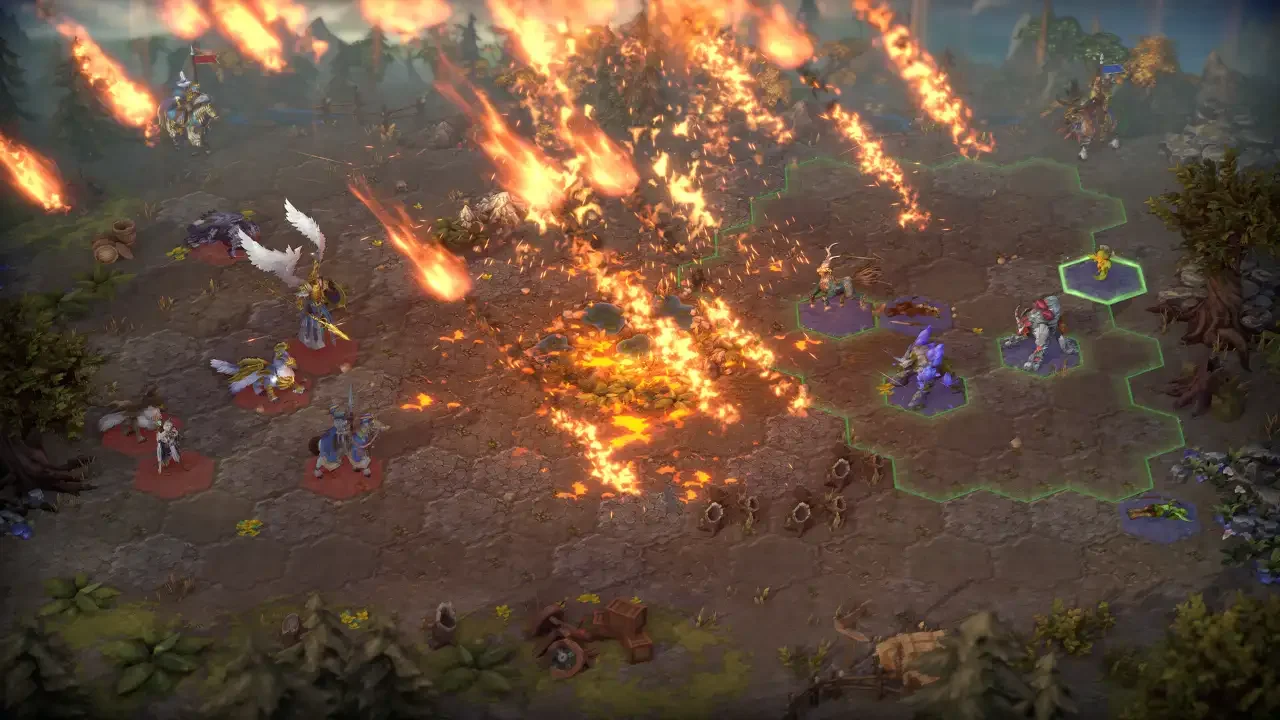
Combat is a Trap
Space battles are inevitable, but you should never rely on brute force if you can talk your way out of a situation. Your crew are explorers first. Strong diplomacy skills can actually help you avoid almost half of the fights in the entire game.
Do Not Trust the Auto-Combat
When you do have to fight, do not put your faith in the auto combat system. The AI is completely brain dead and will waste your resources. You need to synergize your heroes. I always set Tuvok, Harry, and Chakotay as my active hero units.
The strategy is simple but requires manual timing. Use Harry's ability as soon as the fight starts to gain a tactical advantage. Wait until the enemy shields drop, then manually fire a torpedo. Pop Chakotay's ability to increase your rate of fire as you switch to the next target, and use Tuvok's ability to instantly drop the next layer of shields. Hero abilities working in tandem are the only reliable way to win space battles without taking catastrophic hull damage.
Critical Mission Order
The timeline of the Delta Quadrant is entirely in your hands. You can stay true to the canon of the original television show, or you can completely derail history and forge an unholy alliance with the Borg to experience every possible ending the game has to offer. However, there are a few side missions you absolutely must complete in a very specific order if you want to unlock the absolute best hidden technology for your ship.
If you approach every decision with caution and treat your crew like the highly trained professionals they are, you might actually survive to see Earth again.