Star Trek Voyager Across The Unknown: 8 Things I Wish I Knew Before Launch
Getting stranded seventy thousand lightyears from home is miserable, but going in blind makes it an actual death sentence.
I lost half my command staff to a random space anomaly because I did not understand how fatigue worked. I triggered a Borg interception with a ship held together by duct tape and blind optimism. I made every stupid mistake possible during my first weekend with this game. Star Trek Voyager Across The Unknown is incredibly punishing. It operates like a tabletop roleplaying game where pure chance dictates your survival, and the digital dice are actively plotting against you.
You are going to fail a lot. If you are still trying to grasp the absolute basics of ship navigation and keeping the lights on, you should probably take a detour to my Star Trek Voyager Across The Unknown beginners guide. But if you are ready to actually optimize your journey and stop bleeding resources, here are the eight critical things I wish someone told me before I sat in the captain's chair.
1. The Save System Actively Hates You
You cannot save your game whenever you want. The developers opted for an ironman style autosave system that only records your progress after major milestones or after visiting five points of interest.
If you make a terrible narrative choice or fail a ninety percent skill check that results in a permanent character death, you cannot just click a load button to fix it. You are either forced to restart the entire sector from the beginning or live with the horrific consequences. Do not accept this nonsense. If you are playing on PC, you can completely bypass this restriction. I mapped out exactly how to manipulate your system files in my Voyager Across The Unknown manual save guide so you can actually protect your time.
2. Auto Combat Is Pure Garbage
Space battles are inevitable. When the phasers start firing, the game offers you an auto combat toggle. Never click it.
The AI running the auto combat is completely brain dead. It will dump your energy reserves into useless systems and fire torpedoes directly into fully charged enemy shields. You have to take manual control. Set Tuvok, Harry Kim, and Chakotay as your active bridge heroes. Use Harry to gain a tactical scan, wait for the exact moment the enemy shields drop in their rotation, and manually fire a torpedo. Pop Chakotay's ability to increase your firing rate, and use Tuvok to instantly strip the next shield layer. Doing this yourself is the only way to avoid catastrophic hull damage.
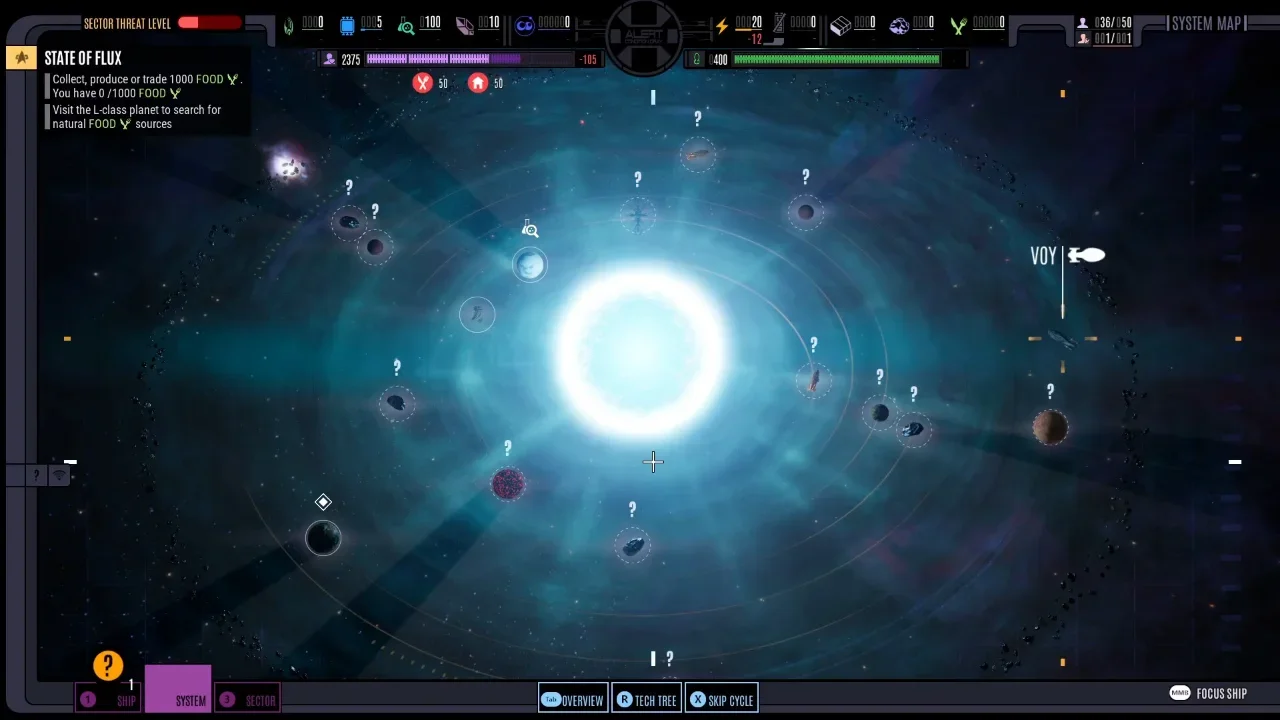
3. Deuterium Is Your Blood
The game throws a lot of shiny rocks at you, but Deuterium is the only one that truly matters on a minute to minute basis.
Dilithium is required for long range jumps between star systems, but Deuterium is constantly consumed just to keep the ship functioning. Every time you move tactically, power a room, or run the replicators, you burn Deuterium. If you run out, your run is essentially dead. Use your shuttlecraft to gather it whenever possible to avoid draining Voyager's main power reserves.
4. Unlock The Plasma Torch Immediately
When you open the research menu, ignore the weapon upgrades for a moment. You need to unlock the Plasma Torch straight away.
This early game tool is used by your work crews to gather resources faster. More importantly, upgrading the Plasma Torch to tier 3 fundamentally changes your economy. A fully upgraded torch returns all of your spent resources when you deconstruct a room on the ship. This allows you to completely rebuild and optimize your deck layouts later in the game without taking massive financial penalties.
5. Let Your Crew Eat Slop Early On
Crew morale is a massive mechanic. If your people get too depressed, they will literally mutiny and steal your ship. Naturally, you might feel tempted to spend your precious energy synthesizing high quality meals to keep them happy. Do not do it.
Stick to the basic, depressing rations for the first few hours. Once Neelix officially joins your roster, he takes over the mess hall. When you upgrade his kitchen, standard rations become completely obsolete anyway. If you take the slight morale hit early on and invest that saved energy into your engine efficiency instead, you will be in a vastly superior position.
6. Rotate Your Away Teams Constantly
Do not rely on the same three officers to solve every single problem.
Characters have a hidden fatigue meter. If you send Tom Paris down to three planets in a row, his stats plummet. A tired officer is going to fail their dice rolls, take critical injuries, or simply die. Permadeath is a core feature here. You need to send your lower tier, unnecessary officers on the low risk scavenging missions. Save your elite command staff exclusively for the critical story beats.
7. Overstay Your Welcome In Sectors Three And Four
The game constantly pushes you to warp to the next sector, warning you that the Kazon or the Borg are right behind you. Ignore the panic.
Sectors three and four are relatively safe compared to the absolute hellscape waiting for you in the late game. Scan every single planet. Harvest every scrap of duranium you can find. Even if your storage bays are completely full, keep mining. The game just discards whatever you cannot carry, but you never know when a random event will suddenly drain your reserves. You are going to need a massive stockpile of research points and combat power to survive the finale, which I detailed extensively in my Star Trek Voyager Across The Unknown all endings guide. Do not leave a safe sector until you have stripped it clean.
8. Early Borg Tech Will Get You Killed
The temptation is incredibly real. The game dangles overpowered Borg salvage in front of your face very early in the campaign. Integrating this alien technology provides massive boosts to your sensors and weapon systems.
Do not equip it. Slapping Borg tech onto a fragile science vessel acts as a massive beacon. If you equip too much of it too soon, you will trigger a forced Cube Interception event. Your early game weapons cannot scratch a Borg Cube. You will be assimilated instantly. Wait until your hull is fully upgraded before you start playing with the green lasers. If you want to know exactly when it is safe to start assimilating their gear, cross reference your progress with my Star Trek Voyager Across The Unknown hidden technology guide.
Respect the fatigue mechanics, hoard your fuel, and stop trusting the auto combat. The Delta Quadrant is entirely survivable if you just stop making rushed decisions.